 Save to Pinterest
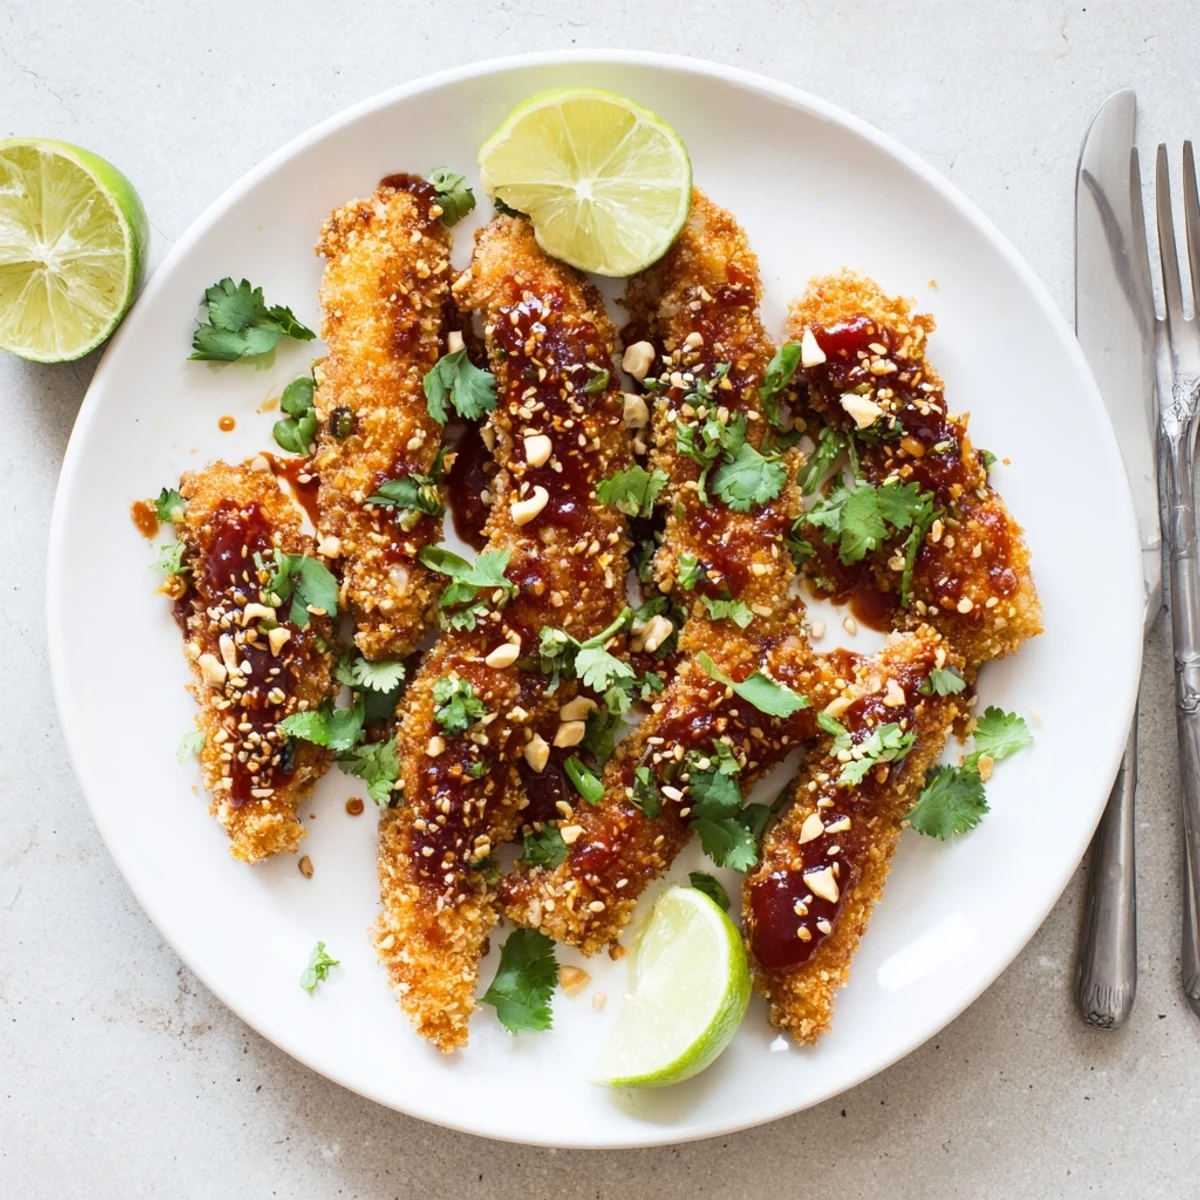
 These Thai sticky chicken fingers feature tender, oven-baked chicken strips coated in crispy panko breadcrumbs, then tossed in a luscious sweet chili and honey glaze.
The sauce brings together soy sauce, rice vinegar, sriracha, and sesame oil for a balanced sweet-tangy-spicy kick that clings to every golden bite.
Ready in just 35 minutes with only 15 minutes of prep, they make an ideal weeknight dinner or party appetizer. Garnish with fresh cilantro, toasted sesame seeds, and a squeeze of lime for the finishing touch.
The sizzle of panko crusted chicken hitting a hot baking sheet is one of those sounds that pulls everyone into the kitchen before you even finish making the sauce. My neighbor once knocked on my door asking what smelled so good, and ended up staying for dinner with a six pack in hand. These Thai sticky chicken fingers have a way of turning any random Tuesday into something worth remembering. The sweet chili glaze caramelizes just enough to make your fingers deliciously messy in the best possible way.
I brought these to a potluck once expecting them to be a side nibble, and they vanished before the main course even made it to the table. Now I just make a double batch and accept that they are the main event wherever they go. My friend Ricardo called them crack chicken and honestly I cannot argue with that assessment.
Ingredients
- Chicken: 600 g boneless skinless chicken breasts cut into even strips, pounding thicker ends slightly helps everything cook at the same rate
- Salt and black pepper: Half a teaspoon each, a simple but essential base seasoning that wakes up the meat
- All-purpose flour: One cup, this first dredge layer is the glue that makes everything else stick
- Eggs: Two large ones beaten with two tablespoons of water, the water thins the wash just enough for an even, light coating
- Panko breadcrumbs: Two cups, the secret to that shatteringly crisp exterior, always grab the coarsest brand you can find
- Sweet chili sauce: One third of a cup, this is the backbone of the glaze with its perfect balance of sugar and mild heat
- Soy sauce: Two tablespoons, adds depth and saltiness that rounds out the sweetness beautifully
- Honey: Two tablespoons, helps the sauce cling and gives that irresistible tacky finish
- Rice vinegar: One tablespoon, a splash of acidity that keeps the glaze from being cloying
- Sriracha: One tablespoon optional, I always include it because that extra kick makes people reach for just one more piece
- Sesame oil: One teaspoon, a little goes a long way and adds that toasty, nutty aroma
- Garlic: One clove minced, fresh is nonnegotiable here, the jarred stuff tastes flat by comparison
- Cilantro, sesame seeds, and lime wedges: For finishing, these bright and crunchy toppings make the dish look as good as it tastes
Instructions
- Preheat and prep:
- Crank your oven to 220 degrees Celsius or 425 Fahrenheit and line a baking sheet with parchment paper, giving it a quick spray of oil so nothing sticks later.
- Season the chicken:
- Toss the strips with salt and pepper in a bowl, using your hands to make sure every piece gets coated evenly.
- Set up the breading station:
- Arrange three shallow bowls in a row, flour in the first, beaten eggs mixed with water in the second, and panko in the third, and try to keep one hand dry and one wet to avoid becoming a battered mess yourself.
- Bread each strip:
- Dredge a piece in flour shaking off excess, dip it through the egg wash, then press it firmly into the panko until fully coated, laying each finished strip on the prepared sheet with a little breathing room.
- Bake until golden:
- Slide the tray into the oven for 18 to 20 minutes, flipping the strips once at the halfway mark so both sides get that even, deep gold color and cook through completely.
- Make the sauce:
- While the chicken bakes, whisk together the sweet chili sauce, soy sauce, honey, rice vinegar, sriracha, sesame oil, and garlic in a small saucepan over medium heat until it bubbles, then pull it off the stove immediately so it does not reduce too much.
- Toss and coat:
- Transfer the hot baked chicken to a large bowl, pour the warm glaze over the top, and gently toss with tongs until every strip is gleaming and sticky.
- Garnish and serve:
- Arrange on a platter and scatter with chopped cilantro and toasted sesame seeds, tucking lime wedges around the edges for squeezing over each piece just before eating.
 Save to Pinterest
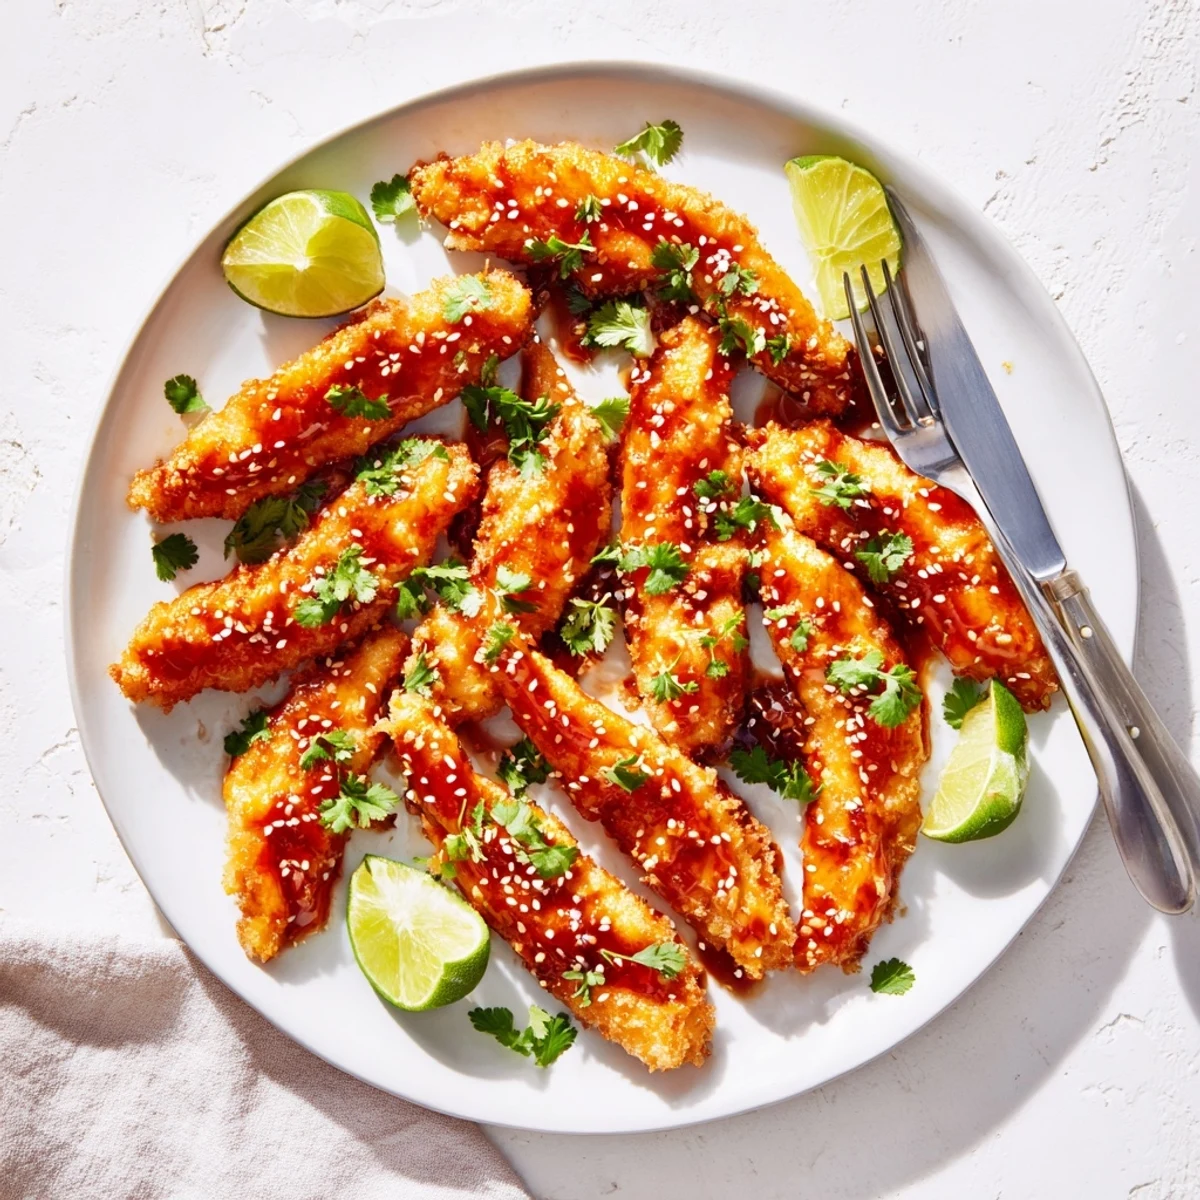
 There is something deeply satisfying about watching a plate of these disappear at a backyard gathering while the sun dips low and someone tells a story that makes everyone laugh with their mouths full.
Serving Ideas That Actually Work
Pile these alongside a heap of jasmine rice and a crisp slaw dressed with lime and fish sauce for a meal that feels complete. They also work beautifully stuffed into a soft bao bun with pickled carrots and a drizzle of mayo. For a party spread, just set them on a board with dipping bowls of extra sweet chili sauce and watch them go.
Making It Your Own
Swap the chicken for firm tofu pressed dry and cut into planks, following the exact same breading method for a vegetarian version that surprises even the most committed carnivores at your table. You could also use chicken thighs if you prefer darker, juicier meat, just add a few extra minutes to the bake time and check that the internal temperature hits 74 degrees Celsius. The sauce is forgiving too, add a spoonful of peanut butter for richness or a squeeze of extra lime if you like things bright and sharp.
Getting Ahead and Storing Leftovers
You can bread the chicken strips hours in advance and keep them covered in the fridge on the baking sheet, ready to slide into the oven the moment you need them. Leftovers keep well in an airtight container in the fridge for up to three days, though the coating will soften, so a quick reheat in a hot oven or air fryer brings back much of the original crunch. The sauce can be made ahead and stored separately, then gently warmed and poured over freshly baked chicken whenever you are ready.
- Freeze breaded but uncooked strips on a sheet tray, then transfer to a bag for up to a month of future quick dinners.
- Never microwave leftover coated chicken unless you enjoy the texture of a damp sweater.
- Always garnish fresh right before serving for the brightest flavor and best presentation.
 Save to Pinterest
 Keep a stack of napkins nearby and do not even pretend you will stop at just one serving. These sticky fingers have a way of becoming the only thing anyone talks about long after the plates are cleared.
Your Recipe Questions Answered
- → Can I make Thai sticky chicken fingers ahead of time?
-
Yes, you can bake the chicken strips up to a day in advance and store them in the refrigerator. Reheat in the oven at 200°C (400°F) for 8-10 minutes to restore crispiness, then toss in the warm sauce just before serving.
- → How do I keep the panko coating crispy after adding sauce?
-
The key is to bake the chicken until deeply golden before saucing, and to serve immediately after tossing. The panko crust holds up well for about 10-15 minutes once coated. If you prefer maximum crunch, serve the sauce on the side for dipping instead.
- → What can I substitute for sweet chili sauce?
-
You can mix 1/4 cup apricot or pineapple jam with 1 tablespoon sriracha and a splash of rice vinegar for a similar sweet-heat balance. Alternatively, a combination of honey, red pepper flakes, and a touch of garlic powder works in a pinch.
- → Can I fry these chicken fingers instead of baking?
-
Absolutely. Shallow-fry the breaded strips in about 1/2 inch of oil at 175°C (350°F) for 3-4 minutes per side until golden and cooked through. Drain on a wire rack before tossing in the sauce.
- → How spicy are these Thai sticky chicken fingers?
-
The base heat level is mild to moderate, coming mainly from the sweet chili sauce. The sriracha is optional and adds a noticeable kick. For a milder version, simply omit the sriracha. For more heat, increase it to 2-3 tablespoons.
- → What sides pair well with this dish?
-
Steamed jasmine rice and a fresh Asian-style slaw with sesame dressing are classic pairings. You can also serve them with cucumber salad, stir-fried vegetables, or even tucked into lettuce wraps for a lighter option.
