 Save to Pinterest
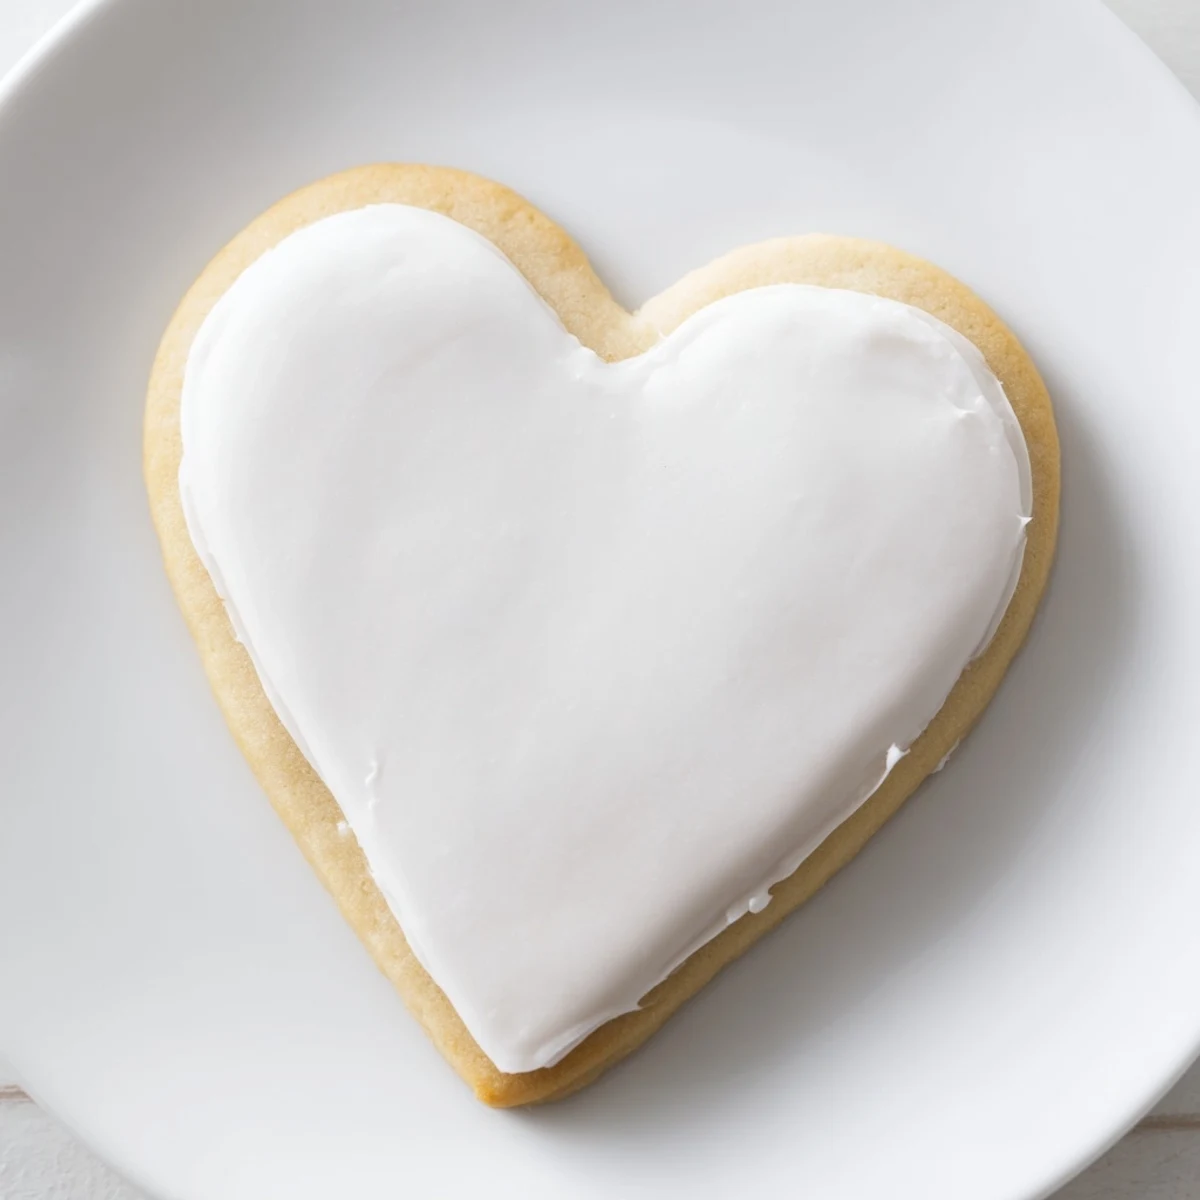
 Create adorable heart-shaped sugar cookies with a classic buttery dough, then crown them with elegant royal icing for a show-stopping treat. This medium-difficulty project yields approximately 24 cookies in just under 2 hours, including chilling time. The tender cookies pair beautifully with crisp, glossy icing that can be customized with gel food coloring for personalized designs.
My kitchen window framed a snowy February afternoon as I mixed the first batch of these heart-shaped cookies for my daughter's class Valentine's party. The butter softened on the counter while we chose which cookie cutters would make the prettiest hearts, her small hands rummaging through our collection with determination. I can still picture her face lighting up when we added a tiny drop of pink to the royal icing, transforming our simple sugar cookies into something magical.
Last Valentine's Day, I surprised my husband with a plate of these cookies arranged to spell out a silly inside joke from our first date. Steam swirled from our coffee cups as he laughed, reaching for the cookies still warm from the cooling rack. The kitchen smelled of vanilla and butter, sunlight catching the sparkling sugar I'd sprinkled on a few of the hearts.
Ingredients
- Unsalted butter: Make absolutely sure it's softened but not melted, as I've learned that room temperature butter creates that perfect tender crumb that makes these cookies special.
- Meringue powder: This magical stuff gives the royal icing its stability without raw eggs, and I discovered it makes all the difference in getting that professional-looking finish.
- Vanilla extract: Please use pure vanilla extract rather than imitation, as the flavor truly blooms during baking and becomes the soul of these cookies.
- All-purpose flour: I keep mine in the freezer before using it for sugar cookies, as the slightly chilled flour seems to create a more workable dough that holds its shape better.
Instructions
- Prepare your workspace:
- Start by whisking together the flour, baking powder, and salt in a medium bowl, creating a little cloud of flour that always seems to find its way onto my shirt no matter how careful I am.
- Cream the foundation:
- Beat the butter and sugar until it becomes noticeably lighter in both color and texture, about 2-3 minutes of mixing. Watch for that moment when it transforms from yellow to almost white, signaling it's perfectly aerated.
- Build the dough:
- After adding the egg and vanilla, gradually incorporate the dry ingredients until the dough pulls together into a smooth ball. You'll feel it change consistency under your hands, becoming less sticky and more cohesive.
- Chill thoroughly:
- Divide the dough, shape into discs, and wrap them tightly in plastic before refrigerating for at least an hour. This resting period isn't just busy work, it's what prevents the cookies from spreading into unrecognizable blobs in the oven.
- Roll with precision:
- On a lightly floured surface, roll the chilled dough to exactly 1/4-inch thickness for that perfect cookie texture. Too thin and they'll crisp too much, too thick and they'll stay too soft in the middle.
- Bake with vigilance:
- Space the heart cutouts an inch apart and watch them closely as they bake, pulling them out when the edges just begin to turn golden. The difference between perfect and overdone can be as little as 30 seconds in my temperamental oven.
- Mix royal icing:
- Combine the powdered sugar and meringue powder, then add water gradually while beating until you achieve stiff peaks. The icing should hold a line when you drag a knife through it but slowly settle back to a smooth surface.
- Decorate with love:
- Once you've divided and tinted your icing, pipe borders and flood the centers of each cooled cookie. I like to let my imagination wander here, sometimes adding tiny sprinkles or crosshatched patterns while the icing is still wet.
 Save to Pinterest
 My neighbor knocked on the door last Valentine's Day while I was packaging these cookies for friends. Her husband had just been hospitalized, and I immediately handed her the entire container I'd just filled. Later she told me how the nurses gathered around his bed to share the heart cookies, bringing a moment of sweetness to an otherwise frightening day.
Flavor Variations
Over the years, I've discovered that a half teaspoon of almond extract added to the dough creates an entirely new dimension to these cookies, offering a subtle complexity that pairs beautifully with the vanilla. Sometimes I'll zest an orange or lemon directly into the butter and sugar mixture, which infuses the cookies with a bright, citrusy note that cuts through the sweetness perfectly.
Decorating Techniques
I learned through many failed attempts that consistency is everything with royal icing. For outlining, the icing should hold a stiff peak and be the consistency of toothpaste, while flooding icing should flow like warm honey but not be so thin that it runs off the cookie edges. My daughter taught me to use a toothpick to drag through contrasting colors of wet icing, creating marbled effects that look professional but require absolutely no artistic talent.
Storage and Make-Ahead Tips
The cookie dough can be made up to three days ahead and kept wrapped tightly in the refrigerator, which has saved my sanity during busy holiday seasons when I'm juggling multiple baking projects. Baked but undecorated cookies freeze beautifully for up to three months, a discovery I made accidentally when I found a forgotten container of Christmas cookies in March that tasted just as fresh as the day I made them.
- If gifting these cookies, layer them between sheets of parchment paper to prevent the royal icing from getting damaged.
- For the ultimate freshness, add a slice of bread to the storage container, which keeps the cookies soft without making them soggy.
- Allow decorated cookies to dry completely for at least 8 hours before packaging them, or the royal icing designs will smudge.
 Save to Pinterest
 These heart-shaped sugar cookies have become more than just a Valentine's tradition in our home; they're tiny messengers of love we send to friends, teachers, and neighbors throughout the year. The simple act of baking something beautiful reminds us that caring for others often begins in our own kitchens.
Your Recipe Questions Answered
- → Can I prepare the dough ahead of time?
-
Yes, the dough can be made 2-3 days in advance. Wrap the chilled discs tightly in plastic wrap and store in the refrigerator until ready to roll and cut.
- → How do I achieve stiff peaks in royal icing?
-
Beat the mixture on low speed first, then increase to high speed for 4-5 minutes. The icing should form peaks that hold their shape. If too soft, add meringue powder; if too stiff, add water one drop at a time.
- → What's the best way to store decorated cookies?
-
Allow the icing to set completely (at least 2-4 hours), then layer cookies between parchment paper in an airtight container at room temperature for up to one week. Avoid stacking until fully hardened.
- → Can I use regular icing instead of royal icing?
-
Royal icing creates a hard, glossy finish ideal for decorating. Buttercream can work but won't achieve the same crisp texture or durability for intricate designs.
- → How thick should I roll the dough?
-
Roll to exactly 1/4-inch thickness for even baking and the perfect tender-crisp texture. Use guides or spacers on your rolling pin for consistency.
- → Can I add flavoring to the dough?
-
Absolutely. Almond extract (1/2 teaspoon) adds richness, or try lemon zest for brightness. You can also infuse the royal icing with vanilla or lemon juice for extra flavor.
