 Save to Pinterest
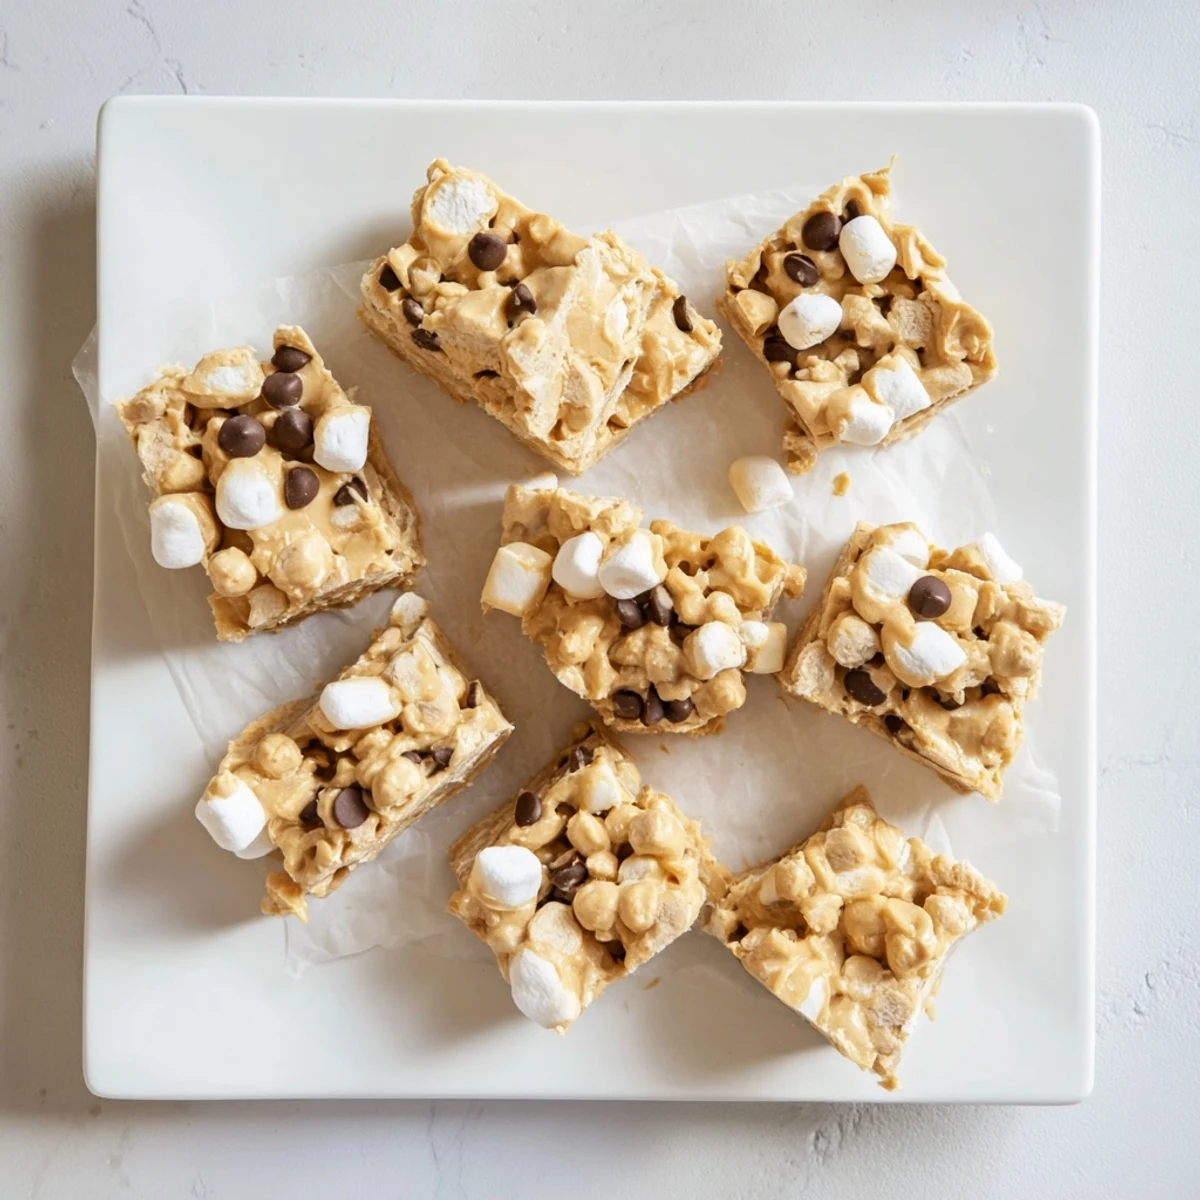
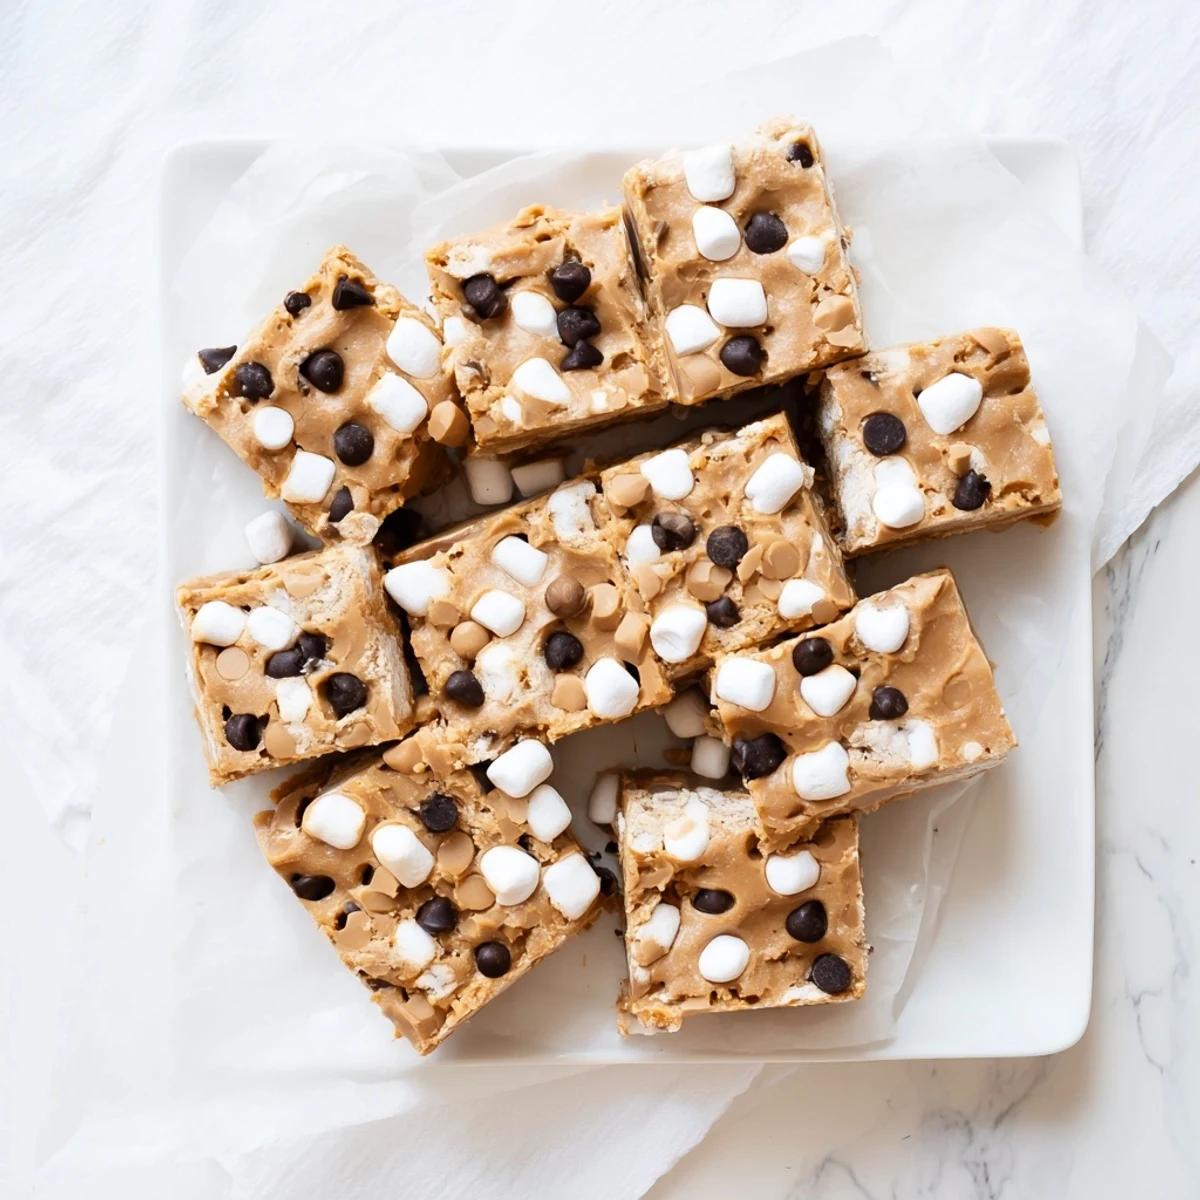
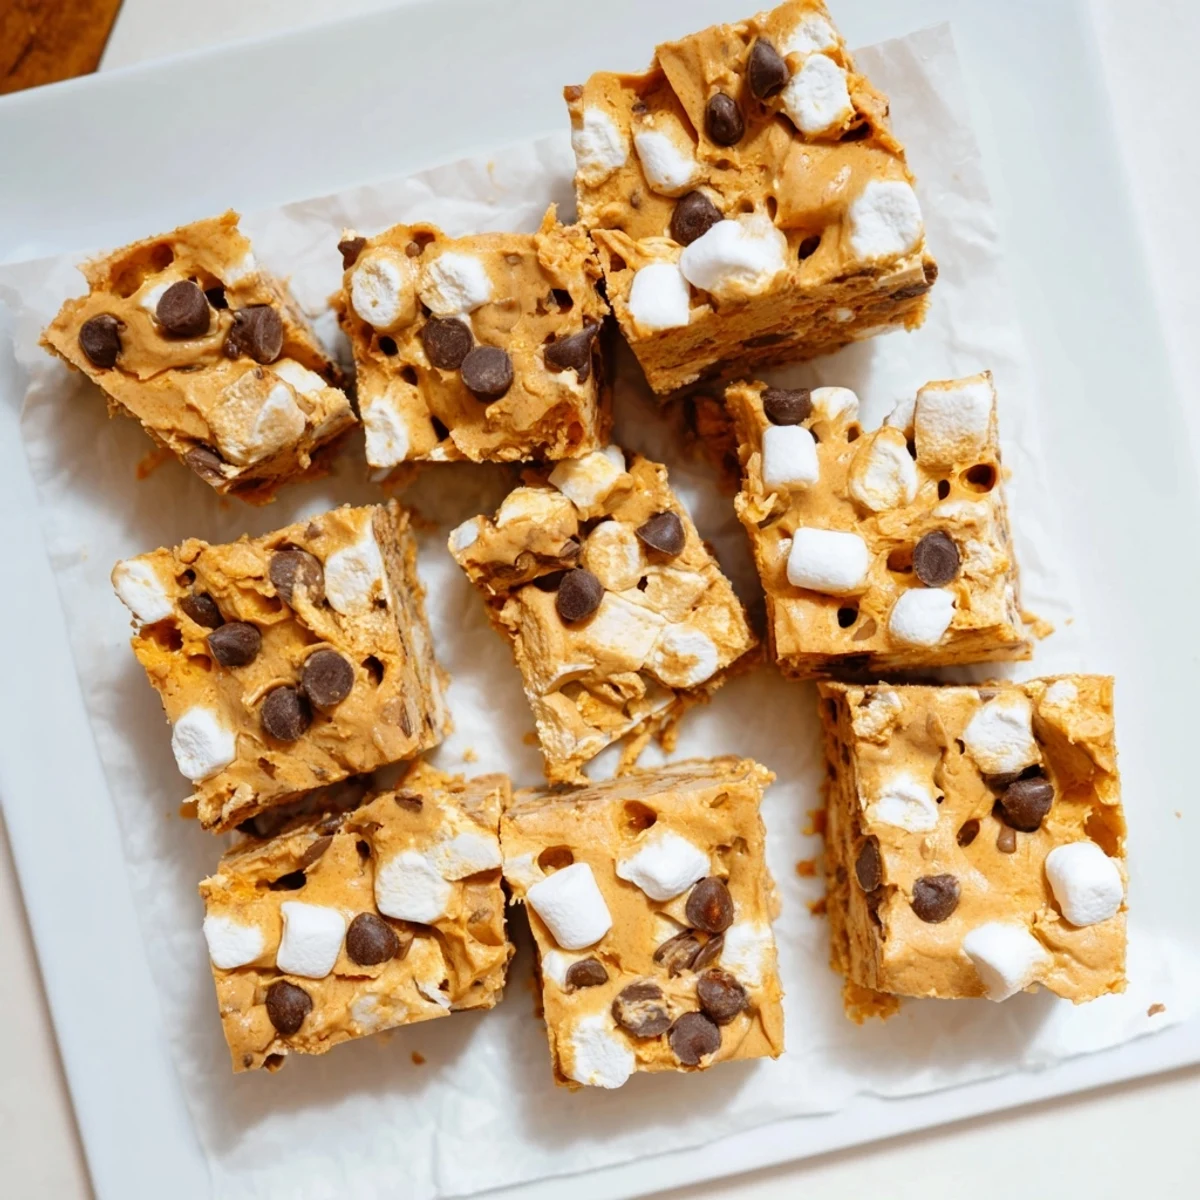
 Create irresistibly chewy squares featuring melted peanut butter swirled with plump mini marshmallows. This no-bake method involves gently warming nut butter with butter until silky smooth, then folding in marshmallows so they stay fluffy rather than melting completely. Press into a pan, chill until set, and slice into perfect portions.
The beauty lies in the texture contrast—creamy peanut butter base dotted with pillowy marshmallow bits that provide satisfying chew in every bite. These bars come together in just 15 minutes of active time, require only basic pantry ingredients, and stay fresh in the refrigerator for easy snacking throughout the week.
My kitchen was a disaster zone the afternoon I threw these together, flour dusted across every surface from a failed bread experiment, and I needed something sweet that wouldnt make the mess worse. Three ingredients in a pot, a bag of marshmallows, and zero baking later, I had squares so chewy and ridiculous that my neighbor, who stopped by to borrow a ladder, ate four of them standing at my counter. No oven required, no gluten involved, and somehow they taste like you tried much harder than you actually did.
I brought a tray of these to a potluck last winter and watched a woman who swore she hated peanut butter eat three squares before asking for the recipe. Her husband just laughed and said she also hates admitting when she is wrong.
Ingredients
- Creamy peanut butter (1 cup): Use a brand you would eat straight from the jar, because that flavor is the backbone of every single square.
- Unsalted butter (1/2 cup): This adds richness and helps everything set into that perfect fudgy texture.
- Gluten-free powdered sugar (1 1/2 cups): It sweetens and thickens the base, but always check the label since some brands use wheat starch as an anti-caking agent.
- Pure vanilla extract (1 teaspoon): Just a splash rounds out the peanut butter and makes the flavor taste less flat.
- Mini marshmallows (3 cups): These stay partially intact and create those irresistible chewy pockets throughout each square.
- Gluten-free chocolate chips (1/2 cup, optional): Scattered on top, they add a nice contrast, but the squares are complete without them.
Instructions
- Prep the pan:
- Line an 8x8-inch baking pan with parchment paper, leaving some overhang on the sides so you can lift the whole block out later without wrestling it.
- Melt the base:
- In a medium saucepan over low heat, melt the peanut butter and butter together, stirring gently until the mixture looks silky and smooth. Keep the heat low because scorched peanut butter tastes bitter and nothing like dessert.
- Build the dough:
- Take the pan off the heat and stir in the powdered sugar and vanilla until everything is fully combined and pulls away from the sides of the pot slightly.
- Fold in the marshmallows:
- Let the mixture sit for two to three minutes so it cools a bit, then gently fold in the mini marshmallows until they are evenly coated but still holding their shape. You want them gooey inside the squares, not dissolved into the base.
- Press and top:
- Pour everything into your prepared pan and press it out evenly with a spatula. Sprinkle chocolate chips over the top if you are using them and press them in gently so they stick.
- Chill until set:
- Refrigerate for at least one hour until firm enough to cut cleanly into sixteen squares. Serve them chilled for the best chewy texture.
 Save to Pinterest
 The second time I made these, my daughter wandered into the kitchen just as I was pressing the mixture into the pan, and she scooped a warm handful directly into her mouth before I could stop her. Some recipes just pull people in like that.
Swaps and Variations
Sunflower seed butter works beautifully if you need a peanut-free version, though the color will be slightly greener and the flavor more earthy. A handful of chopped roasted peanuts scattered on top before chilling adds a satisfying crunch that plays beautifully against the soft base. A pinch of flaky sea salt over the chocolate chips takes the whole tray from kid-friendly snack to something adults will fight over.
Tools You Will Need
A medium saucepan, a sturdy spatula or wooden spoon, measuring cups and spoons, parchment paper, and an 8x8-inch baking pan are all you need. Nothing fancy, nothing electric, just honest stovetop cooking.
Storage and Serving
Keep the squares in an airtight container in the refrigerator and they stay perfectly chewy for up to a week, though they rarely last that long in my house.
- Let them sit at room temperature for five minutes before serving so they soften just slightly.
- You can freeze them layered between parchment paper for up to three months.
- Always store them chilled because they get too soft and sticky at warm room temperature.
 Save to Pinterest
 Sometimes the simplest treats are the ones people ask about most, and these chewy little squares have a way of becoming a quiet staple in your refrigerator. Keep the recipe close, because someone will always ask for it.
Your Recipe Questions Answered
- → Can I use natural peanut butter?
-
Natural peanut butter works beautifully, though the final texture may be slightly softer due to the oil separation. Stir the peanut butter thoroughly before measuring, and consider refrigerating the finished bars for an extra hour to ensure they set properly.
- → How should I store these squares?
-
Keep these treats in an airtight container in the refrigerator for up to one week. The cool temperature maintains the firm texture and prevents the marshmallows from becoming overly sticky. They can also be frozen for up to three months—just thaw in the refrigerator before serving.
- → What's the best way to cut clean squares?
-
For clean cuts, let the bars chill for at least 2 hours until completely firm. Run your knife under hot water and dry it between cuts—this helps prevent sticking and creates neat edges. A plastic knife also works well for sticky marshmallow-based treats.
- → Can I make these without butter?
-
Coconut oil makes an excellent dairy-free alternative to butter. Use refined coconut oil to avoid a coconut flavor, or virgin coconut oil if you enjoy that tropical note. The ratio remains the same, though refrigeration time may increase slightly to achieve firmness.
- → How do I prevent marshmallows from melting completely?
-
The key is removing the peanut butter mixture from heat before adding marshmallows. Let it cool for 2-3 minutes so it's warm but not hot. Fold in marshmallows gently just until coated, then immediately transfer to the pan. This preserves their fluffy texture and creates those signature pockets of chewiness.
- → Can I add mix-ins beyond chocolate chips?
-
Absolutely! Chopped roasted peanuts, crushed pretzels, or graham cracker pieces add delightful crunch. Swirl in raspberry jam for a PB&J twist, or sprinkle sea salt on top to enhance the sweet-salty flavor profile. Just keep total additions under 1 cup to maintain the proper texture.
