 Save to Pinterest
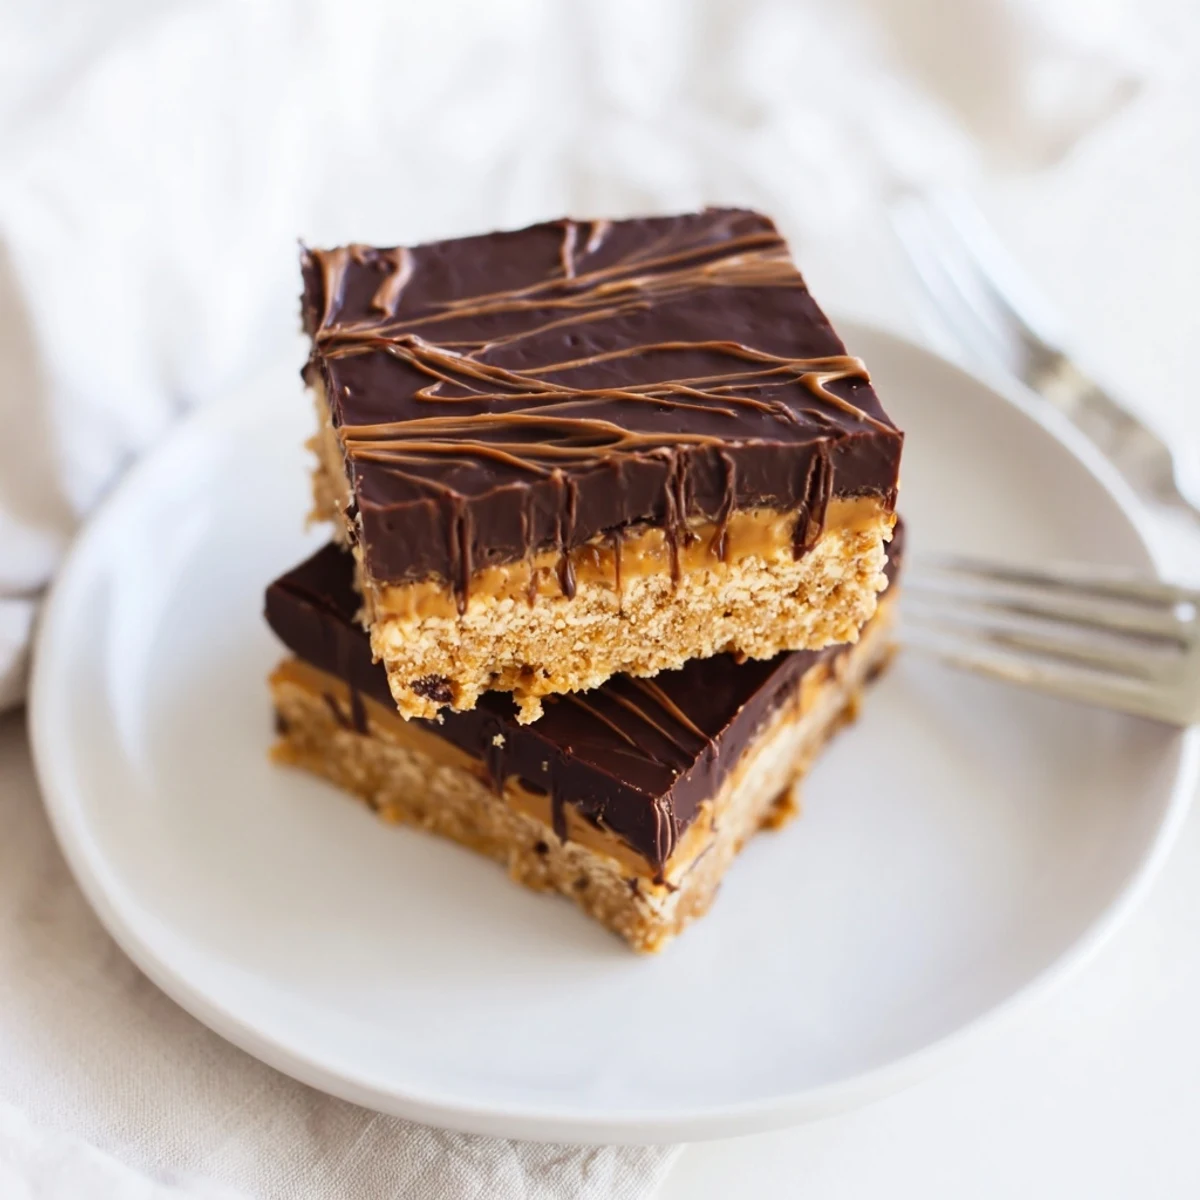
 These indulgent peanut butter bars feature a buttery, creamy base made with graham cracker crumbs, topped with a smooth semisweet chocolate layer. The no-bake preparation comes together quickly—just 15 minutes of active prep—then chill until firm. The result is a rich, satisfying treat that perfectly balances salty peanut butter with sweet chocolate.
My kitchen counter was a disaster zone the afternoon I stumbled into making these peanut butter bars, with flour dusted across the faucet and a spoon stuck to the cutting board. I had promised to bring something sweet to a potluck in two hours and had zero interest in turning on the oven during a July heat wave. What came together in fifteen minutes changed my entire approach to last minute desserts forever.
I brought a tray of these to my neighbors graduation party and watched a man in a Hawaiian shirt eat four of them standing up before he even said hello to anyone. His wife caught me watching and whispered that he had been talking about peanut butter desserts for weeks. That tray disappeared before the cake was even cut.
Ingredients
- 1 cup (240 g) creamy peanut butter: This is the backbone of the entire recipe so use a brand you genuinely enjoy eating straight from the jar with a spoon at midnight.
- 1/2 cup (115 g) unsalted butter, melted: Melting the butter first ensures everything blends without stubborn lumps that show up later as oily pockets.
- 2 cups (240 g) powdered sugar, sifted: Sifting matters here more than you think because clumpy sugar creates weird streaks in your base layer that no spatula can fix.
- 1 1/2 cups (150 g) graham cracker crumbs: These give the bars structure and a gentle honey sweetness that balances the rich peanut butter beautifully.
- 1 1/2 cups (260 g) semisweet chocolate chips: Semisweet hits the perfect note against the salty base and melts into a topping that sets with a satisfying snap.
- 1/4 cup (60 g) creamy peanut butter: Stirring this into the chocolate keeps the topping soft enough to bite through without cracking your teeth.
Instructions
- Prep your pan with care:
- Line a 9x9 inch baking dish with parchment paper and leave enough overhang on the sides to grab like handles later because wrestling sticky bars out of a pan is a frustration you do not need.
- Build the peanut butter base:
- Stir the melted butter and 1 cup of peanut butter together in a medium bowl until they become one smooth golden mixture that smells like the best sandwich you never had.
- Work in the dry ingredients:
- Add the sifted powdered sugar and graham cracker crumbs and stir until everything comes together into a thick dough that pulls away from the sides of the bowl.
- Press and smooth:
- Transfer the dough to your lined dish and press it down firmly and evenly using your hands or a spatula so every corner is filled and the surface is flat.
- Melt the chocolate topping:
- Combine the chocolate chips and remaining peanut butter in a microwave safe bowl and heat in 20 second bursts stirring between each until the mixture is glossy and completely smooth.
- Spread and chill:
- Pour the melted chocolate over the peanut butter layer and spread it edge to edge then slide the whole dish into the refrigerator for at least 2 hours until firm enough to cut cleanly.
- Cut and serve:
- Lift the entire slab out using the parchment overhang and set it on a cutting board before slicing into 16 squares with a sharp knife.
 Save to Pinterest
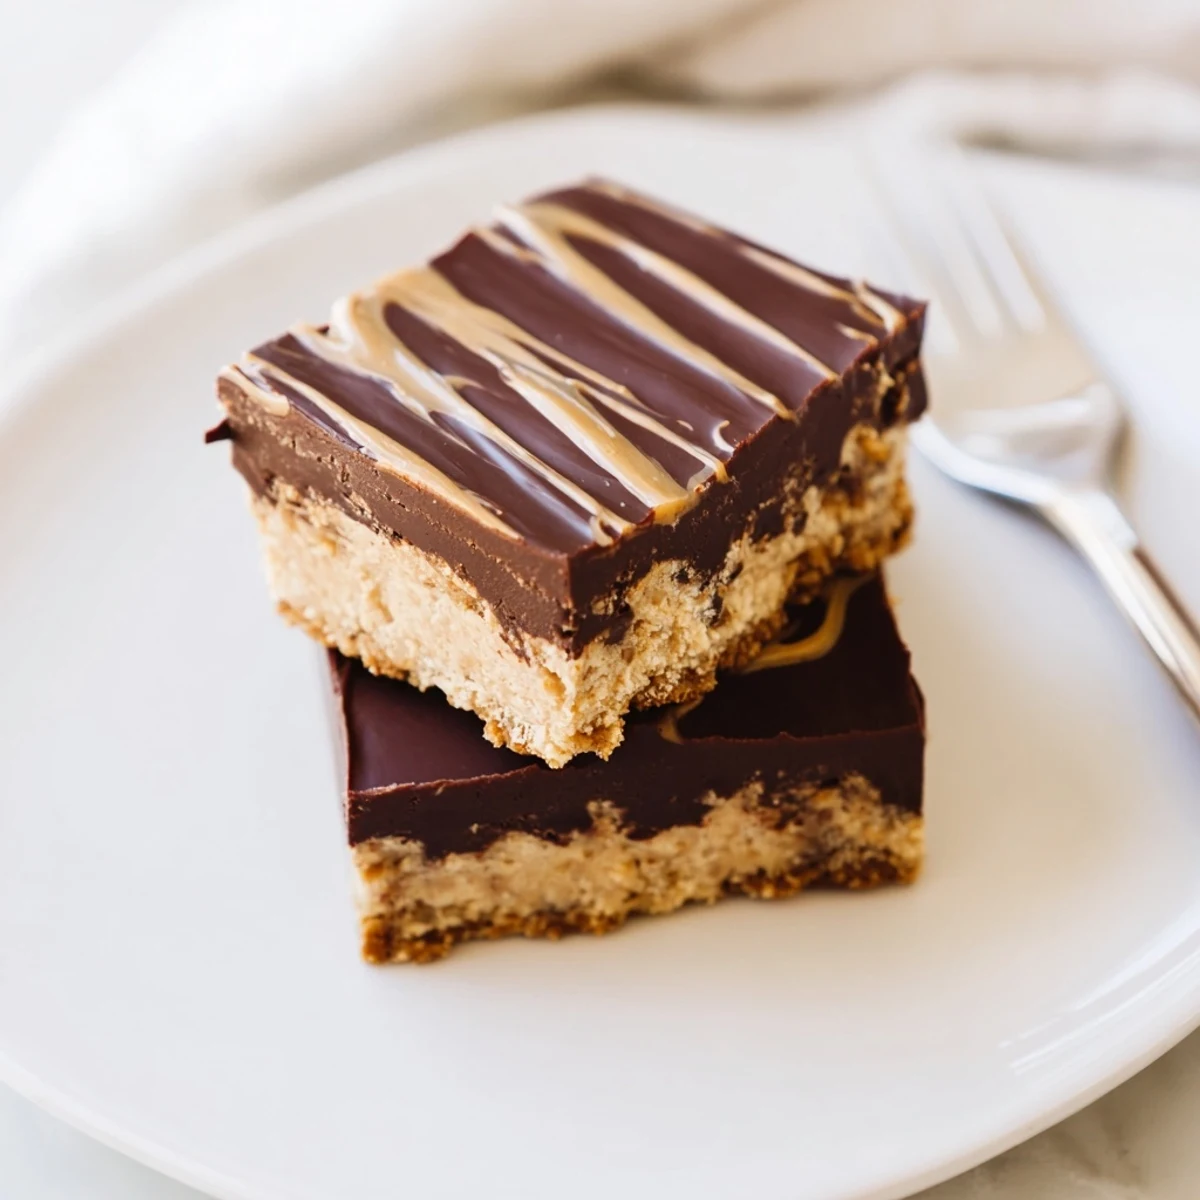
 My daughter now requests these for every birthday instead of cake and I have stopped arguing about it because watching her face light up when she sees that chocolate layer is worth breaking tradition.
Making It Your Own
Swap the graham cracker crumbs for crushed digestive biscuits or gluten free cookies if you need to accommodate dietary restrictions without changing the character of the bars. A handful of chopped peanuts folded into the base adds a welcome crunch that makes each bite more interesting. You could also drizzle melted white chocolate over the top in zigzag lines for a presentation that looks fancy but takes about thirty seconds of effort.
Storing Leftovers
Keep any leftover bars in an airtight container in the refrigerator where they will stay fresh for up to a week though they rarely last that long in my house. You can also freeze them individually wrapped in parchment for up to three months and they thaw beautifully at room temperature in about twenty minutes. The chocolate topping may develop a slight bloom in the freezer but it wipes right off and does not affect the taste.
Getting the Perfect Cut
The secret to clean bakery style edges is running your knife under hot water and drying it between each cut so the blade glides through the chocolate instead of dragging it. Let the bars sit at room temperature for about ten minutes before cutting if they have been in the fridge overnight because rock hard bars will crack instead of slice.
- Wipe the knife blade clean between every single cut for the neatest squares.
- Use a ruler or score the top lightly before committing to your cuts.
- Serve them slightly chilled for the best texture and most satisfying bite.
 Save to Pinterest
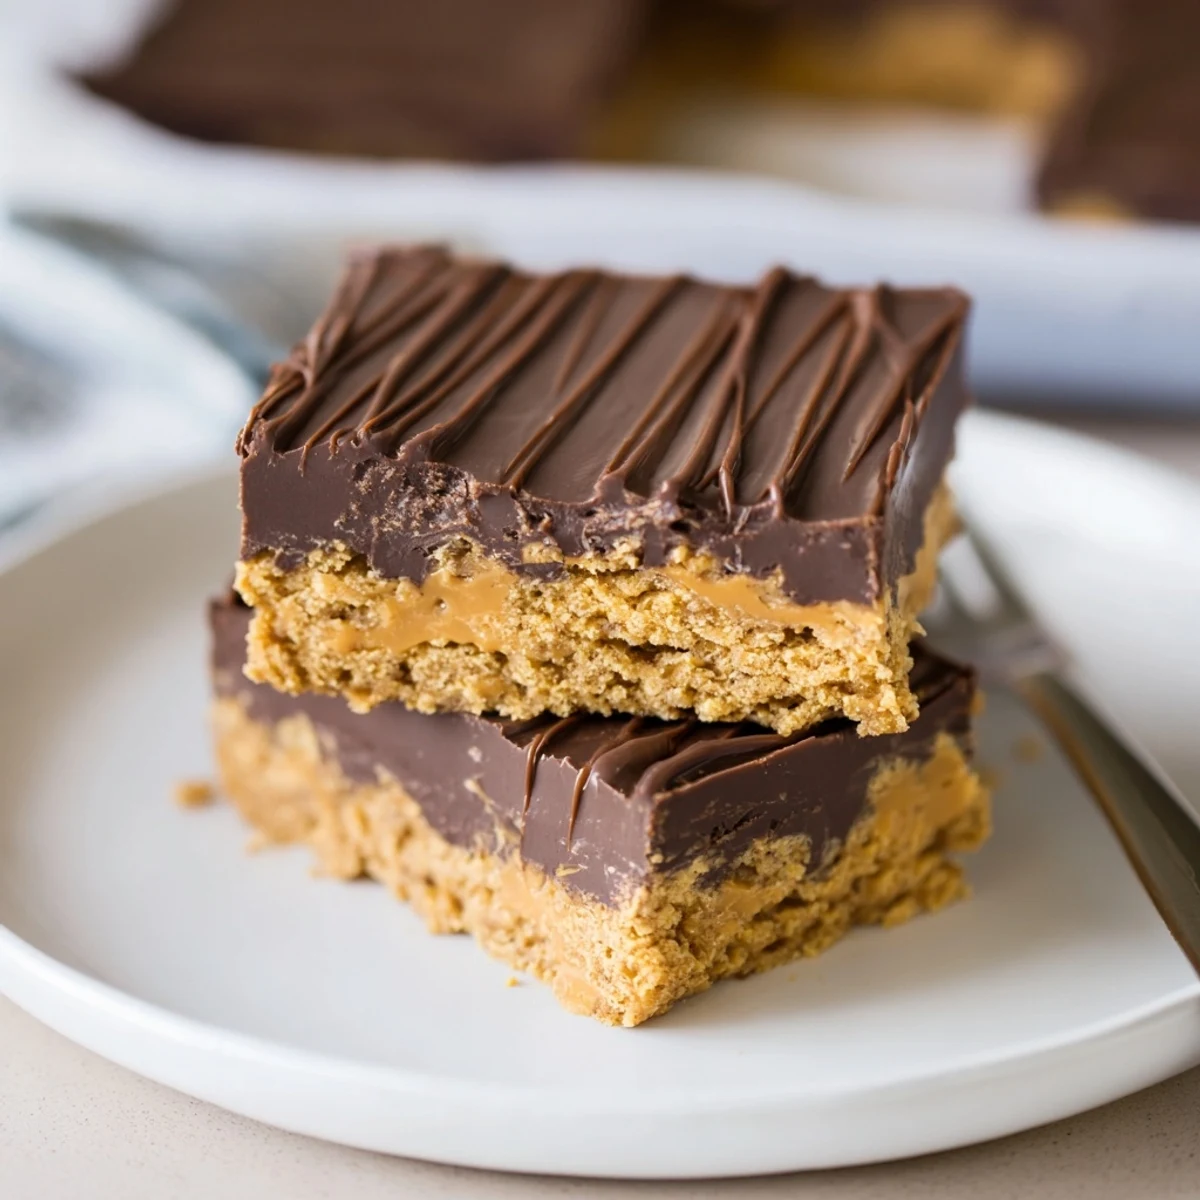
 These bars are proof that the simplest desserts often leave the biggest impression and sometimes the best thing you can make requires nothing more than a bowl, a spoon, and a little patience while the fridge does the work.
Your Recipe Questions Answered
- → How long do peanut butter bars need to chill?
-
Refrigerate the bars for at least 2 hours until completely firm. For best results, let them chill overnight—the texture becomes even better as the flavors meld together.
- → Can I freeze these bars?
-
Yes, they freeze beautifully. Wrap the uncut dish tightly in plastic and foil for up to 3 months, or cut into portions and store in freezer bags. Thaw in the refrigerator before serving.
- → What can I use instead of graham cracker crumbs?
-
Digestive biscuits, vanilla wafers, or gluten-free cookies work well as substitutes. Crush them finely to maintain the proper texture in the base layer.
- → Why add peanut butter to the chocolate topping?
-
The peanut butter makes the chocolate layer more fudgy and helps it set properly. It also reinforces the peanut flavor throughout every bite.
- → How should I store leftover bars?
-
Keep them refrigerated in an airtight container for up to one week. The bars hold their shape best when chilled and actually taste even better cold.
