 Save to Pinterest
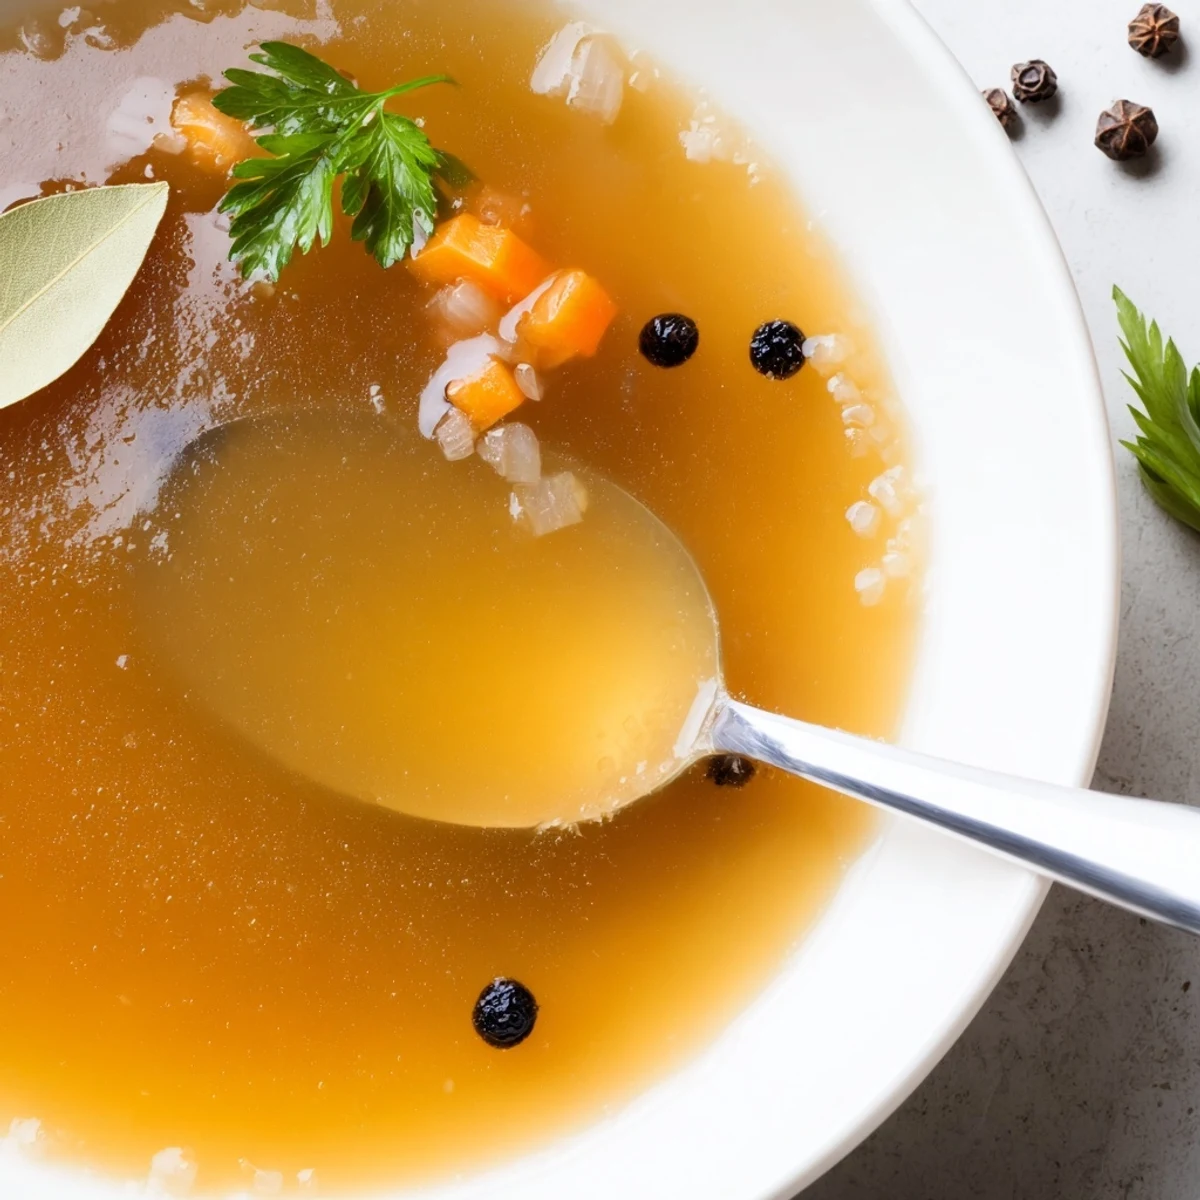
 Make a nourishing beef bone broth by simmering 2.5 lbs of beef bones with carrots, celery, onion, garlic, bay leaves, parsley and peppercorns. Add 2 tbsp apple cider vinegar and cold water, bring to a gentle simmer, skim impurities, then cook low and slow at least 12 hours. Strain through fine mesh, season with salt, chill to remove fat. Use hot as a drink or as a base for soups, stews, risottos and sauces. Roasting bones first deepens color and flavor.
The house smelled like something ancient and good, the kind of scent that makes neighbors knock on your door asking what you are cooking. My first batch of beef bone broth came about because a butcher gave me a bag of marrow bones for free, shrugging like they were worthless. Twelve hours later, I was ladling golden liquid into a mug, wondering why I ever bought broth in a carton. That batch changed my kitchen forever.
One Saturday in November, I set a pot bubbling before dawn and left it simmering while raking leaves all afternoon. When I finally came inside, fingers numb and nose frozen, that first steamy mug felt like medicine I actually wanted to take.
Ingredients
- Beef bones (marrow, knuckle, oxtail): 2.5 lbs. A mix of bones gives the best balance of flavor and gelatin, and roasting them first adds a deep amber color you cannot get otherwise.
- Carrots: 2, roughly chopped. They bring a gentle sweetness that rounds out the savory depth.
- Celery stalks: 2, roughly chopped. Celery adds an earthy base note without overpowering anything.
- Onion: 1 large, quartered. Keep the skin on for a richer color in the finished broth.
- Garlic cloves: 4, smashed. Smashing releases the oils and requires no peeling effort.
- Bay leaves: 2. They quietly tie all the flavors together in a way you notice only if you forget them.
- Fresh parsley: 1 small bunch. Tossed in near the end or from the start, it adds a clean brightness.
- Whole black peppercorns: 1 tsp. Whole peppercorns give gentle warmth without clouding the broth.
- Apple cider vinegar: 2 tbsp. This is the secret that helps draw minerals out of the bones during the long simmer.
- Cold water: 12 cups. Always start with cold water for the clearest extraction.
- Salt: To taste, added after cooking. Salting at the end lets you control the final flavor precisely.
Instructions
- Roast the bones:
- Spread your bones on a baking sheet and roast at 400°F for about 30 minutes until they are browned and fragrant. This step is optional, but the caramelized edges add a richness that raw bones simply cannot match.
- Load the pot:
- Transfer the roasted bones into a large stockpot or slow cooker, then toss in the carrots, celery, onion, garlic, bay leaves, parsley, and peppercorns. Pour the apple cider vinegar over everything.
- Cover with cold water:
- Add 12 cups of cold water, making sure the bones and vegetables are fully submerged. Top off with a little more water if needed.
- Bring to a simmer and skim:
- Set the pot over medium heat and bring it to a gentle bubble, watching for gray foam to rise during the first hour. Skim that foam off with a ladle or skimmer for a cleaner finished broth.
- Let it go low and slow:
- Reduce the heat to the lowest setting and let the broth barely simmer, uncovered or partially covered, for at least 12 hours. Check occasionally and add water if the level drops below the bones.
- Strain and season:
- Pour the broth through a fine mesh sieve or cheesecloth into a large bowl or second pot, discarding all the solids. Now add salt to your taste, starting with a teaspoon and adjusting from there.
- Cool and store:
- Let the broth cool to room temperature, then refrigerate overnight so the fat solidifies on top for easy removal. Store in jars for up to 5 days in the fridge or freeze for up to 3 months.
 Save to Pinterest
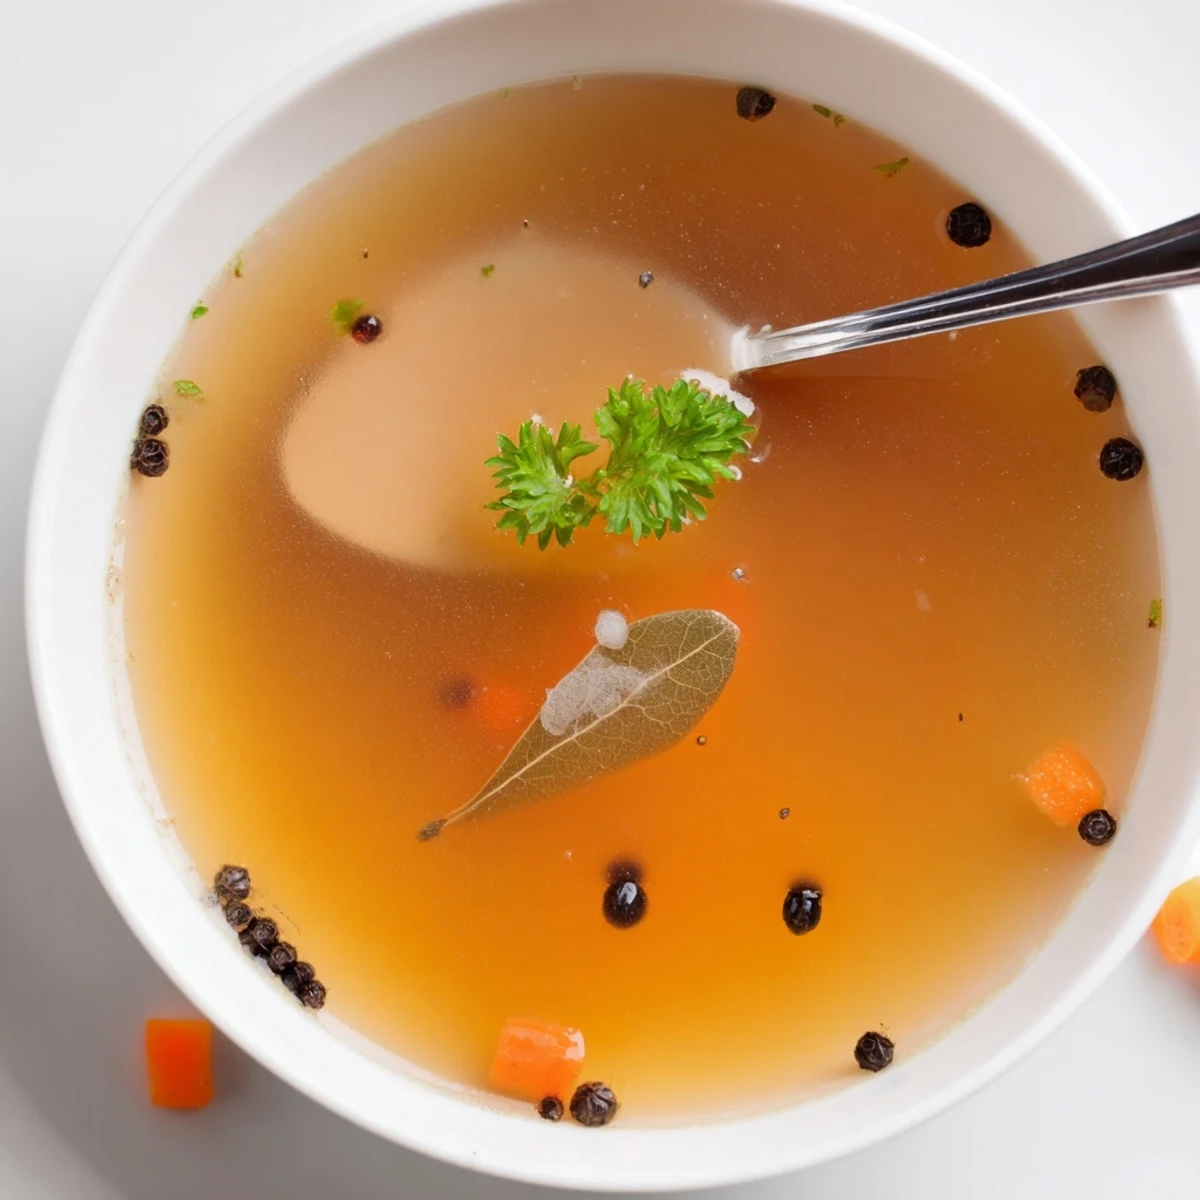
 Pouring this broth into jars and lining them up on the counter always makes me feel like I have prepared something that truly matters. It is not just food, it is a small act of care that stretches across days and meals.
Choosing the Right Bones
Your butcher is the best resource here, so ask for a mix of marrow bones, knuckles, and oxtail if they have them. Marrow bones give richness, while knuckles and joints contribute the collagen that makes the broth set like jelly when cold. Do not stress about getting the perfect ratio, just grab a variety and trust the process.
Getting Creative With Additions
Once you have made the basic version a few times, try tossing in a handful of mushroom stems, a sprig of rosemary, or some leek tops you saved in the freezer. Each addition shifts the personality of the broth slightly, and you will eventually land on a combination that feels like yours alone. This is how family recipes are born.
Storing and Using Your Broth
Freeze the broth in portion sized jars or silicone ice cube trays so you never waste a drop when you only need a small amount. Label everything with the date because frozen broth looks deceptively identical to frozen stock from months ago. A warm mug of this with a pinch of salt on a January morning is better than coffee.
- Freeze in two cup portions for easy thawing when making weeknight soups.
- Silicone ice cube trays create perfect one ounce portions for deglazing pans.
- Always leave an inch of headspace in jars before freezing to prevent cracked glass.
 Save to Pinterest
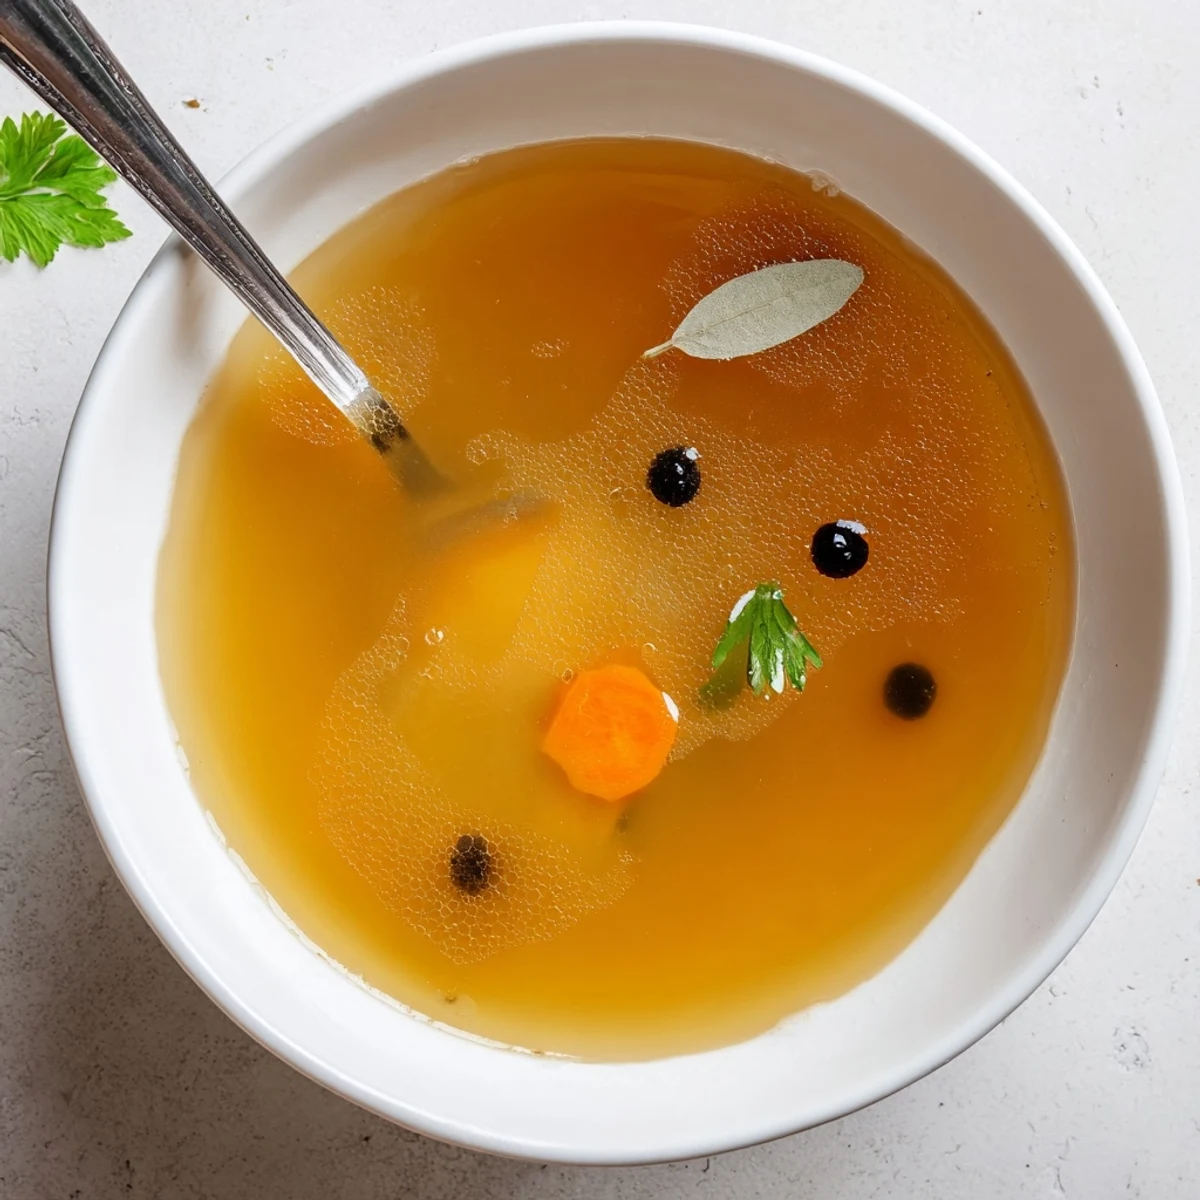
 Once you start making your own bone broth, the store bought stuff will never satisfy you again. Your kitchen will smell incredible, your soups will taste better, and you will wonder why you waited so long.
Your Recipe Questions Answered
- → How long should I simmer the bones?
-
Simmer at least 12 hours to extract collagen and flavor; cooking 18–24 hours yields a richer, more gelatinous finish. Maintain a very gentle simmer and top up with water as needed.
- → Is roasting the bones necessary?
-
Roasting is optional but recommended: 30 minutes at 400°F (200°C) browns the bones and vegetables, adding caramelized depth and a darker color to the broth.
- → Why add apple cider vinegar?
-
An acid like apple cider vinegar helps draw minerals and collagen out of the bones into the liquid. One to two tablespoons in cold water before simmering is enough.
- → How do I remove fat and clarify the liquid?
-
Cool the broth and refrigerate; the fat will solidify on the surface and can be easily skimmed. For extra clarity, strain through a fine-mesh sieve or cheesecloth and refrigerate overnight.
- → How should I store and reheat it?
-
Refrigerate in a sealed container for up to 5 days or freeze portions for up to 3 months. Reheat gently—avoid rapid boiling to preserve texture and flavor.
- → What variations can I try to change the flavor?
-
Add leeks, thyme, rosemary, roasted parsnips or extra bones like oxtail for more body. Roasting vegetables and bones intensifies savory notes and color.
