 Save to Pinterest
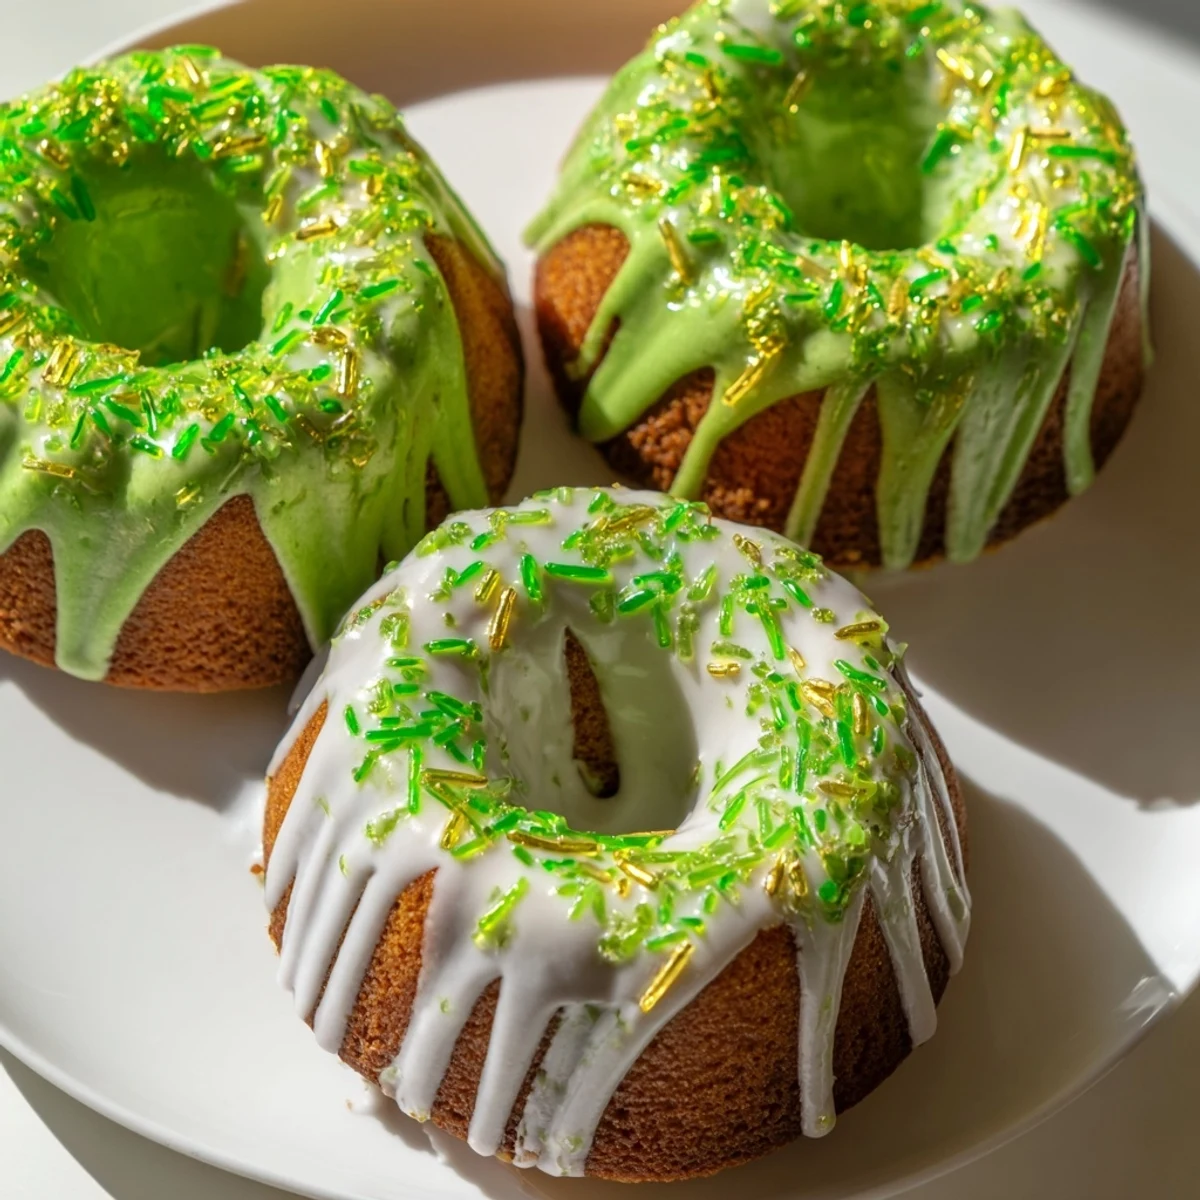
 These stunning green velvet mini bundt cakes combine the classic red velvet texture with festive St. Patricks Day spirit. The cocoa adds depth while keeping the vibrant green color, and the tangy buttermilk creates an incredibly moist crumb. A simple vanilla glaze and sprinkles make them party-ready in under an hour.
The year my youngest declared herself the family's official leprechaun catcher, I knew our St. Patrick's Day needed something more magical than the usual soda bread. She'd spent weeks constructing elaborate traps made from shoeboxes and glitter, absolutely convinced this would be the year. I figured even if we didn't catch any mythical creatures, we could at least serve something that looked like it came straight out of a fairy's kitchen.
I brought a platter of these to our neighborhood's annual St. Patrick's Day gathering, watching my daughter's face light up when everyone kept asking about the emerald treats. One neighbor actually asked for the recipe before she'd even finished her first cake, while another confessed she'd been nervous about green food coloring but the taste won her over completely.
Ingredients
- 1 ¼ cups all-purpose flour: The foundation that gives these cakes their tender crumb
- 2 tbsp unsweetened cocoa powder: Just enough to deepen the flavor without overpowering the delicate vanilla
- ½ tsp baking soda: Helps these little cakes rise beautifully in those intricate bundt molds
- ¼ tsp salt: Balances the sweetness and wakes up all the other flavors
- ½ cup unsalted butter: Room temperature butter is nonnegotiable here for that perfect fluffy texture
- 1 cup granulated sugar: Creates the tender cake structure we want
- 2 large eggs: Bring these to room temperature too, or they'll seize up your butter mixture
- ½ cup buttermilk: The secret ingredient that gives red velvet its signature subtle tang
- 2 tsp vanilla extract: Don't skimp here, this is the main flavor note
- 1 tsp white vinegar: Reacts with the buttermilk and baking soda for extra tenderness
- ½–1 tbsp green gel food coloring: Gel coloring gives you that vibrant jewel tone without thinning the batter
- 1 cup powdered sugar: Sift it first or you'll never get the lumps out of your glaze
- 2–3 tbsp milk: Adjust until you get that perfect pourable consistency
- ½ tsp vanilla extract: For the glaze, because vanilla never hurts
- Green and gold sprinkles: Optional but let's be honest, you're already making green cake, might as well commit
Instructions
- Get your oven ready:
- Preheat to 350°F and thoroughly grease your mini bundt pan, getting into all those little crevices where cakes love to stick
- Whisk the dry ingredients:
- Combine the flour, cocoa powder, baking soda, and salt in a medium bowl, then set it aside
- Cream the butter and sugar:
- Beat them together for a full 3 minutes until they're light and fluffy, this step is worth every second
- Add the eggs:
- Drop them in one at a time, letting each one fully incorporate before adding the next
- Mix your wet ingredients:
- Whisk together the buttermilk, vanilla, vinegar, and green food coloring until uniform
- Combine everything:
- Add half the dry ingredients to the butter mixture, then pour in the buttermilk mixture, then finish with the remaining dry ingredients, mixing just until smooth
- Fill the pans:
- Spoon batter into each mini bundt cavity until they're about two thirds full, any more and they'll overflow
- Bake until done:
- 18 to 22 minutes usually does it, but trust the toothpick test over the timer
- Cool carefully:
- Let them rest in the pan for 10 minutes before turning them out, or they'll break apart
- Make the glaze:
- Whisk the powdered sugar, milk, and vanilla until smooth, then drizzle it generously over the completely cooled cakes
- Add the finishing touch:
- Sprinkle immediately, before the glaze sets, so everything sticks
 Save to Pinterest
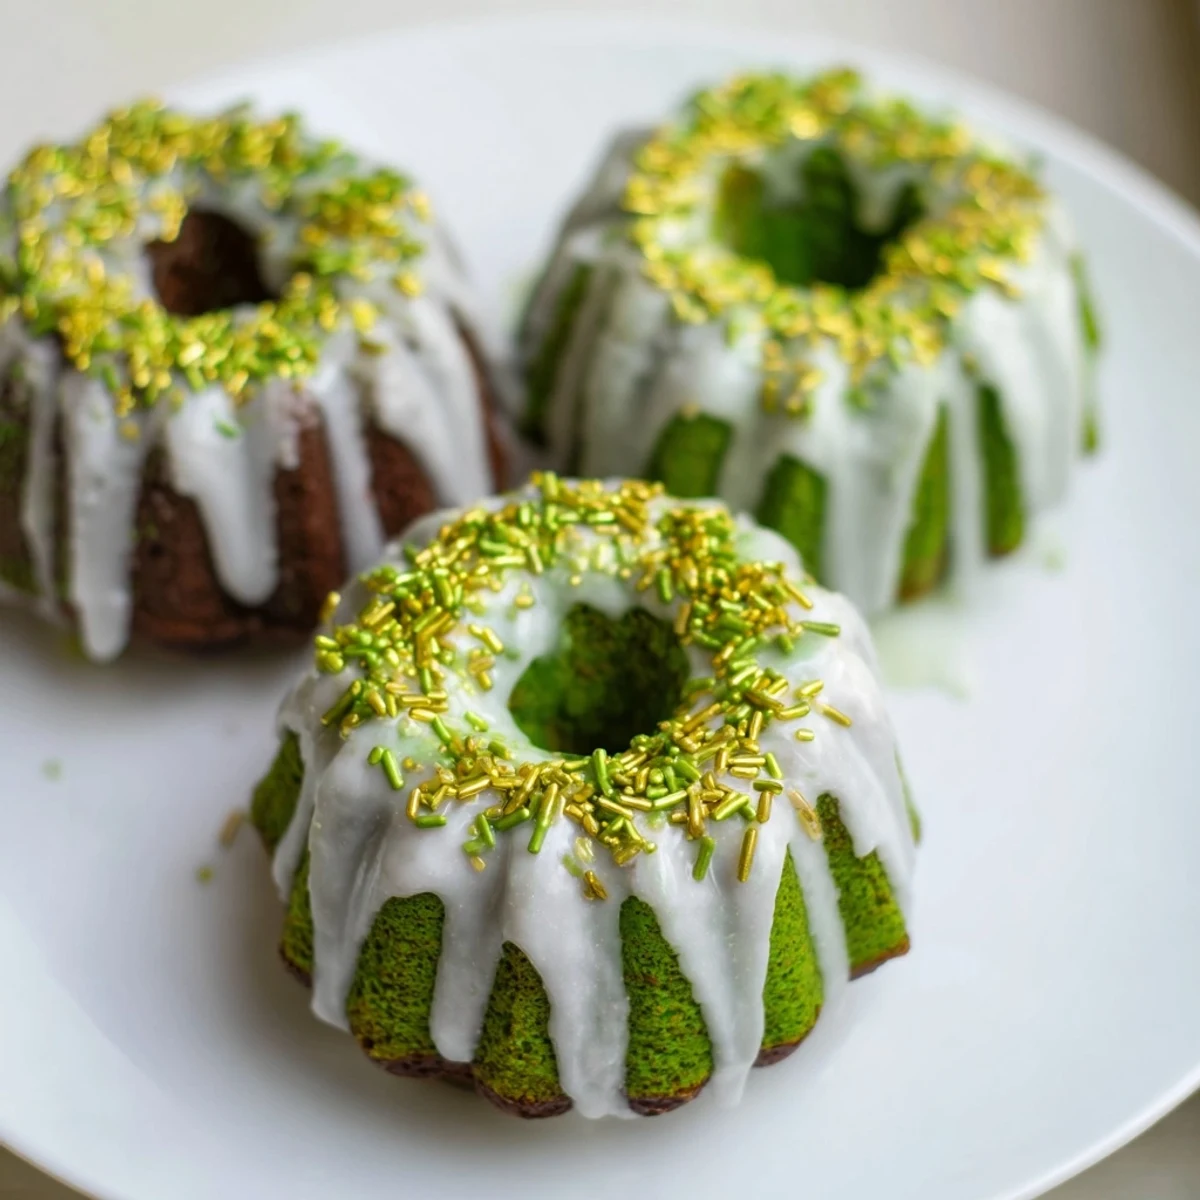
 My daughter still talks about the year she swore she caught a glimpse of something tiny and green darting away from her trap, right past the platter of these cakes. Whether it was a leprechaun or just her very patient little brother, I'll never know for sure.
Making These Ahead
The unfrosted cakes freeze beautifully, wrapped tightly in plastic and then foil, for up to a month. Just thaw them on the counter and glaze when you're ready to serve, they'll taste just as fresh as the day you baked them.
Getting The Perfect Green
Start with half a tablespoon of gel coloring and add more drop by drop, remembering that the batter will look slightly darker than the finished cake. I once learned the hard way that what looks like pond water in the bowl bakes up into perfectly festive emerald.
Serving Suggestions
These are obviously perfect for St. Patrick's Day, but I've also made them for baby showers and spring birthday parties with great success. The mini size means people can easily grab seconds without feeling like they've overindulged.
- Set up a little glaze station and let guests decorate their own
- Add a drop of mint extract to the glaze for an extra festive twist
- These disappear quickly, so consider doubling the recipe for a crowd
 Save to Pinterest
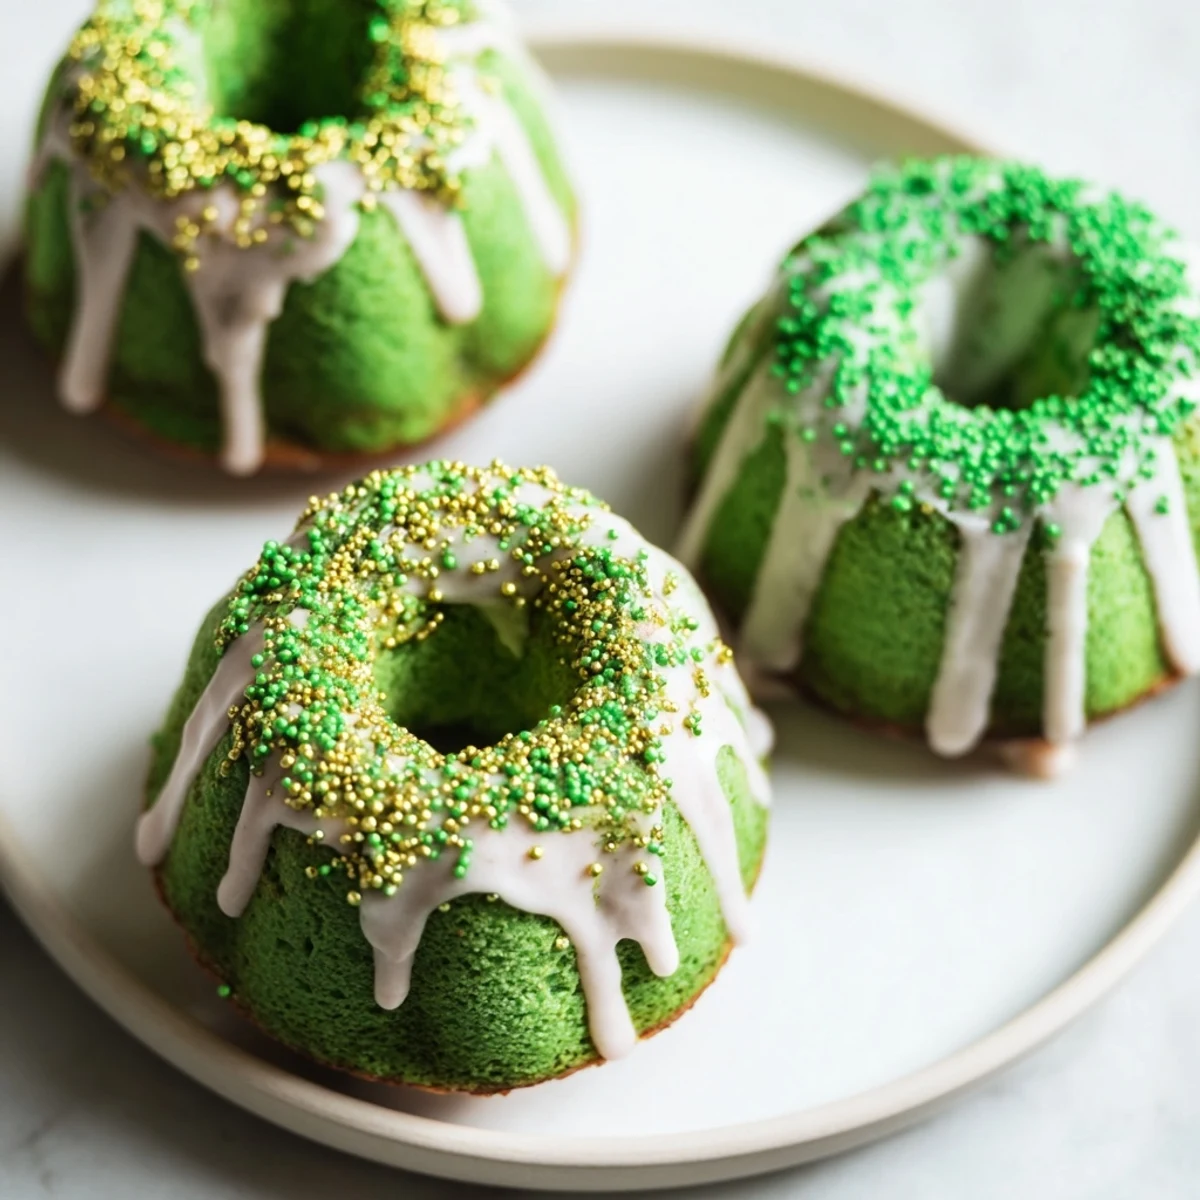
 Whether you're chasing leprechauns or just chasing a really good dessert, these little green cakes bring a bit of magic to any table.
Your Recipe Questions Answered
- → What makes green velvet different from red velvet?
-
Green velvet uses the same cocoa-buttermilk base as red velvet, simply swapping red food coloring for green gel coloring to achieve that festive hue while maintaining the signature moist, tender texture.
- → Can I make these ahead of time?
-
Yes! Bake and cool the cakes completely, then store in an airtight container for up to 2 days. Add the glaze and sprinkles shortly before serving for the freshest appearance.
- → Why use gel food coloring instead of liquid?
-
Gel food coloring provides concentrated color without adding excess liquid to your batter, which helps maintain the perfect cake texture while achieving that vibrant emerald shade.
- → What can I substitute for buttermilk?
-
Mix ½ cup regular milk with 1 teaspoon lemon juice or white vinegar, let it sit for 5 minutes until slightly thickened, then use as a 1:1 buttermilk replacement.
- → How do I know when the cakes are done?
-
Insert a toothpick into the center of a cake—if it comes out clean or with just a few moist crumbs, they're ready. The edges should also pull slightly away from the pan.
- → Can I use a regular bundt pan instead?
-
Absolutely! One standard bundt pan will work, though you'll need to increase the baking time to 30-35 minutes and check for doneness with a toothpick.
