 Save to Pinterest
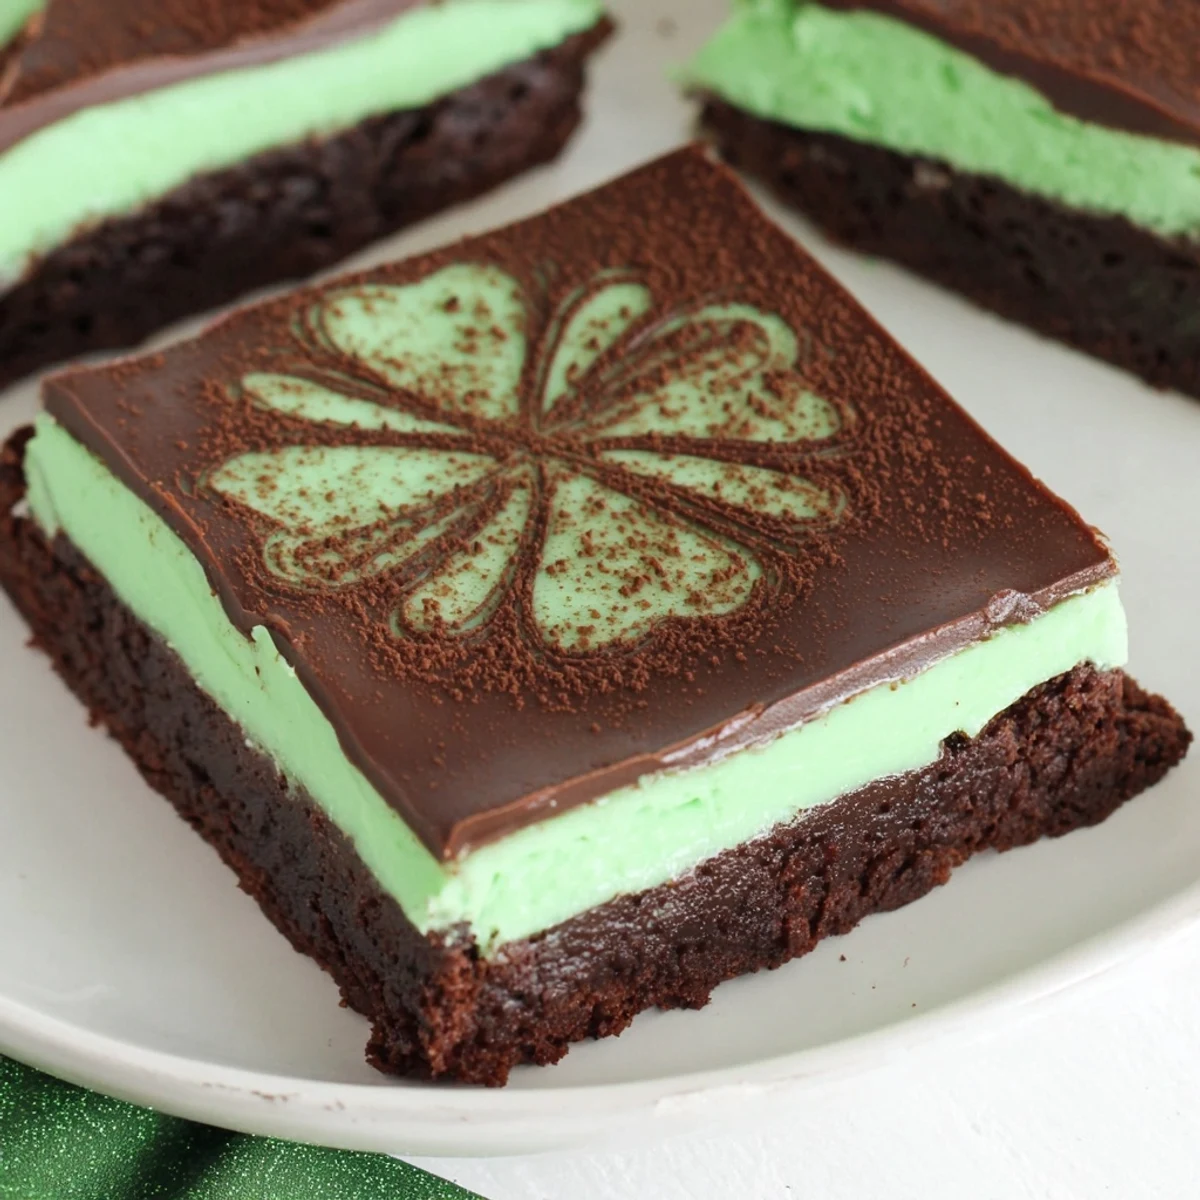
 These brownies combine deep, fudgy chocolate with a refreshing mint cream layer and a glossy chocolate ganache topping. The brownies bake to moist perfection before being chilled and topped, creating a delightful texture contrast. Ideal for special occasions or satisfying mint-chocolate cravings, they balance rich cocoa with cool peppermint. The final touch of ganache adds smoothness and a shiny finish, making every bite a layered indulgence.
The first time I made these mint brownies, my kitchen smelled like a chocolate factory had collided with a candy cane shop. My roommate wandered in, drawn by the scent, and ended up staying until they came out of the oven. We ate them warm with the ganache still setting, which was messy but absolutely worth it. Now they are requested for every gathering, St. Patricks Day or not.
Last March, I brought a batch to a potluck and watched them disappear in record time. Someone asked if I had bought them from a bakery, which I took as the highest compliment. The best part was seeing peoples faces when they bit through the chocolate ganache and hit that cool mint layer.
Ingredients
- Unsalted butter: Use room temperature butter for the mint layer to ensure it creams smoothly with the powdered sugar
- Granulated sugar: This amount creates the perfect crackly top on the brownies while keeping the center fudgy
- Large eggs: Room temperature eggs incorporate better and help achieve that glossy brownie surface
- Vanilla extract: Pure vanilla enhances the chocolate flavor without competing with the mint
- Unsweetened cocoa powder: Dutch process cocoa gives a deeper, smoother chocolate flavor
- All purpose flour: Just enough to provide structure without making the brownies cakey
- Salt: A small amount balances the sweetness and intensifies the chocolate
- Baking powder: Helps the brownies rise slightly for the perfect texture
- Powdered sugar: Creates a smooth, creamy frosting without grittiness
- Whole milk: Whole milk makes the mint layer luxurious; you can use cream for an even richer result
- Peppermint extract: Start with half a teaspoon if you are sensitive to mint flavor
- Green food coloring: Gel coloring works best and will not thin out the frosting
- Heavy cream: The higher fat content creates a glossy, pourable ganache that sets beautifully
- Semisweet chocolate: Chop it yourself for even melting; high quality chocolate makes a noticeable difference
Instructions
- Preheat and prepare your pan:
- Set your oven to 350°F and line an 8 inch square pan with parchment paper, letting the edges hang over like handles
- Make the brownie batter:
- Whisk melted butter and sugar until combined, then beat in eggs and vanilla until the mixture is smooth and glossy
- Add the dry ingredients:
- Sift in cocoa powder, flour, salt, and baking powder, then fold gently until just combined
- Bake to perfection:
- Spread the batter evenly and bake 25 to 30 minutes until a toothpick comes out with moist crumbs, not wet batter
- Cool completely:
- Let the brownies cool in the pan on a wire rack, or speed up the process in the fridge for 20 minutes
- Prepare the mint layer:
- Beat softened butter until creamy, then gradually add powdered sugar, milk, and peppermint extract until smooth
- Color and spread:
- Add green food coloring drop by drop until you reach your desired shade, then spread evenly over the cooled brownies
- Chill the mint layer:
- Refrigerate for at least 30 minutes so the frosting firms up before adding the warm ganache
- Make the ganache:
- Heat cream until it simmers, pour over chopped chocolate, wait 2 minutes, then whisk until glossy and smooth
- Finish the brownies:
- Pour the ganache over the chilled mint layer and refrigerate another 30 minutes until set
- Cut and serve:
- Use the parchment handles to lift the brownies out, then cut into squares with a warm knife for clean slices
 Save to Pinterest
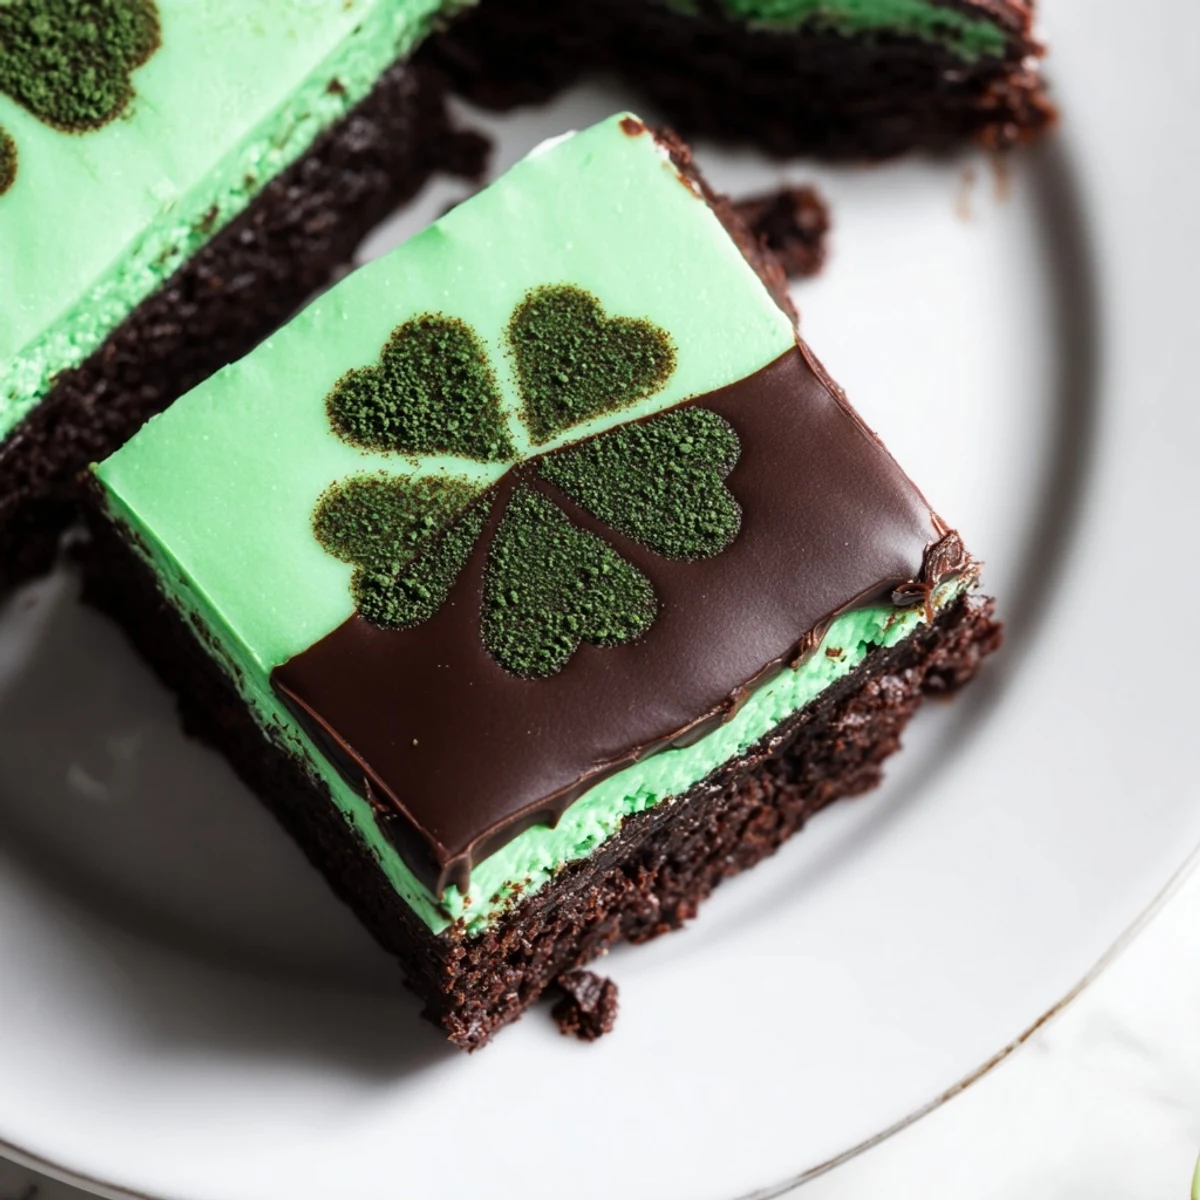
 My grandmother used to say that patience is the secret ingredient in layered desserts, and she was right. The waiting between steps is what makes these brownies so special. That moment when you cut into them and see those three distinct layers is worth every minute of chilling time.
Making Ahead
These brownies actually taste better after sitting overnight in the refrigerator. The flavors meld together and the texture becomes perfectly fudgy. You can make them up to two days before serving, just keep them well covered.
Garnishing Ideas
Beyond the optional shamrock stencil, try topping these with crushed Andes mints or a drizzle of white chocolate. A sprinkle of gold edible glitter makes them feel extra festive for special occasions.
Serving Suggestions
These brownies are rich, so smaller squares go a long way. Serve them with a glass of cold milk or a scoop of vanilla ice cream to cut through the intensity.
- Let brownies sit at room temperature for 15 minutes before serving
- Use a sharp knife and clean it between every few cuts
- Store any leftovers in the refrigerator, not at room temperature
 Save to Pinterest
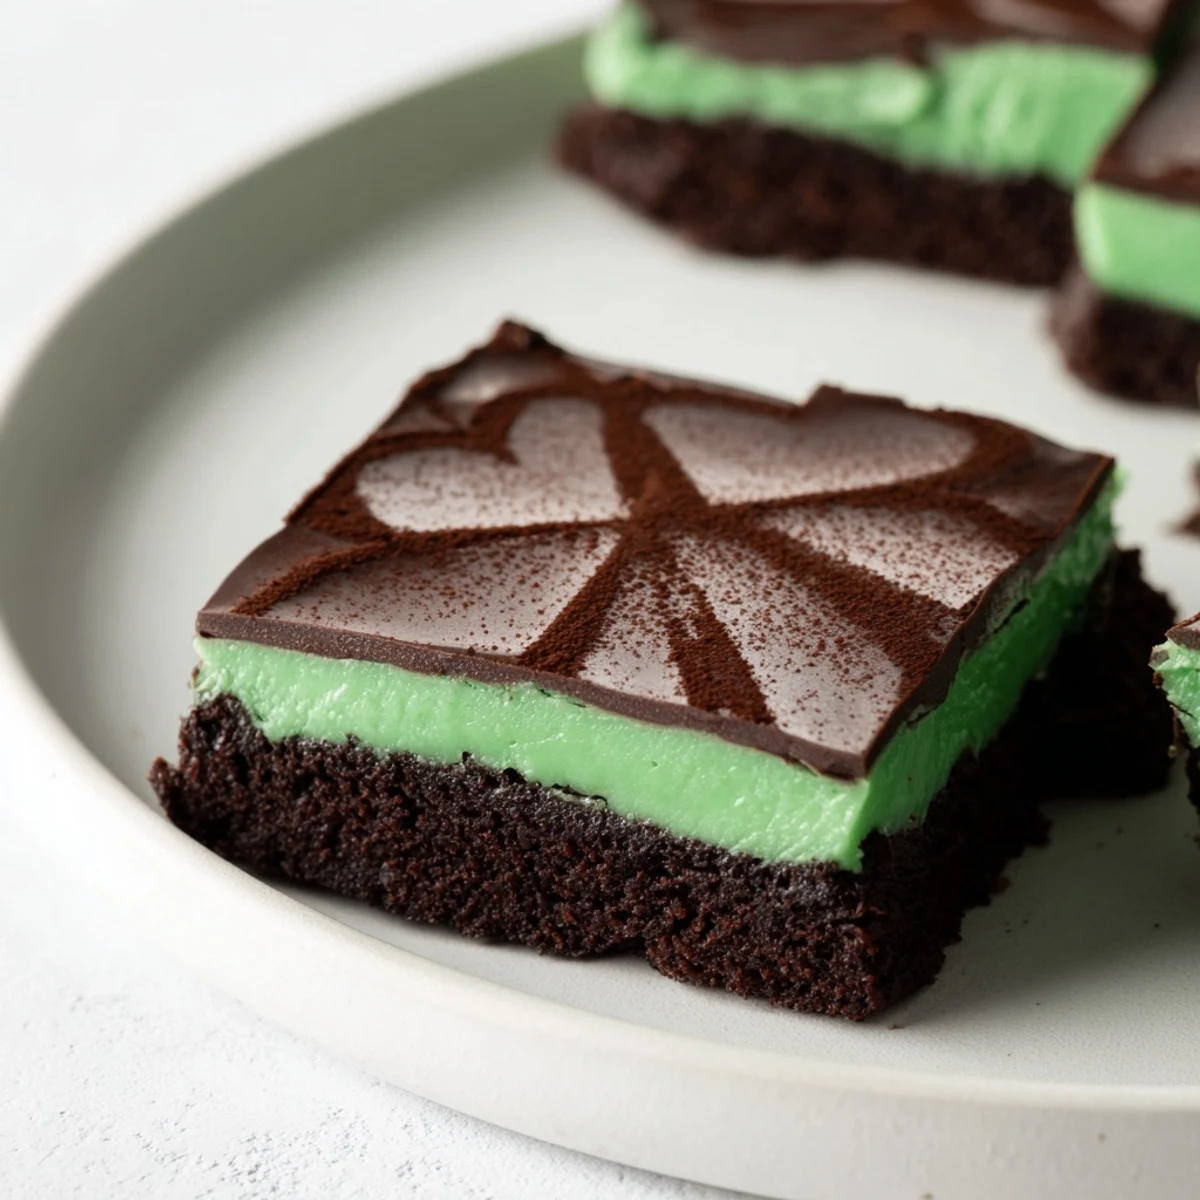
 There is something magical about the combination of chocolate and mint that feels like a celebration in every bite. These brownies have become my go to for bringing a little joy to ordinary days.
Your Recipe Questions Answered
- → How do I achieve a moist texture in these brownies?
-
Ensure not to overmix the batter and bake until a toothpick comes out with moist crumbs. Cooling completely before adding layers also helps maintain moisture.
- → What is the purpose of chilling between layers?
-
Chilling sets each layer firmly, preventing them from blending together and preserving the distinct texture and flavors.
- → Can I substitute peppermint extract with other flavors?
-
Yes, alternatives like crème de menthe liqueur can be used to offer a boozy mint twist, but adjust milk amounts accordingly.
- → How is the chocolate ganache prepared?
-
Heat heavy cream until just simmering, pour over chopped semisweet chocolate, let sit briefly, then whisk until smooth and glossy.
- → What is the best way to remove brownies from the pan?
-
Using parchment paper overhang allows easy lifting from the pan without breaking the layers.
