 Save to Pinterest
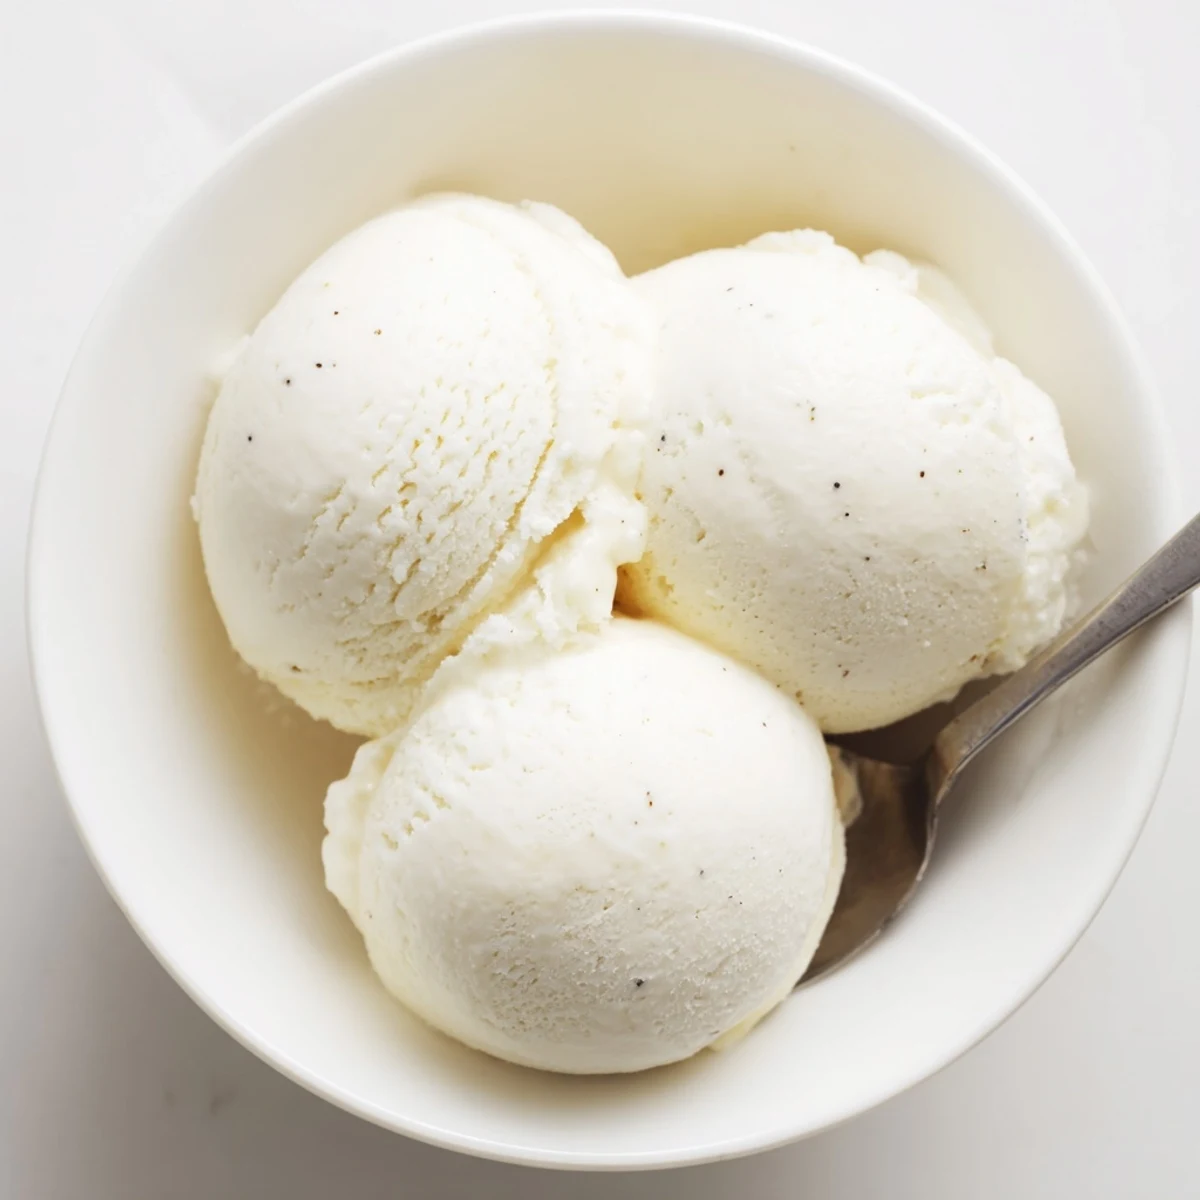
 Indulge in a luscious vanilla frozen dessert that delivers exceptional creaminess through a classic custard base. This traditional method combines heavy cream, whole milk, and egg yolks with pure vanilla extract, creating a smooth texture that rivals artisanal versions.
The process involves tempering egg yolks into warm dairy, cooking until thickened, then aging the custard overnight for optimal flavor development. After churning, the result is a velvety confection with perfect scoopability and pure vanilla notes throughout.
Customize endlessly by incorporating chocolate chips, fresh fruit, or swirls of caramel and fudge. For those avoiding dairy, coconut milk offers a delicious alternative while maintaining the luxurious mouthfeel.
The thermometer on my porch read 103 degrees the afternoon my ice cream maker arrived, and I tore open the box like a kid on Christmas morning, ignoring the fact that I had zero experience making custard. Within an hour, I had splattered yolk on my ceiling fan and learned that patience is, in fact, a culinary skill. That first batch was imperfect, but the taste of something frozen and sweet that I had built from scratch hooked me completely.
I served this at a backyard dinner party last July, and my neighbor David, who never touches dessert, came back for a third scoop without saying a word. He just held up his empty bowl and gave me a nod that said more than any compliment could.
Ingredients
- Heavy cream (2 cups): The fat is what gives ice cream that velvety mouthfeel, so do not even think about skimping here.
- Whole milk (1 cup): Balances the richness of the cream and helps the mixture freeze with a smoother texture.
- Granulated sugar (3/4 cup): Dissolves into the base during heating and keeps the ice cream soft enough to scoop straight from the freezer.
- Salt (pinch): Just a tiny amount sharpens every flavor and prevents the sweetness from tasting flat.
- Pure vanilla extract (1 tablespoon): Spend a few extra dollars on the real stuff because imitation vanilla will announce itself immediately.
- Large egg yolks (5): These are the backbone of the custard, providing body and that luxurious, dense creaminess.
Instructions
- Warm the base gently:
- Combine the cream, milk, sugar, and salt in a saucepan over medium heat, stirring until the sugar melts and you see tiny bubbles forming around the edges. Never let it boil, or you will scald the dairy and ruin the flavor before you even begin.
- Prep the yolks:
- Give the egg yolks a light whisk in a medium bowl just until broken up and slightly paler in color. You are not trying to make them fluffy, just ready to receive the heat.
- Temper with care:
- Slowly stream about one cup of the hot cream into the yolks while whisking like your life depends on it, which is the moment where split second attention prevents scrambled eggs.
- Cook the custard:
- Pour everything back into the saucepan and stir constantly over medium low heat until the mixture thickens enough to coat the back of a spoon. Run your finger through it and if the line holds, you are there.
- Add vanilla and strain:
- Take the pan off the heat, stir in the vanilla, then push the custard through a fine mesh sieve to catch any tiny cooked bits you might have missed.
- Chill thoroughly:
- Let the custard come to room temperature, then cover it and refrigerate for at least four hours or overnight if you can stand the wait. A cold base churns faster and produces smaller ice crystals.
- Churn until dreamy:
- Pour the chilled custard into your ice cream maker and follow the manufacturers directions until it looks like soft serve.
- Freeze to finish:
- Transfer to a freezer safe container, press a piece of parchment against the surface to prevent ice crystals, and freeze for at least two hours before diving in.
 Save to Pinterest
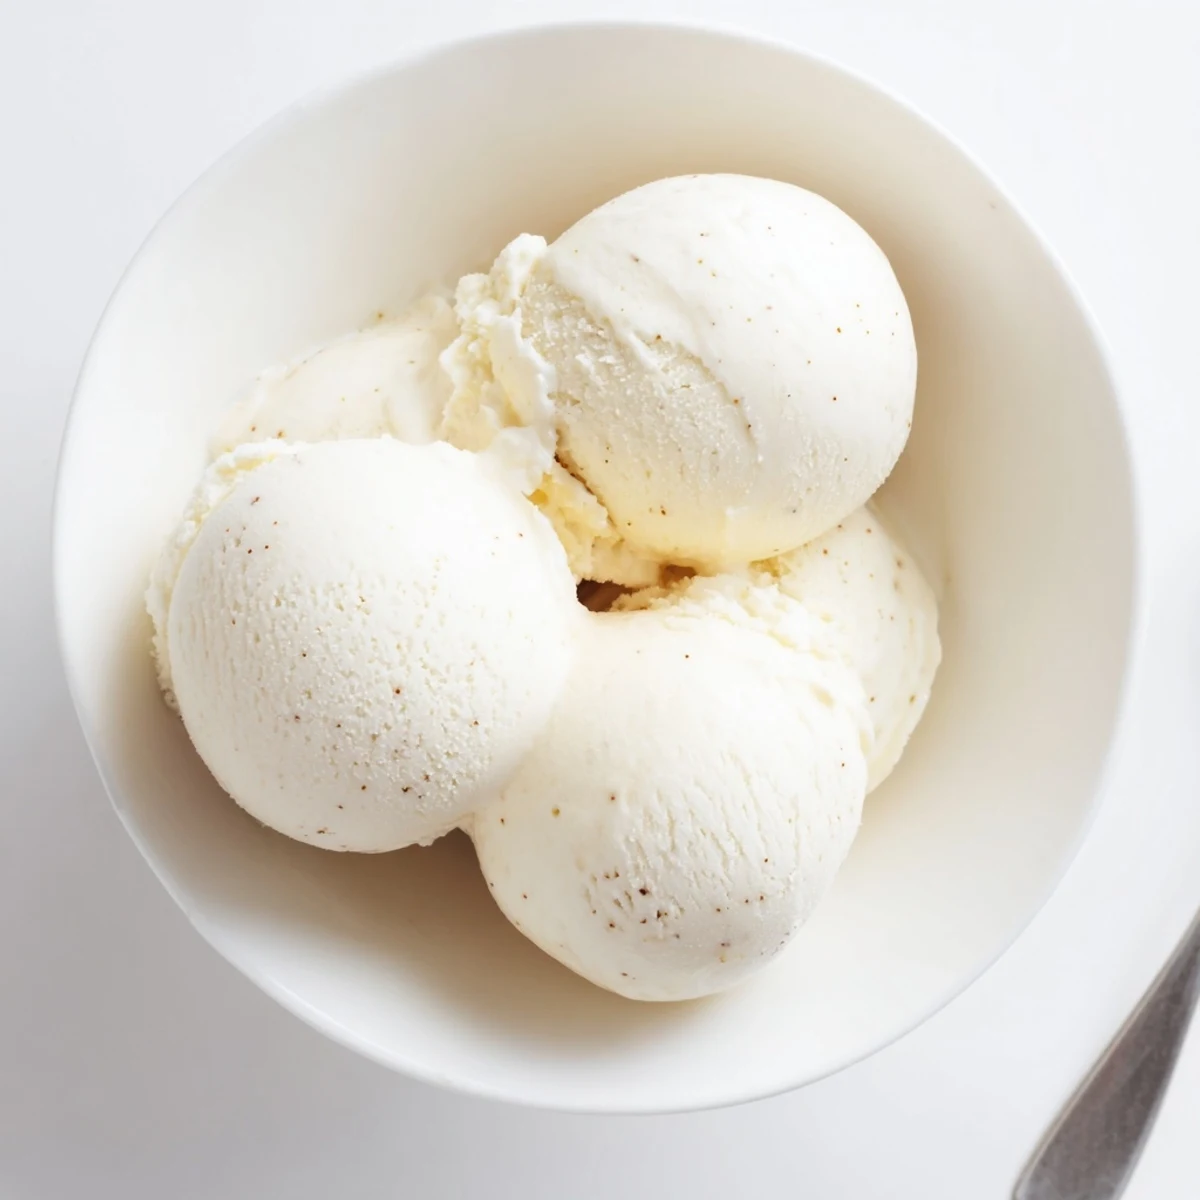
 The real magic happened when I packed a pint of this into a cooler and drove it two hours to my mothers house. She stood in her kitchen eating it with a fork because she could not find a spoon fast enough, and we laughed until our stomachs hurt.
Getting the Texture Just Right
The difference between icy and silky ice cream comes down to how fast the base freezes, which is why a properly chilled custard and a cold machine bowl matter so much. I learned the hard way that rushing the chill step always leads to a grainy result no matter how good your machine is.
Fun Flavors to Try Next
Once you have this vanilla base down, it becomes a canvas for almost anything you can imagine, from crushed cookies to fresh berries to ribbons of salted caramel. Fold in your extras during the last minute of churning or layer them into the container as you transfer the ice cream.
Tools That Make It Easier
You absolutely need a saucepan with a heavy bottom because thin pans create hot spots that scramble eggs before you can react. A fine mesh sieve is the unsung hero of this recipe, catching every tiny imperfection so your final product tastes professionally smooth.
- Freeze your ice cream maker bowl for a full 24 hours, not just overnight, for the best churn.
- Press parchment paper directly onto the surface of the ice cream before sealing the container.
- Let the ice cream sit on the counter for five minutes before scooping to save your wrists.
 Save to Pinterest
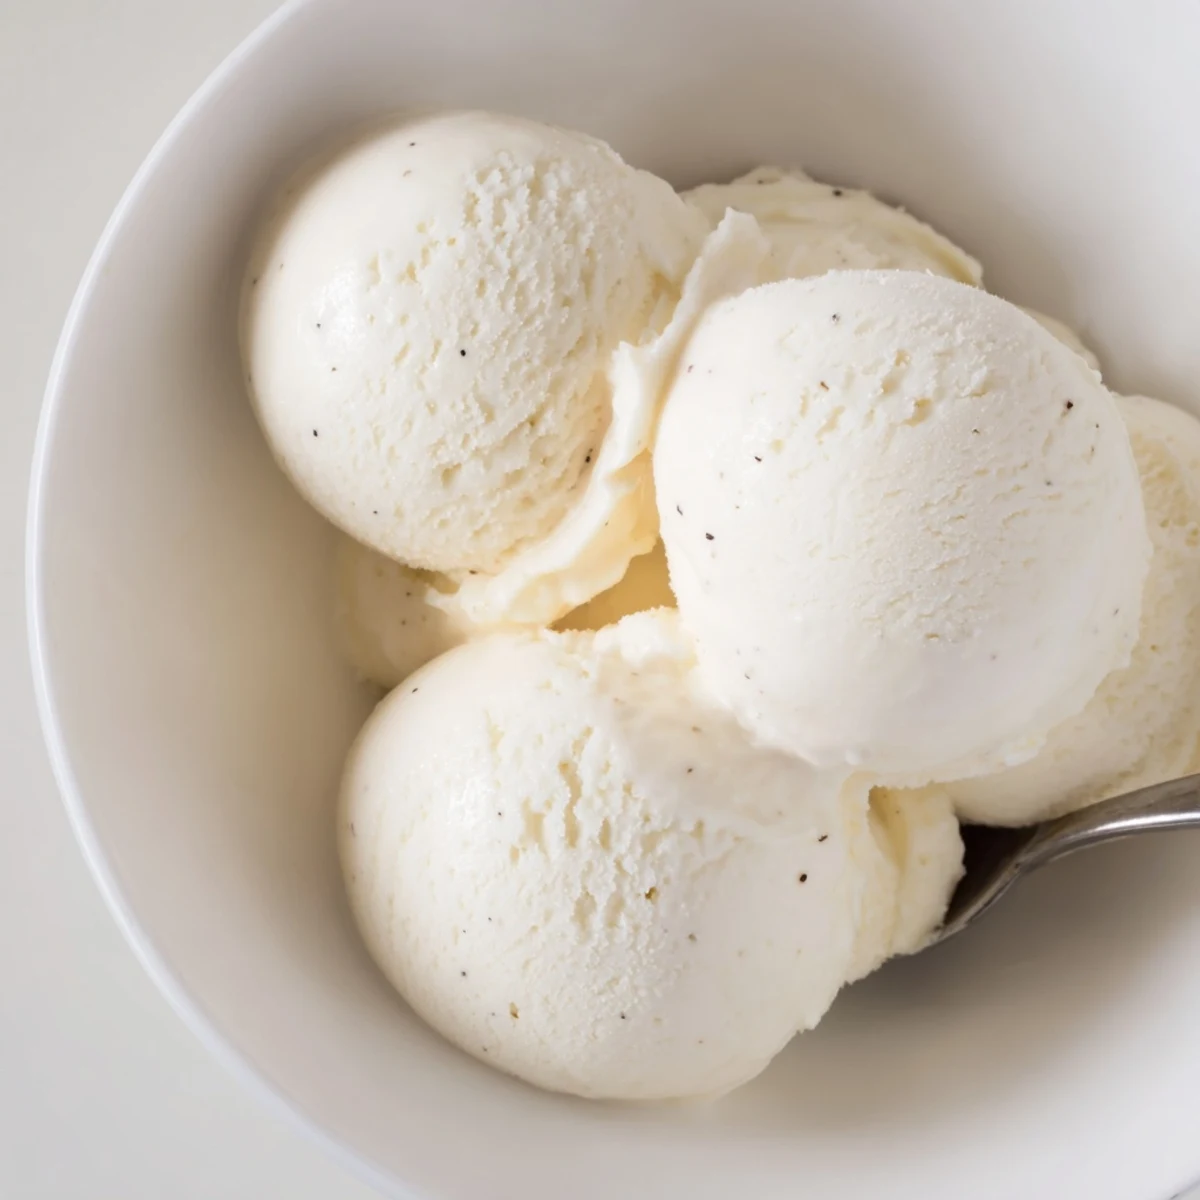
 Homemade ice cream is one of those small acts of care that makes people feel genuinely loved, and this recipe is worth every minute of stirring, chilling, and waiting. Grab a spoon and make some memories.
Your Recipe Questions Answered
- → How long does the custard need to chill before churning?
-
The custard requires at least 4 hours in the refrigerator, though overnight chilling (8-12 hours) yields the best texture and flavor. This aging period allows the mixture to become thoroughly cold and lets the vanilla infuse completely.
- → Can I make this without an ice cream maker?
-
Yes! Pour the chilled custard into a shallow container and freeze. Every 30-45 minutes, remove and stir vigorously with a fork or whisk to break up ice crystals. Repeat this process 4-5 times for smoother results.
- → What temperature should the custard reach when cooking?
-
Cook until the mixture reaches 170-175°F (76-80°C). You'll know it's ready when it thickens enough to coat the back of a wooden spoon and leaves a clear line when you run your finger through it.
- → How do I prevent the custard from curdling?
-
Tempering is key—always add hot liquid slowly to egg yolks while whisking constantly. Keep the heat at medium-low when cooking the custard, and stir continuously. If you see small curds forming, remove immediately and strain through a fine mesh sieve.
- → How long can I store this in the freezer?
-
Properly stored in an airtight, freezer-safe container, this will maintain optimal quality for 1-2 weeks. For best texture, let it soften at room temperature for 5-10 minutes before scooping.
- → Why strain the custard before chilling?
-
Straining removes any bits of cooked egg and ensures a silky-smooth final texture. It also catches any vanilla bean seeds if you used a vanilla bean instead of extract, distributing them evenly throughout.
