 Save to Pinterest
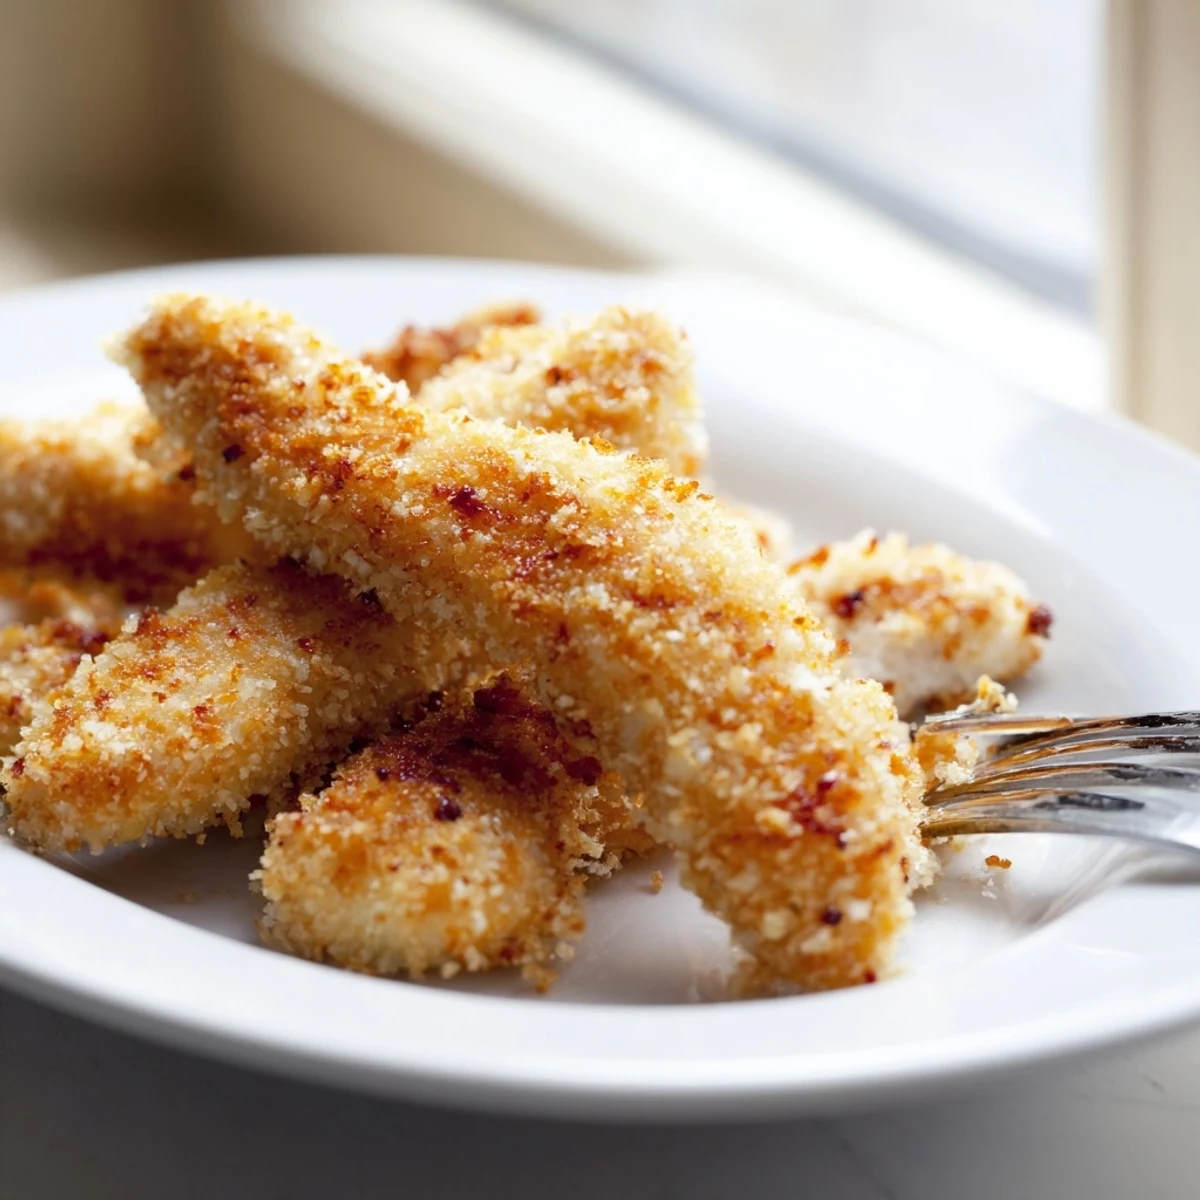
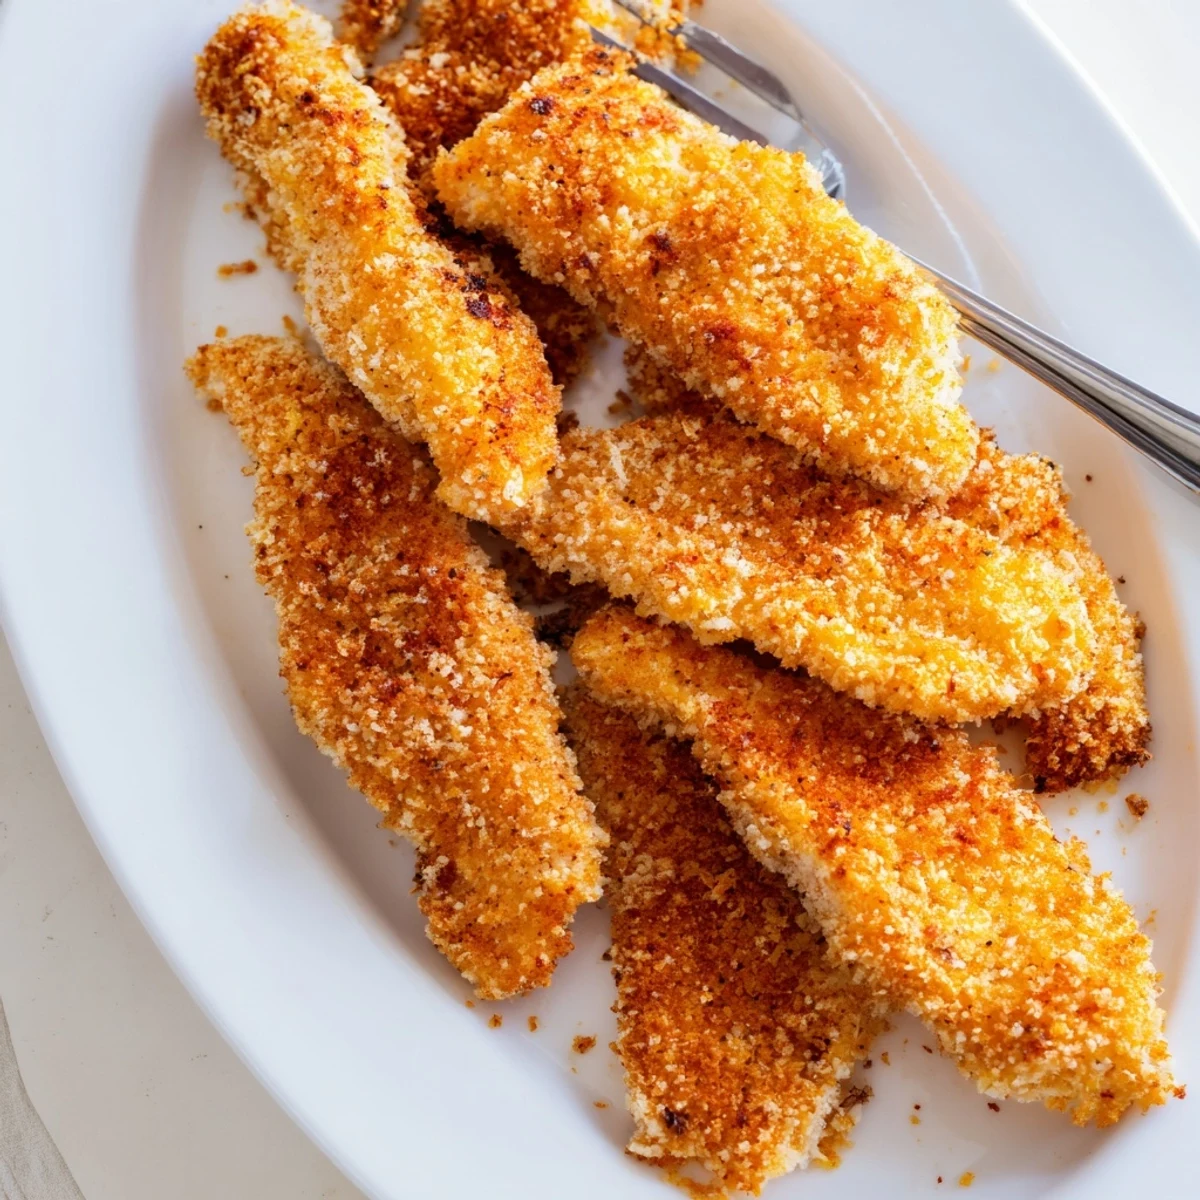
 Transform simple chicken breasts into irresistibly crispy strips with a light, airy panko coating. These golden beauties come together in just 35 minutes and deliver satisfying crunch in every bite. Perfect for casual dinners, party platters, or game day snacking, these strips are endlessly customizable and always crowd-pleasing.
My college roommate Sarah and I discovered panko breadcrumbs completely by accident during a late night grocery run. We bought them on a whim because the packaging looked interesting, and that impulsive decision changed our chicken game forever. Now these crunchy, golden strips are my go to for everything from game day snacks to weeknight dinners when I need something that feels special but comes together fast.
Last summer I made these for my nephew's birthday party and watched two kids who claimed they hated chicken devour plate after plate. Something about that golden, craggy coating makes these feel like restaurant food even though they come together in under 40 minutes. The best part is setting up the breading station becomes this fun, messy assembly line that somehow turns cooking into an activity.
Ingredients
- Chicken breasts: Cutting them into strips yourself saves money and lets you control the size for even cooking
- All purpose flour: The first coating layer that helps the egg wash stick and creates a base for everything else
- Salt and pepper: Essential seasoning that goes into the flour so every bite has flavor from the inside out
- Eggs and milk: Whisked together to create the perfect adhesive that binds the flour to the panko
- Panko breadcrumbs: These Japanese style breadcrumbs are larger and airier than regular ones, creating that signature crunch
- Garlic powder and paprika: The seasoning duo that gives the breading depth and a beautiful golden color
- Vegetable oil: A neutral oil with a high smoke point for achieving perfectly crispy, not greasy, results
Instructions
- Prep the chicken:
- Pat your chicken strips completely dry with paper towels because moisture is the enemy of crispy coating. Cut any thicker pieces in half so everything cooks at the same rate.
- Set up your breading station:
- Arrange three shallow bowls in order: flour mixed with salt and pepper, eggs whisked with milk, then panko combined with garlic powder and paprika. Keep one hand dedicated to wet ingredients and one for dry to prevent your fingers from becoming breaded too.
- Coat each strip:
- Press chicken into the flour and shake off excess, dunk it in the egg mixture letting the runoff drip away, then press firmly into the panko to ensure an even coating. Place finished strips on a parchment lined baking sheet while you work through the rest.
- Heat your oil:
- Pour oil into a large skillet until it is about ½ inch deep and heat it to 350°F. The oil is ready when a small pinch of panko sizzles immediately upon hitting the surface.
- Fry to golden perfection:
- Cook strips in batches for 3 to 4 minutes per side until deep golden brown and cooked through. Do not crowd the pan or the temperature will drop and you will end up with soggy chicken.
- Drain and serve:
- Transfer finished strips to a paper towel lined plate to remove excess oil. Let them rest for a couple of minutes before serving so the coating sets up properly.
 Save to Pinterest
 These became my comfort food during a particularly stressful work project when cooking dinner was the only thing that felt manageable. The ritual of dipping and coating became strangely meditative, and that first crunch when I took a bite made everything feel a little less overwhelming.
The Baking Option
When I want to skip the oil but still get great results, I bake these at 400°F for 18 to 20 minutes, flipping halfway through. The texture is slightly different but still satisfyingly crunchy, and my kitchen stays much cleaner.
Getting Creative with Seasonings
Sometimes I add grated Parmesan to the panko or throw in chili flakes when I want some heat. The basic formula works with so many flavor combinations once you get the technique down.
Perfect Dipping Sauces
Honey mustard is the classic pairing but a quick spicy mayo made with sriracha has become my recent favorite. Having two or three sauce options makes these feel like party food even on a Tuesday.
- Whisk honey and grainy mustard together for a sweet tangy dip
- Mix mayonnaise with hot sauce and a squeeze of lime
- Ranch dressing works surprisingly well with the garlic in the coating
 Save to Pinterest
 There is something deeply satisfying about homemade chicken strips that fast food versions can never quite capture.
Your Recipe Questions Answered
- → What makes panko different from regular breadcrumbs?
-
Panko are Japanese-style breadcrumbs made from crustless white bread, creating a lighter, airier texture that crisps beautifully without becoming dense or heavy like traditional breadcrumbs.
- → Can I bake these instead of frying?
-
Absolutely. Arrange coated strips on a parchment-lined baking sheet and bake at 200°C (400°F) for 18-20 minutes, flipping halfway through for even golden color.
- → What dipping sauces work best?
-
Honey mustard, ranch dressing, spicy mayo, or barbecue sauce are classic choices that complement the crunchy coating without overpowering the tender chicken inside.
- → How do I get the crispiest coating?
-
Pat chicken thoroughly dry before breading, press panko firmly onto each strip, and maintain oil temperature at 180°C (350°F) for optimal crunch and golden color.
- → Can I make these ahead of time?
-
Bread strips up to 4 hours before cooking and refrigerate. For best results, fry or bake just before serving to maintain maximum crispiness.
