
 Save to Pinterest
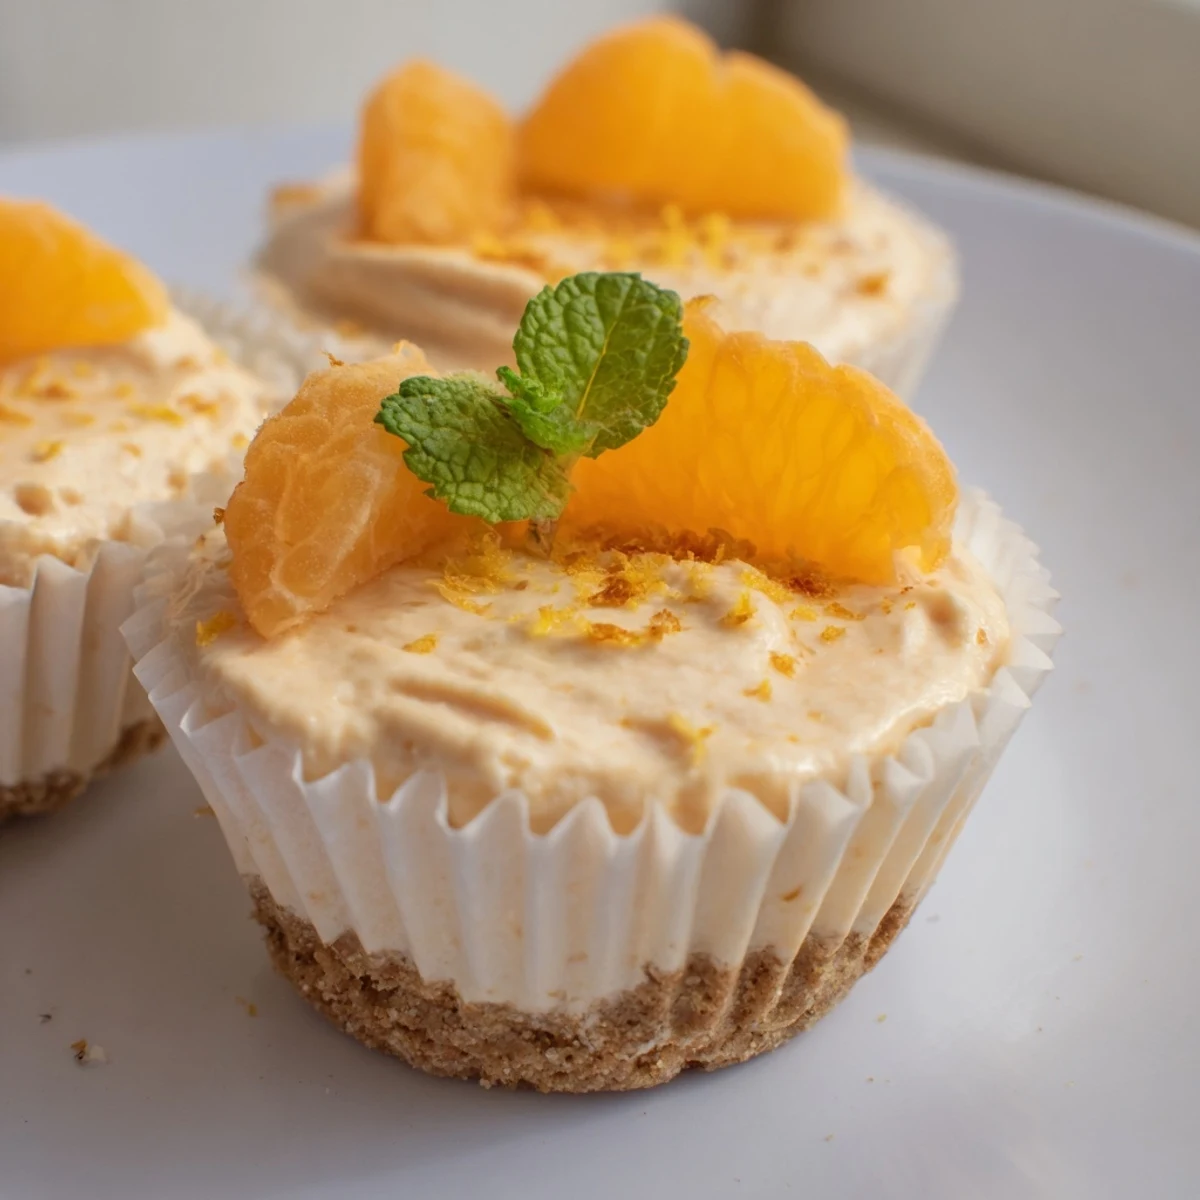
 These mini no bake orange cheesecakes combine a buttery digestive biscuit crust with a light, creamy filling infused with fresh orange zest and juice.
Ready in just 25 minutes of hands-on time, they set in the fridge for 3 hours, making them an ideal make-ahead dessert for gatherings.
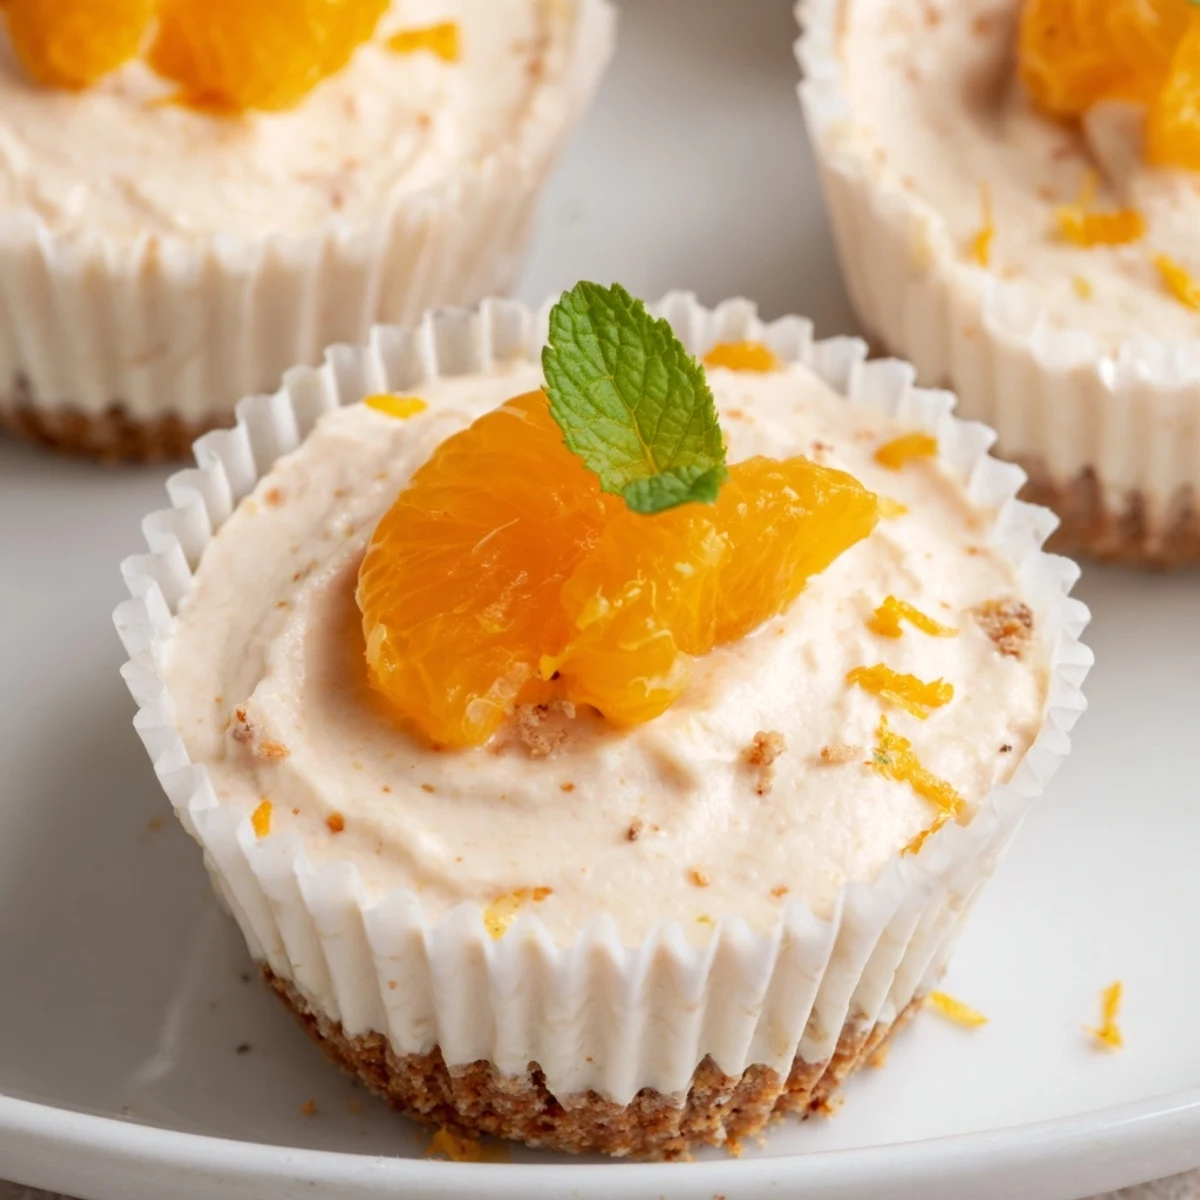
Topped with fresh orange segments and mint, each bite delivers a bright citrus punch balanced by rich cream cheese and whipped cream.
The smell of orange zest hitting cream cheese is one of those small kitchen pleasures that stops you mid task and makes you close your eyes for a second.
I brought these to a picnic last June and watched a friend who swears she does not like cheesecake eat three of them in under ten minutes.
Ingredients
- Digestive biscuits or graham crackers (120 g): The backbone of your crust, so pick a biscuit you actually enjoy eating on its own.
- Unsalted butter, melted (55 g): Binds the crumbs together and adds richness, and melting it slowly prevents any burnt edges.
- Cream cheese, room temperature (250 g): Cold cream cheese will leave you with lumps no matter how hard you beat it, so set it out an hour ahead.
- Powdered sugar (60 g): Dissolves seamlessly into the filling without any grainy texture.
- Heavy cream, cold (120 ml): Whipping cold cream gives you those sturdy peaks that keep the filling light and airy.
- Orange zest (2 tsp from 1 large orange): Use a microplane and zest only the colored skin, avoiding the bitter white pith underneath.
- Fresh orange juice (2 tbsp): Squeeze it yourself for the freshest flavor since bottled juice tastes flat here.
- Vanilla extract (1 tsp): Rounds out the citrus and adds warmth to the overall flavor profile.
- Orange segments, extra zest, mint leaves for topping: Entirely optional but they turn a simple cheesecake into something that looks bakery worthy.
Instructions
- Prepare the molds:
- Line a standard muffin tin with paper liners or pull out your silicone molds, whichever you have handy.
- Build the crust:
- Pulse the biscuits in a food processor until they resemble fine sand, then pour in the melted butter and pulse again until every crumb glistens.
- Press and chill:
- Divide the buttery crumbs evenly among your liners and press down firmly with the back of a spoon or your thumb until you have a solid, even layer.
- Start the filling:
- Beat the room temperature cream cheese and powdered sugar together until the mixture is completely smooth with no stubborn lumps remaining.
- Whip the cream:
- In a cold bowl with cold beaters, whip the heavy cream until it holds stiff peaks that stand tall when you lift the whisk.
- Combine with citrus:
- Gently fold the whipped cream into the cream cheese mixture with a spatula, then add the orange zest, orange juice, and vanilla, folding until everything is uniformly combined.
- Fill and smooth:
- Spoon or pipe the fluffy filling over the chilled crusts, then smooth the tops with the back of a spoon or a small offset spatula.
- Chill until set:
- Refrigerate the cheesecakes for at least three hours so the filling firms up properly and the flavors meld together.
- Decorate and serve:
- Crown each cheesecake with orange segments, a scattering of fresh zest, and a few mint leaves if you are feeling festive.
 Save to Pinterest
 My neighbor knocked on my door one afternoon holding a container of these and said she had been thinking about them for a week straight, which is honestly the highest compliment a no bake dessert can receive.
Making Them Ahead
These cheesecakes actually improve overnight as the orange flavor deepens and the crust firms up, so making them a day before your event is a smart move.
Swaps and Substitutions
Gluten free cookies work perfectly for the base, and a tablespoon of orange liqueur stirred into the filling turns these into something decidedly grown up.
Tools That Make It Easier
A food processor is the fastest way to crush biscuits, but a rolling pin and a ziplock bag will get you there too if you do not mind a little upper body effort.
- Chill your mixing bowl in the freezer for ten minutes before whipping cream for faster results.
- A microplane zester gives you the finest, most fragrant orange zest without any bitter pith.
- Always taste your orange before zesting since a dull, dry fruit will drag the whole filling down.
 Save to Pinterest
 Keep these in the fridge and they will hold beautifully for two days, though in my experience they rarely last that long.
Your Recipe Questions Answered
- → Can I make these cheesecakes ahead of time?
-
Yes, these mini cheesecakes can be prepared up to 2 days in advance. Keep them covered in the refrigerator until ready to serve for the best texture and flavor.
- → What can I substitute for digestive biscuits?
-
Graham crackers work perfectly as a direct substitute. For a gluten-free option, use your favorite gluten-free cookies. Any crisp, slightly sweet biscuit will create a great base.
- → How do I get clean orange zest without the bitter pith?
-
Use a microplane or fine zester and gently glide it over the orange surface. Stop once you reach the white pith layer. Rotate the orange frequently to avoid digging too deep into one spot.
- → Why is my filling runny instead of thick?
-
Make sure your heavy cream is very cold before whipping, and whip it to stiff peaks before folding it in. Also ensure the cream cheese is at room temperature so it blends smoothly without lumps that can trap liquid.
- → Can I use bottled orange juice instead of fresh?
-
Fresh orange juice is strongly recommended because it provides brighter, more natural flavor. Bottled juice often contains preservatives and lacks the vibrant taste that makes these cheesecakes special.
- → How should I store leftovers?
-
Store any leftovers in an airtight container in the refrigerator for up to 3 days. The biscuit base may soften slightly over time but the flavor will remain delicious.