 Save to Pinterest
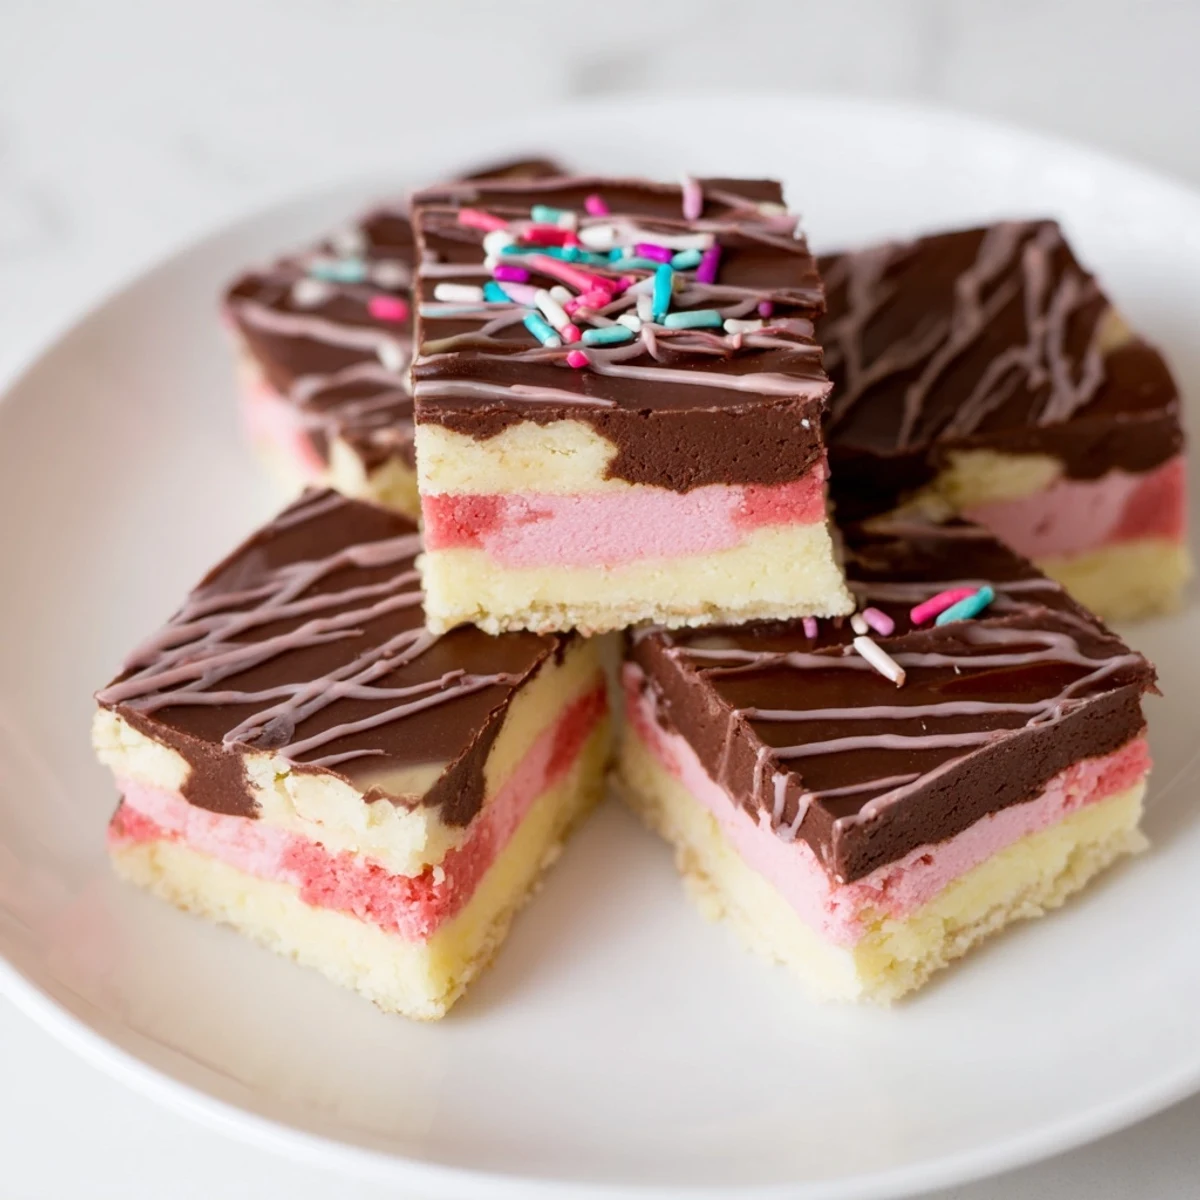
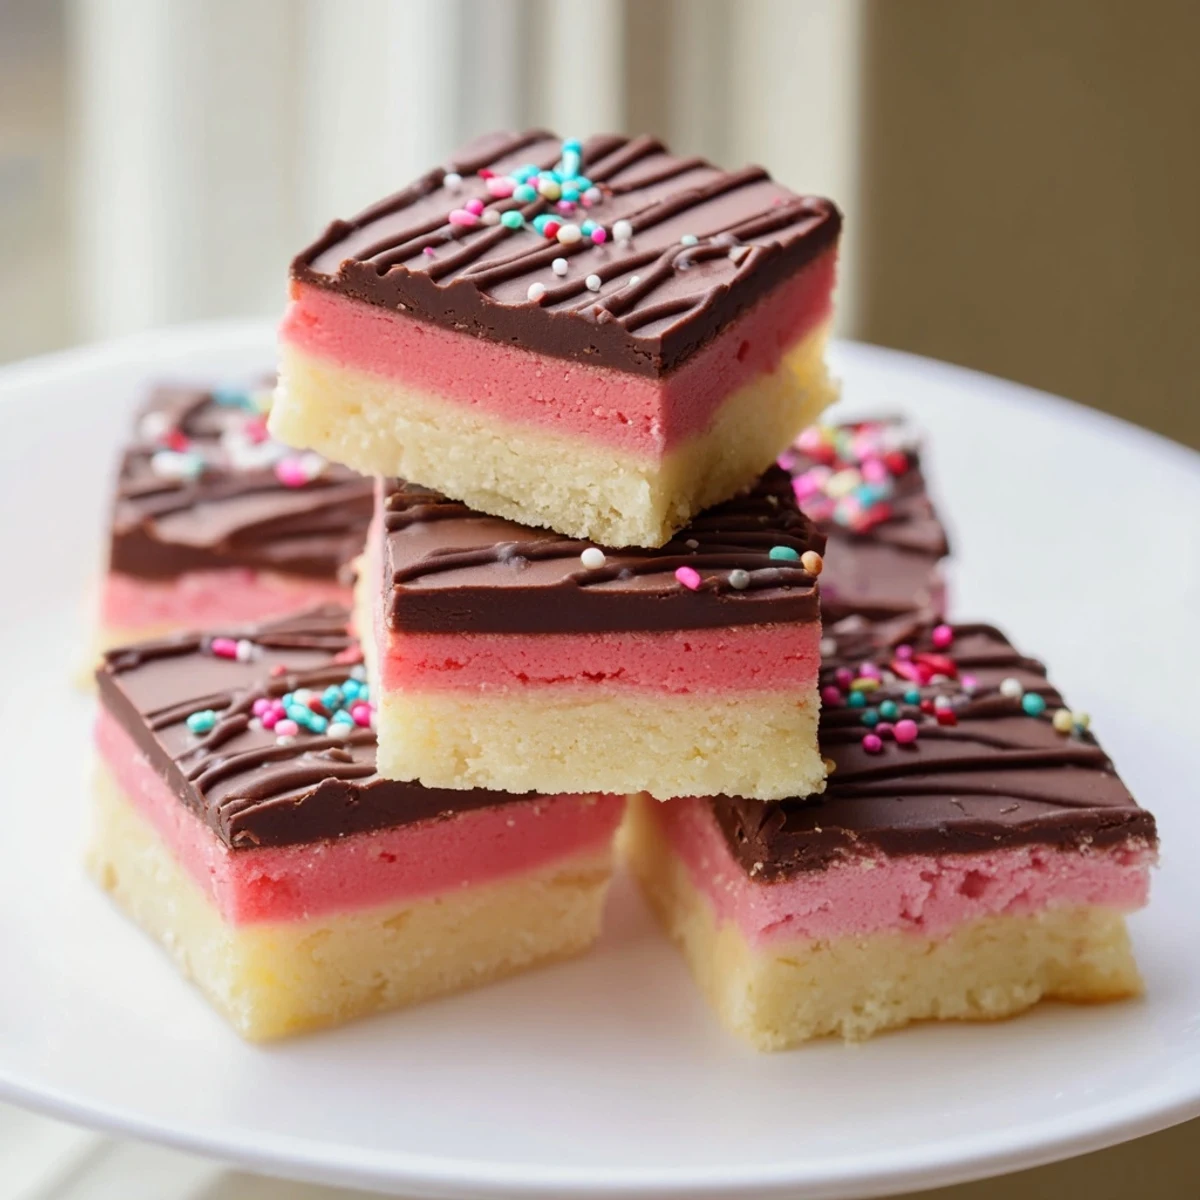
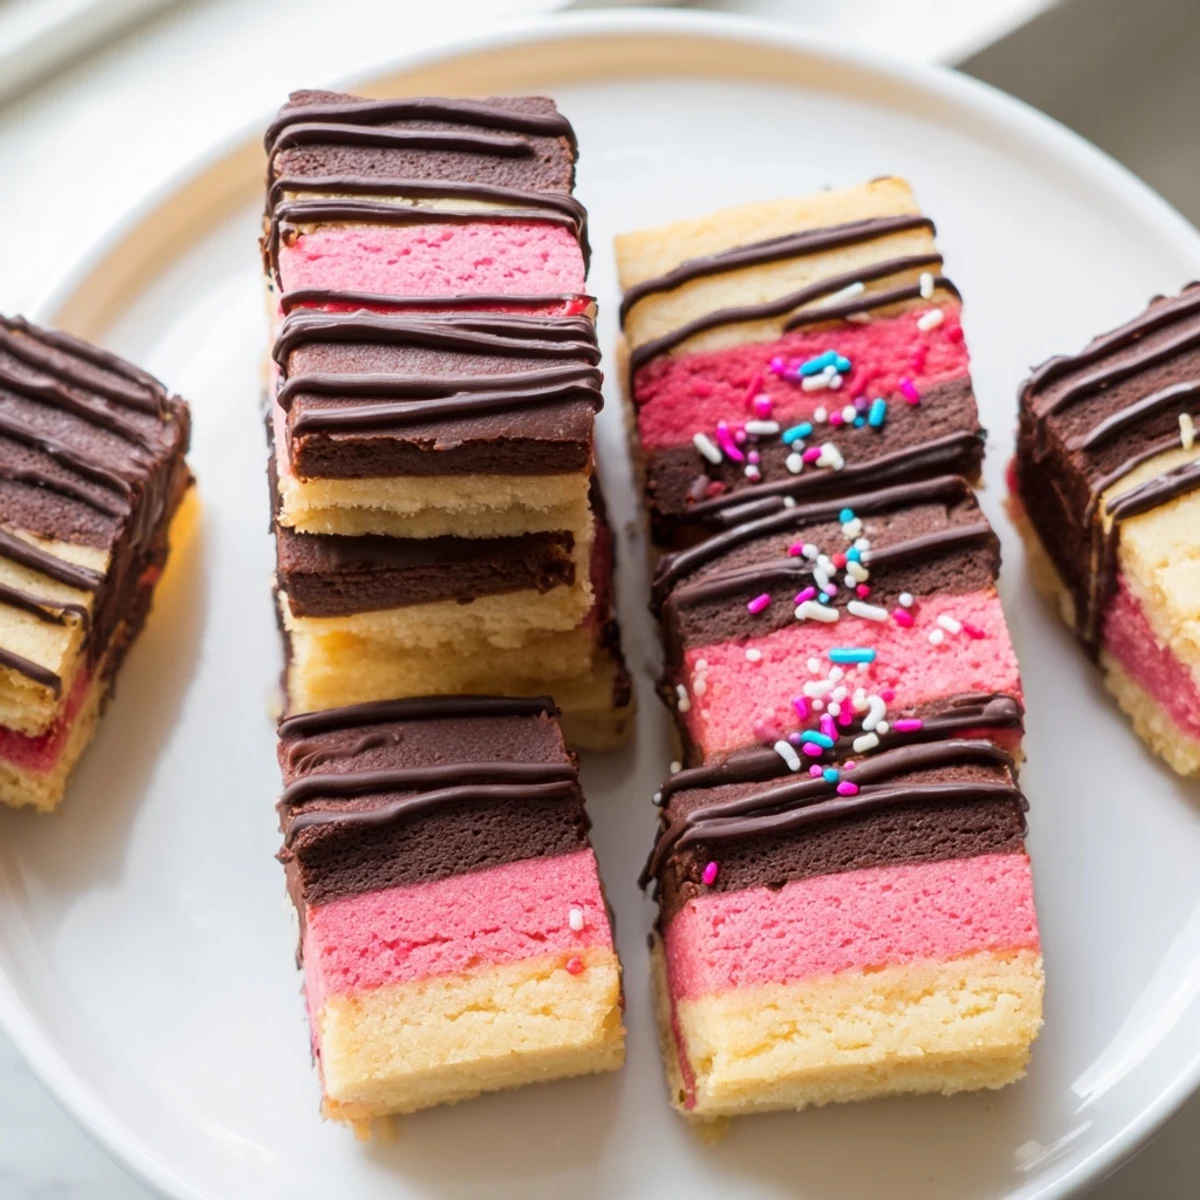
 These Neapolitan cookies bring together three beloved flavors—chocolate, vanilla, and strawberry—in a single beautiful bar. Each layer is made from one base butter cookie dough, divided and flavored separately before being stacked and baked together.
The chocolate layer gets its richness from unsweetened cocoa powder, while the strawberry layer uses strawberry extract and a touch of food coloring for that iconic pink hue. The vanilla layer stays classic and pure.
Once baked and cooled, the slab is cut into individual squares or bars. A drizzle of melted chocolate and festive sprinkles are optional but add a lovely finishing touch.
The smell of butter creaming with sugar always pulls me right back to a rainy Saturday when my daughter challenged me to make cookies that looked like ice cream. We ended up with three bowls of dough, pink stained fingers, and a kitchen that smelled like a bakery had collided with a candy shop. Neapolitan cookies became our rainy day tradition after that, and they never last more than two days in the cookie jar. They are surprisingly straightforward once you get the hang of layering the dough.
I brought a plate of these to a neighborhood potluck last summer and watched a very serious Italian grandmother nod approvingly after her first bite. She asked for the recipe, and I honestly could not tell if she was testing me or genuinely curious. Either way, I counted it as a win.
Ingredients
- Unsalted butter (225 g, softened): Room temperature butter is nonnegotiable here because cold butter will not cream properly and your layers will spread unevenly.
- Granulated sugar (300 g): This amount gives the cookies a tender crumb without making them cloyingly sweet.
- Large eggs (2): Add them one at a time to keep the emulsion stable and the dough smooth.
- Vanilla extract (1 tsp): Use pure extract if you can because it carries the vanilla layer and enhances the other flavors.
- All-purpose flour (340 g): Spoon and level rather than scooping to avoid dense, heavy cookies.
- Baking powder (1/2 tsp): Just enough lift to keep the layers from being flat without puffing them into cake.
- Fine salt (1/2 tsp): Salt sharpens all three flavors and prevents the cookies from tasting one dimensional.
- Unsweetened cocoa powder (2 tbsp): Dutch processed gives a deeper chocolate flavor but natural works fine too.
- Strawberry extract (1/2 tsp): A little goes a long way and pairs with the food coloring for that classic strawberry character.
- Pink or red food coloring (gel preferred): Gel coloring gives vivid results without thinning the dough.
- Semisweet chocolate (100 g, melted, optional): A drizzle on top turns these from casual to gift worthy.
- Sprinkles or chopped nuts (optional): Press them on while the chocolate drizzle is still wet for the best adhesion.
Instructions
- Preheat and prepare:
- Heat your oven to 175 degrees C (350 degrees F) and line a 23 by 33 cm baking pan with parchment, leaving overhang on the sides so you can lift the whole slab out later.
- Cream the base:
- Beat the softened butter and sugar together in a large bowl until the mixture turns pale and looks almost whipped, about three minutes with an electric mixer.
- Add eggs and vanilla:
- Drop in one egg, beat until fully absorbed, then repeat with the second egg before stirring in the vanilla extract until everything looks silky.
- Bring in the dry ingredients:
- Whisk the flour, baking powder, and salt in a separate bowl, then gradually add them to the butter mixture on low speed until a soft, cohesive dough forms.
- Divide and flavor:
- Split the dough into three equal portions, stirring cocoa into one bowl, strawberry extract and food coloring into the second, and leaving the third bowl plain.
- Layer the dough:
- Press the chocolate dough into the bottom of the pan and smooth it flat, then spread the vanilla dough over it, and finish with the strawberry layer on top, smoothing each layer gently with an offset spatula.
- Bake and cool:
- Bake for 12 to 15 minutes until the top is just set and no longer looks wet, then cool completely in the pan on a wire rack before lifting out and cutting.
- Finish and garnish:
- Cut into bars or squares and, if you like, drizzle with melted chocolate and scatter sprinkles or chopped nuts over the top before the chocolate sets.
 Save to Pinterest
 The best part of making these with kids is watching them press the colorful layers into the pan like edible Play Doh.
How to Store Them
Keep the cookies in a single layer or separated by parchment in an airtight container at room temperature for up to five days. They also freeze well for up to three months if you wrap them tightly and thaw at room temperature before serving.
Making It Your Own
You can swap the strawberry layer for pistachio extract and green coloring, or use lemon zest in the vanilla layer for brightness. The dough is forgiving enough that the flavor combinations are really up to you.
What I Learned the Hard Way
My first batch spread into a muddy mess because I rushed the layering and pressed too hard, which squished the bottom layer into the top one. Now I work with slightly chilled dough and a gentle hand. Here are a few things that help every time.
- Wet your fingers or the spatula lightly with water to prevent sticking when pressing the dough.
- If the dough feels too soft to handle, refrigerate each bowl for ten minutes before layering.
- Always let the slab cool completely because warm cookies will crumble into sad, uneven pieces when cut.
 Save to Pinterest
 These cookies taste like childhood nostalgia wrapped up in a bakery box, and sharing them with someone you love makes them even sweeter.
Your Recipe Questions Answered
- → Can I make the dough ahead of time?
-
Yes, you can prepare the dough and assemble the layers in the pan, then wrap tightly and refrigerate for up to 24 hours before baking. Allow it to come close to room temperature before placing in the oven, or add a couple of extra minutes to the baking time.
- → Why did my layers mix together while spreading?
-
This usually happens when the dough is too soft or warm. Try chilling each portion of dough for about 15 minutes before pressing into the pan. Use gentle, even pressure with an offset spatula rather than pressing hard, which can push into the layer below.
- → Can I use natural food coloring instead of gel?
-
Absolutely. Gel food coloring is preferred because it provides vibrant color without adding extra liquid to the dough, but natural or liquid food coloring works too. You may need a few more drops to achieve the desired pink shade.
- → How do I get clean, neat cuts when slicing the bars?
-
Make sure the cookie slab is completely cool before cutting. Use a sharp knife and wipe it clean between each cut. For even cleaner edges, chill the slab in the refrigerator for 30 minutes before slicing.
- → Can I freeze these Neapolitan cookies?
-
Yes, they freeze well for up to 3 months. Place the cooled, cut bars in a single layer in an airtight container with parchment paper between layers. Thaw at room temperature for about an hour before serving.
- → What can I substitute for strawberry extract?
-
If you don't have strawberry extract, you can use a small amount of strawberry jam or puree, though this will add moisture to the dough. Reduce the butter slightly by about a tablespoon to compensate. Raspberry extract is another good alternative with a similar berry profile.
