 Save to Pinterest
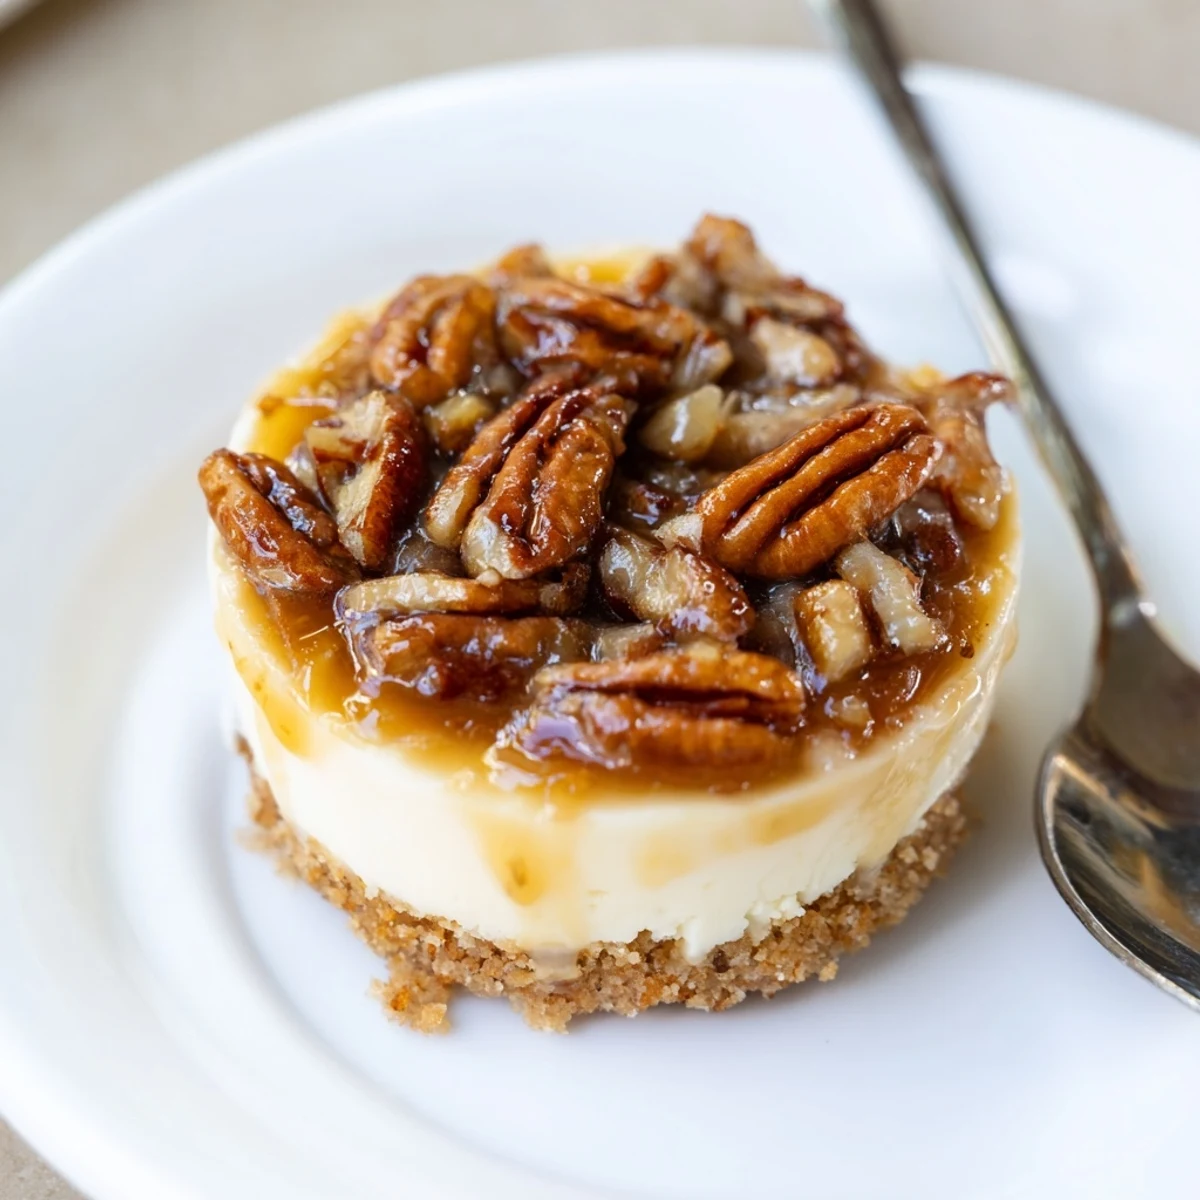
 These mini pecan pie cheesecakes start with a graham cracker crust pressed into a 12-cup muffin tin, followed by a smooth cream cheese filling baked until centers are just set and chilled. The topping is a quick butter, brown sugar and cream glaze folded with chopped pecans and vanilla. Toast nuts for more aroma, swap cookie crumbs for caramel notes, and chill before serving for clean, rich bites.
The sizzle of butter in a small pan and the scent of toasted pecans always takes over my kitchen when I make these mini pecan pie cheesecakes. It’s one of those recipes that’s less about impressing guests and more about treating yourself to that blend of creamy, nutty, and buttery—all in a perfectly sized package. I stumbled into this combination on a rainy afternoon when regular pie felt daunting but cheesecake seemed too plain. Now, the clack of the muffin tin has become a familiar prelude to something sweet and slightly over-the-top.
One winter evening, I made these for my friend Mira, who claimed she “wasn’t a cheesecake person” but changed her mind after one bite. We ended up standing in my kitchen, fork in hand, marveling at how the pecans glossed over the creamy filling without making the crust soggy. That surprise, and the laughter that followed, stuck with me.
Ingredients
- Graham cracker crumbs: Use fresh crumbs to avoid a stale flavor—a kitchen trick is to blitz whole crackers just before mixing.
- Granulated sugar: A little in the crust and a little in the filling for sweetness that isn’t overpowering.
- Unsalted butter: Melted and cooled, this binds your crust—if the butter is too hot, the crust can get greasy.
- Cream cheese: Always let it soften so it blends lump-free for the silkiest texture.
- Egg: Work this in gently—overmixing leads to cracks in the cheesecake.
- Vanilla extract: Adds warmth and depth; real vanilla makes a difference here and in the topping.
- Sour cream: This is my secret for a cheesecake that's creamy but not too dense.
- Pecans: I toast mine for a few minutes in a dry pan to maximize their nuttiness before chopping.
- Brown sugar: It brings caramel notes to the pecan topping and ties everything together.
- Heavy cream: Just a splash in the topping for a molten, pudding-like finish that firms up as it chills.
- Salt: Don’t skip this—just a pinch gives instant balance and keeps everything from being cloyingly sweet.
Instructions
- Set the Scene:
- Heat your oven to 325°F (165°C) and imagine tiny cheesecakes waiting—line your muffin tin as the anticipation builds.
- Build the Crust:
- Stir together graham cracker crumbs, sugar, and melted butter until it looks like wet sand, then press it firmly into the lined cups—it should compact easily under your fingers.
- Make the Filling:
- Beat the softened cream cheese with sugar until you see no lumps, then whisk in the egg, vanilla, and sour cream only until smooth; spoon gently over the crusts.
- Bake and Cool:
- Bake until edges are set but centers barely jiggle, about 16–18 minutes, then cool on the counter before chilling to keep that creamy texture.
- Pecan Pie Magic:
- In a saucepan, stir together brown sugar, butter, cream, and salt over medium heat—once it bubbles and thickens after a few minutes, toss in pecans and vanilla, stirring until glossy.
- Final Assembly:
- Top chilled cheesecakes with warm pecan mixture, pop them back in the fridge to set the topping, and wait out the final chill for the perfect bite.
 Save to Pinterest
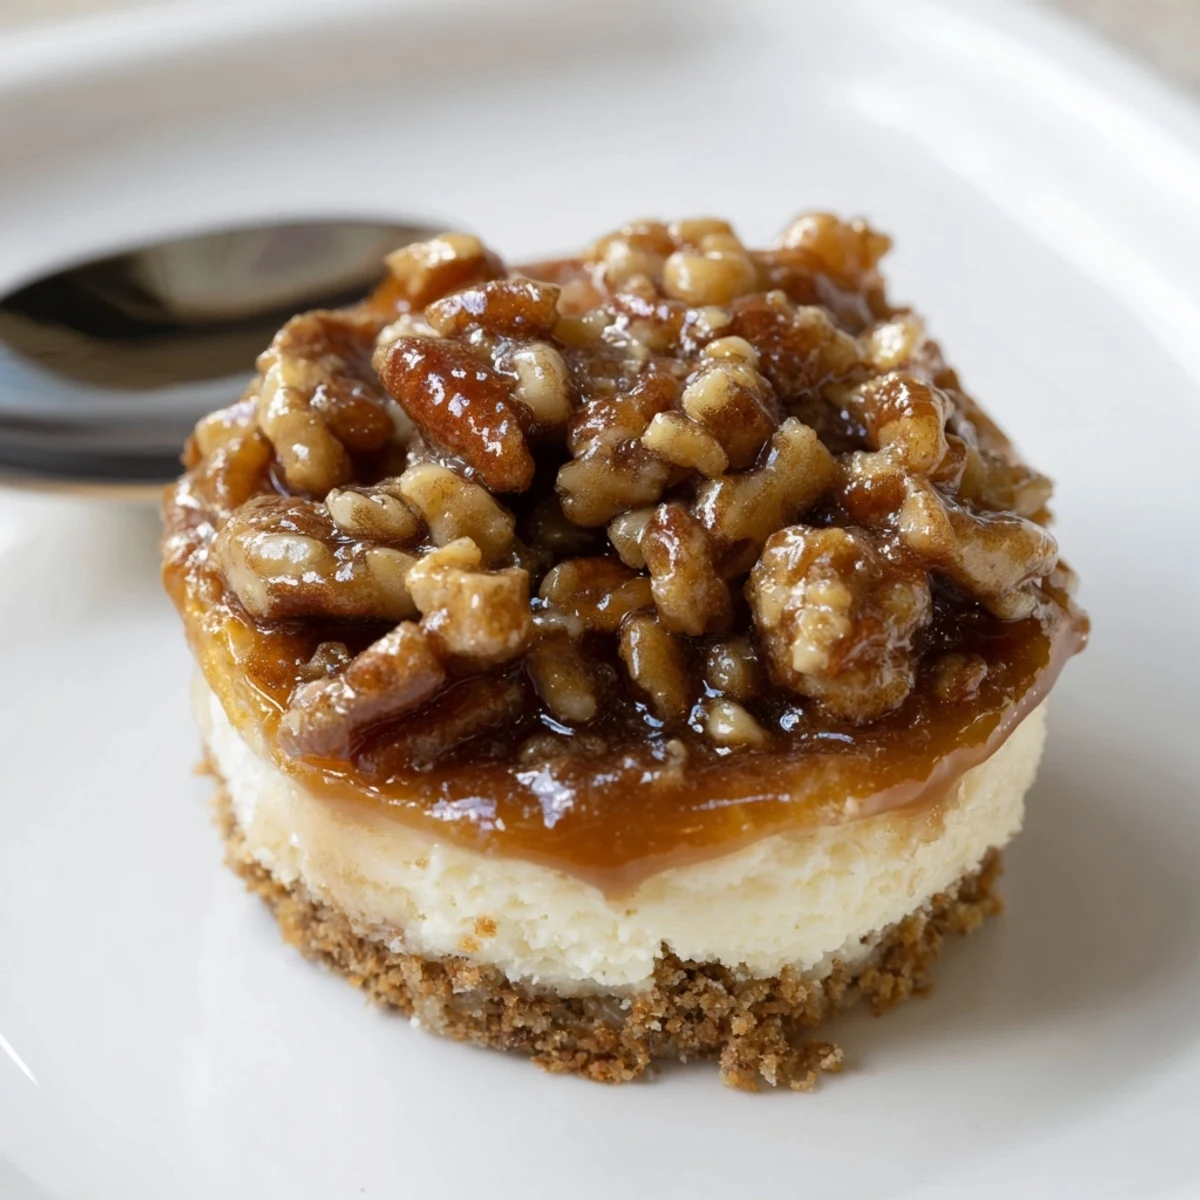
 The real magic happened the time my brother poked his head in just as I spooned the warm topping: he claimed he could smell “something special” from the driveway. We stood together watching the topping settle, and for once, nobody was tempted to dig in early—the anticipation made those first bites all the better.
Choosing the Best Pecans
I learned after a few tries that fresher, high quality pecans really do make a difference here. Stale nuts dull the whole dessert, but a quick toast brings their flavor to life and gives the topping that craveable crunch.
Getting the Creamiest Cheesecake
It’s tempting to beat the filling just a little longer, but stopping when it’s just smooth is the secret to avoiding cracks and dryness. Cream cheese at room temperature is your best friend—take it out in advance for super smooth mixing.
Mini Cheesecake Success Tricks
The muffin liners make releasing these a breeze and keep the crust crisp around the edges. I find a spoon or offset spatula helps swirl the pecan topping neatly, and a final chill brings all the layers together beautifully.
- If you want extra caramel notes, try Biscoff cookies in place of graham crackers.
- Room temperature eggs blend best and won’t seize the cream cheese.
- The cheesecakes taste even better the next day—if you can wait that long.
 Save to Pinterest
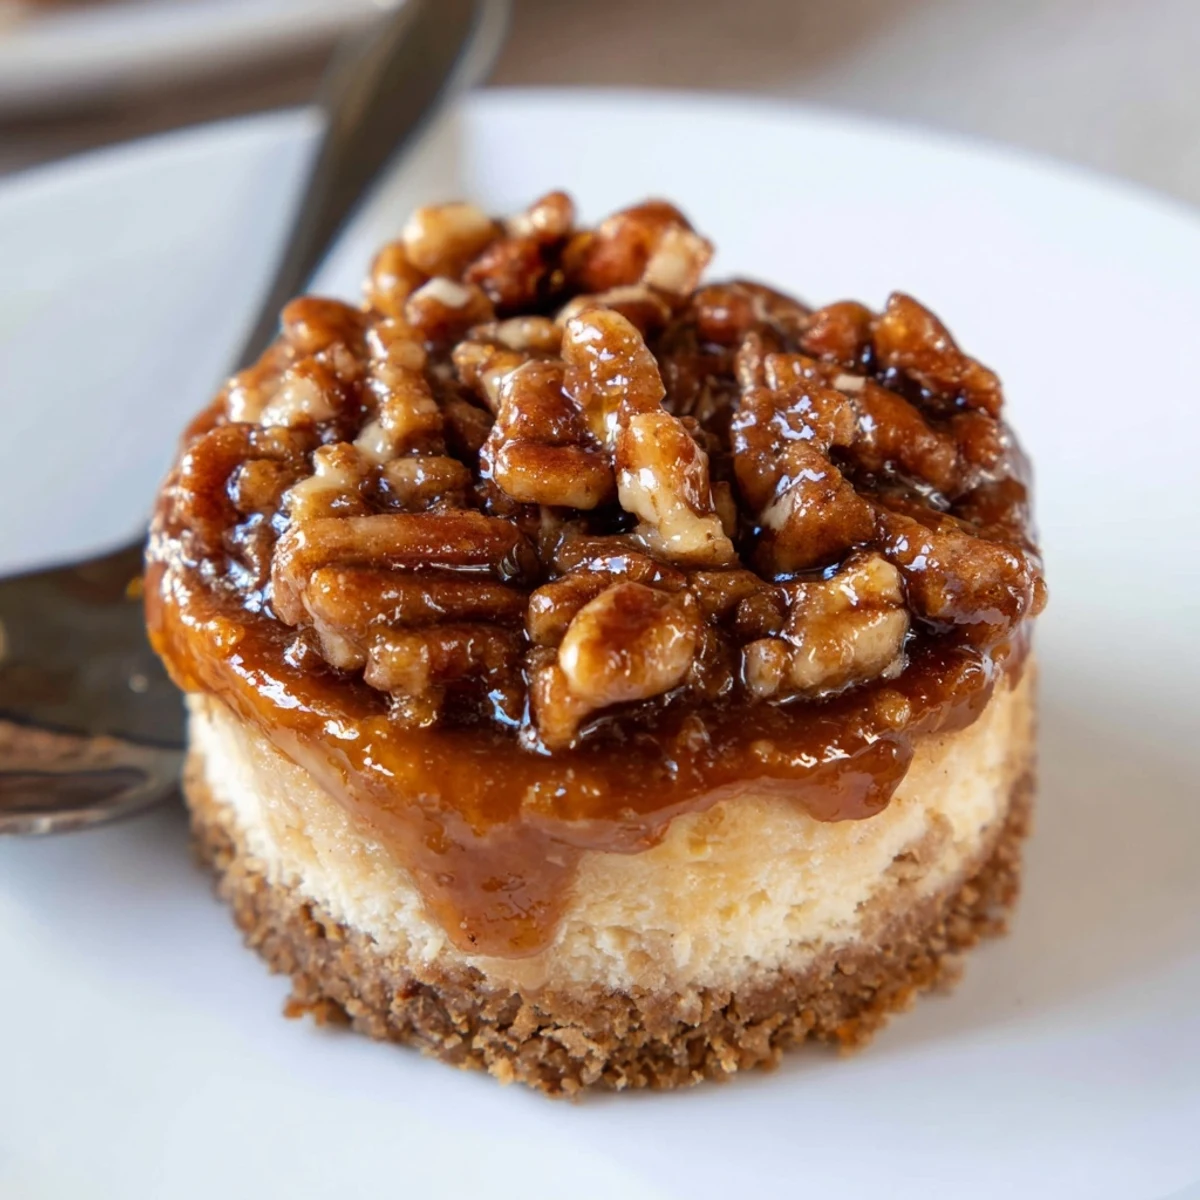
 These mini pecan pie cheesecakes are just the right size for sharing—or for savoring quietly on your own when you need something extra special. Every batch winds up with new memories, and I hope yours does, too.
Your Recipe Questions Answered
- → How do I avoid cracks in the filling?
-
Use room-temperature cream cheese and avoid overmixing. Bake until centers are just set—edges should be set but centers slightly wobbly—then cool gradually and refrigerate to finish setting.
- → Can the pecan topping be made ahead?
-
Yes. Prepare the pecan glaze, cool completely, and store refrigerated in an airtight container for 2–3 days. Warm gently if too firm before spooning over chilled cheesecakes.
- → What's the best way to toast pecans?
-
Toast on a baking sheet at 350°F (175°C) for 6–8 minutes or in a dry skillet over medium heat, stirring often. Cool before chopping to preserve crunch and flavor.
- → What can I use instead of graham crackers?
-
Swap graham crackers for Biscoff or digestive biscuits for caramel notes, or use gluten-free crackers if needed. Adjust butter amount to reach a pressable texture.
- → How should I store and freeze the mini cheesecakes?
-
Refrigerate up to 4 days in a covered container. For freezing, place on a tray until firm, then wrap individually and store in an airtight container for up to 1 month; thaw overnight in the fridge.
- → How do I get clean slices and neat servings?
-
Chill thoroughly before serving. Use a hot, slightly wet knife and wipe between cuts to keep edges tidy when plating.
