 Save to Pinterest
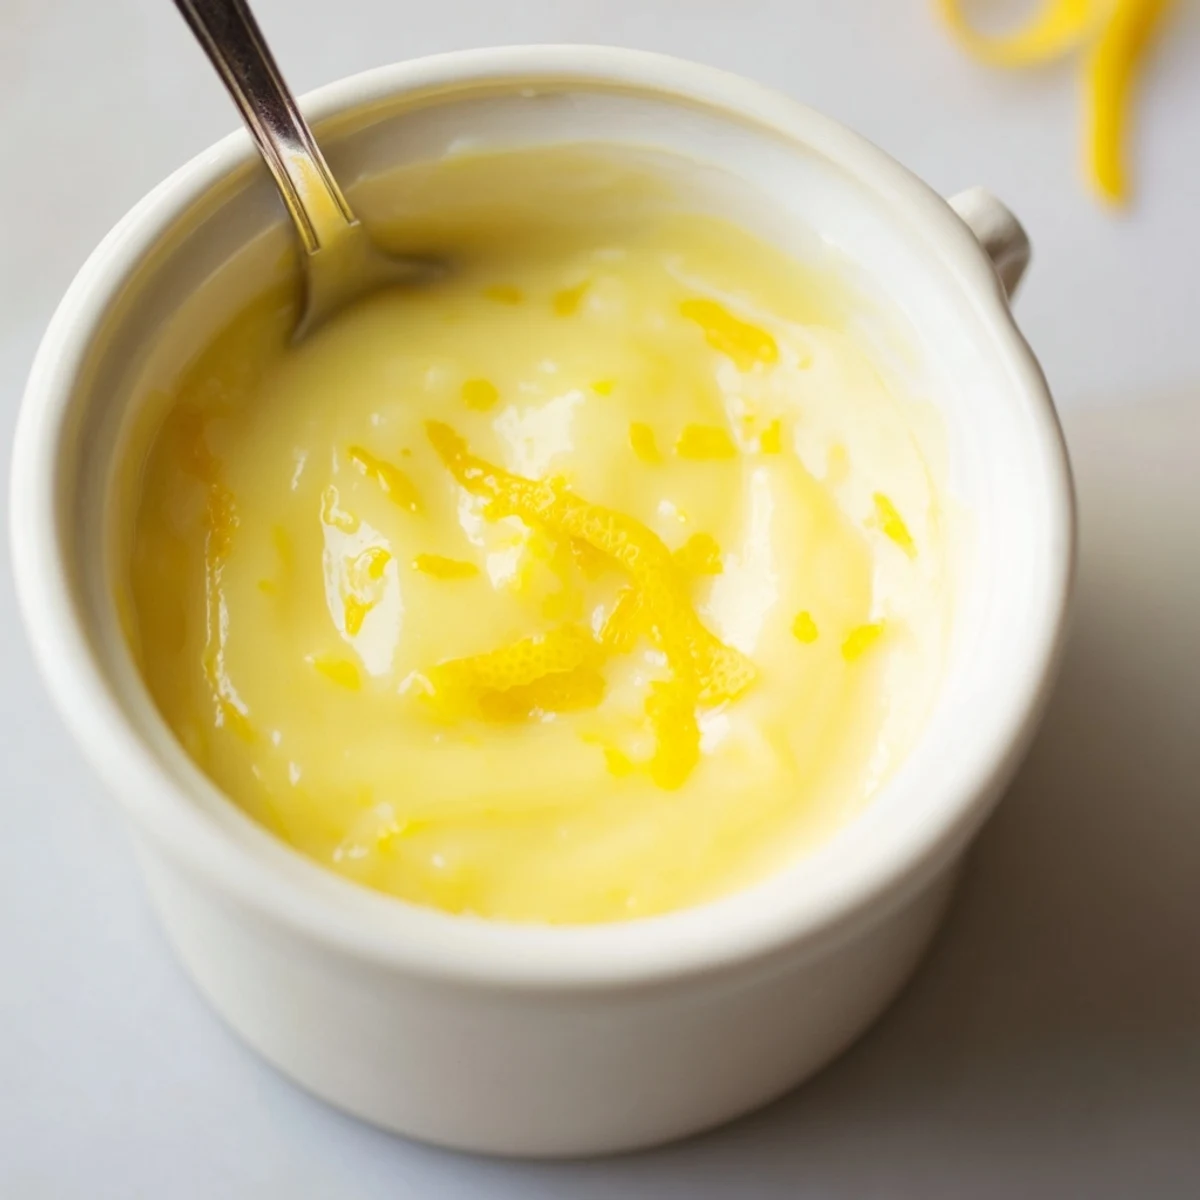
 Make a silky lemon curd by whisking eggs and sugar, then stirring in fresh lemon zest and juice. Cook the mixture over gently simmering water, whisking until it thickly coats a spoon, about 8–10 minutes. Off heat, whisk in cubed butter until glossy, strain for extra smoothness, cool, and jar. Keeps chilled up to two weeks; use plant butter for a dairy-free option.
The first time a swirl of lemon curd brought sunshine to my kitchen, I wasn’t even planning to make it—I just had a bag of lemons begging for attention and an afternoon without deadlines. The bright aroma of citrus always makes Tuesdays feel like a celebration, and this recipe keeps popping up whenever I crave something silky and joyful. Mixing simple ingredients into such a vibrant outcome never fails to surprise me. Suddenly, toast and scones turn regal with just a spoonful.
I still remember making this for a friend on a rainy Sunday, the kitchen windows streaked with drizzle while our spoons clinked against glass jars, laughter filling the room. We ended up eating spoonfuls straight from the bowl, chasing that bold tang with burnished scones. Somehow, the lemony smell stuck to our sleeves long after the last bite. It was the kind of afternoon that proves desserts don’t need an occasion.
Ingredients
- 4 large eggs: The backbone of lemon curd, eggs give it that lush, velvet texture—always crack them into a separate cup first to avoid surprises.
- 4 tablespoons unsalted butter, cubed: Stirred in at the end, butter transforms the curd from tart to silky with a glossy finish.
- 3 large lemons (zest and juice; about 1 tablespoon zest, 120 ml juice): Fresh lemons make all the difference here, and a fine rasp brings out the aromatic zest without bitterness.
- 200 g (1 cup) granulated sugar: Just enough sweetness to balance the lemons’ zing; don’t be tempted to cut it down, or you’ll miss the magic.
Instructions
- Make your base:
- Whisk together eggs and sugar in a heatproof bowl until the sugar dissolves and the mixture runs pale and creamy between your fingers.
- Stir in the lemons:
- Grate the lemon zest straight into the bowl so the oils infuse every drop, then pour in the juice and give it a brisk whisk.
- Set up for gentle heat:
- Place your bowl over a gently simmering pan of water, ensuring the water doesn’t touch the base of the bowl, and keep whisking so nothing sticks or curdles.
- Whisk and thicken:
- You’ll feel the curd transform as it thickens, going from loose to lush and almost pudding-like, usually after 8 to 10 minutes.
- Butter it up:
- Off the heat, drop in cubes of butter, stirring until they vanish and the curd becomes glossy and rich.
- Smooth it all out:
- Pour the curd through a fine-mesh sieve into a clean bowl to catch stray bits, marveling at the silky sheen.
- Cool and store:
- Let it cool down, then spoon into sterilized jars and refrigerate; it thickens beautifully as it chills and will keep up to two weeks.
 Save to Pinterest
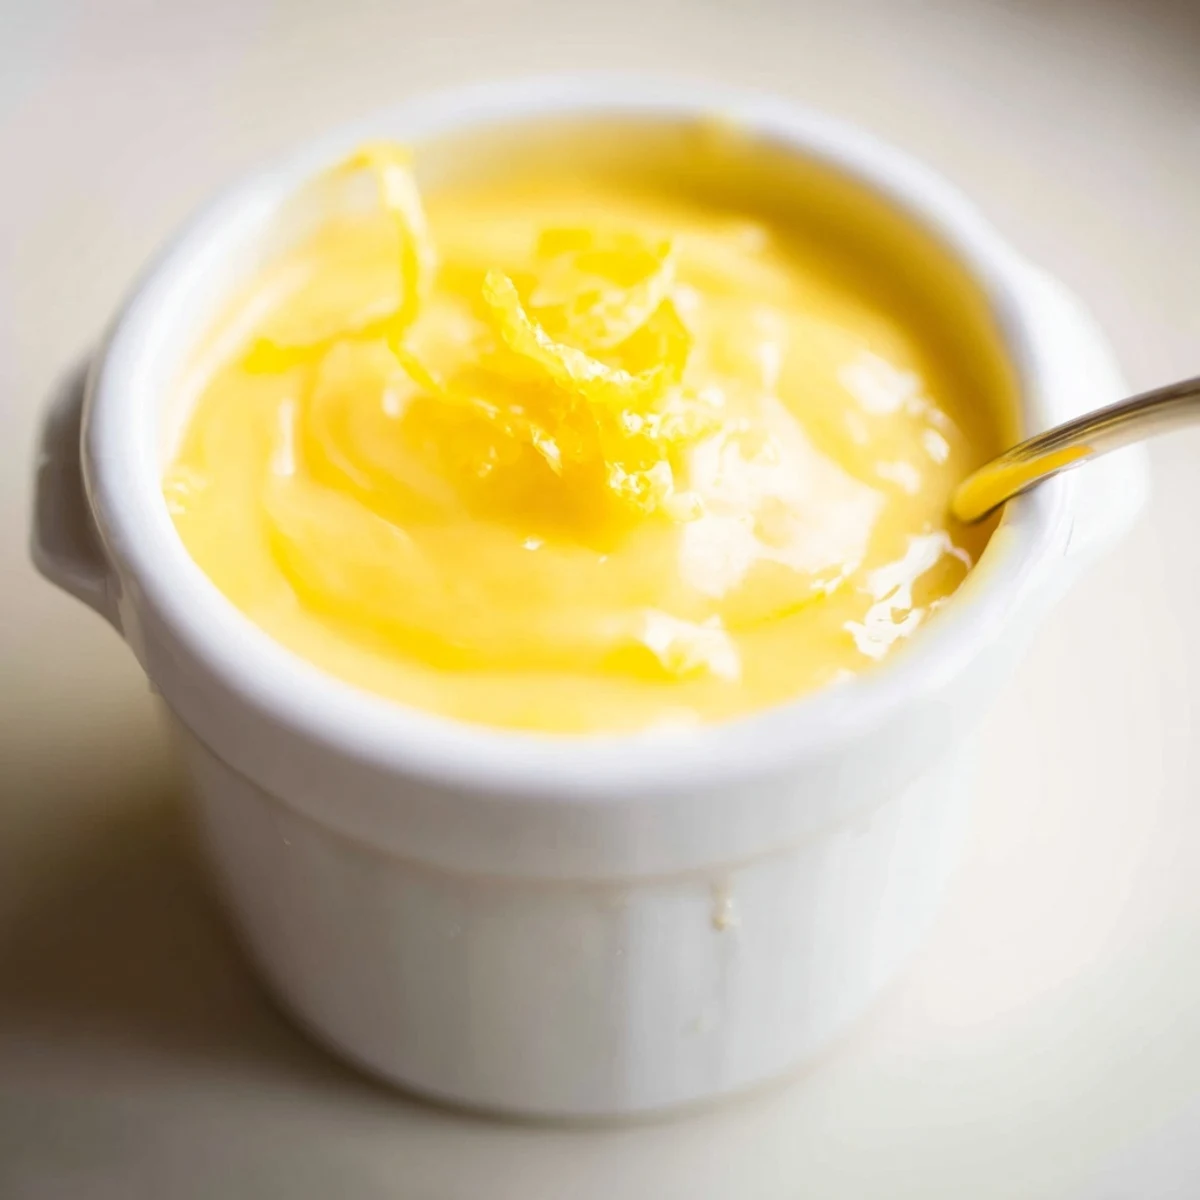
 I once served fresh lemon curd alongside shortbread at an impromptu tea for my neighbor, and she looked up mid-bite and declared it “a jar of happiness”—the grin still makes me smile every time I fill a jar.
Simple Ways to Enjoy Lemon Curd
I’ve spotted this golden curd dolloped on pancakes, swirled through yogurt, and tucked between cake layers, but my favorite use is atop warm toast or as a secret scone accompaniment.
Small Tweaks That Make It Yours
Trying it with Meyer lemons gives a floral edge, and a tiny splash of vanilla can mellow the tartness if you’re feeling experimental.
Making Lemon Curd Without Fuss
I used to fret about curdling, but low heat and never rushing the thickening let the curd set up perfectly every time. A silicone spatula helps scrape every last bit from the bowl, while patience pays off when cooling before jarring.
- Always zest the lemons before juicing—it’s much simpler.
- If you’re short on lemons, bottled juice is no match for fresh, but works in a pinch.
- Label your jars and include the date so no one misses their golden window.
 Save to Pinterest
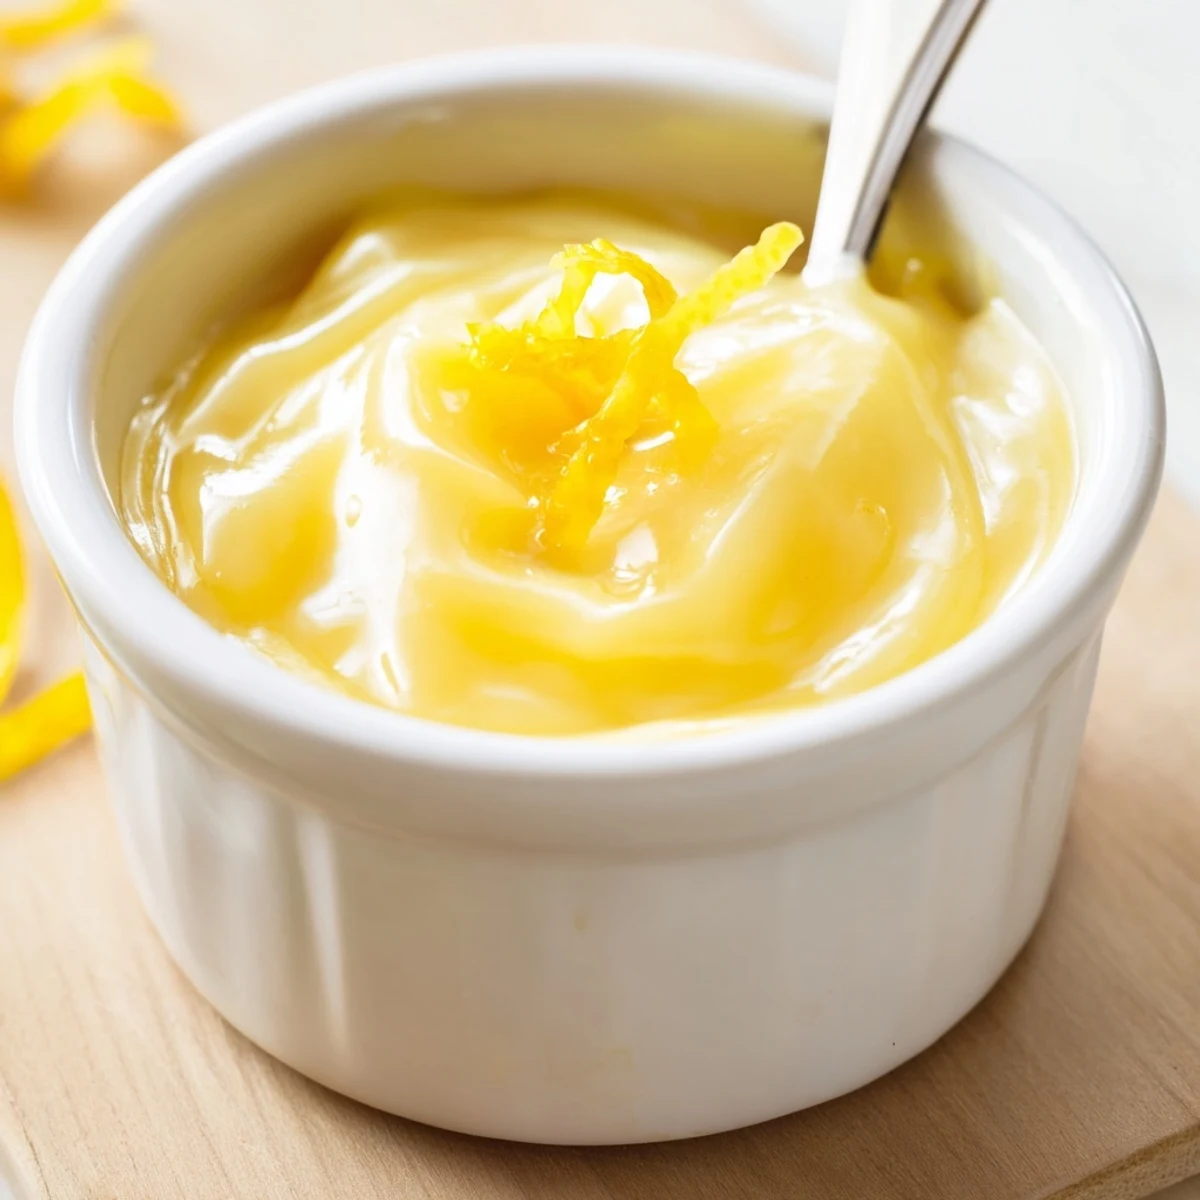
 This lemon curd brings out the joyful side of any kitchen day, simmering away while conversations flow or music plays. Here’s to spreading sunshine, one spoon at a time!
Your Recipe Questions Answered
- → How do I stop the curd from curdling?
-
Cook gently over a double boiler and whisk constantly. Keep the heat low so the eggs heat slowly—rapid heat is the usual cause of curdling. If it starts to separate, remove from heat and whisk vigorously to bring it back together, then strain.
- → Why strain the curd?
-
Straining removes bits of cooked egg and any coarse zest, yielding a silky, smooth texture ideal for spreading or filling. For extra silkiness, pass it through the sieve twice.
- → Can I make it dairy-free?
-
Yes. Swap the butter for an equal amount of plant-based butter. Choose a neutral-flavored vegan butter and whisk it in off the heat for the same glossy finish.
- → How do I know when it’s thick enough?
-
The curd is ready when it thickly coats the back of a spoon and you can run your finger through it to leave a clear trail. That usually takes about 8–10 minutes over a simmer.
- → How should I store the curd?
-
Cool to room temperature, transfer to sterilized jars, and refrigerate. Properly chilled, it keeps up to two weeks. Use clean utensils to avoid contamination.
- → Can I reduce the sugar or adjust tartness?
-
Yes. Reduce sugar slightly to taste, but remember sugar affects texture and shelf life. Increase or decrease lemon juice to adjust tang, balancing acidity with sweetness for desired flavor.
