
 Save to Pinterest
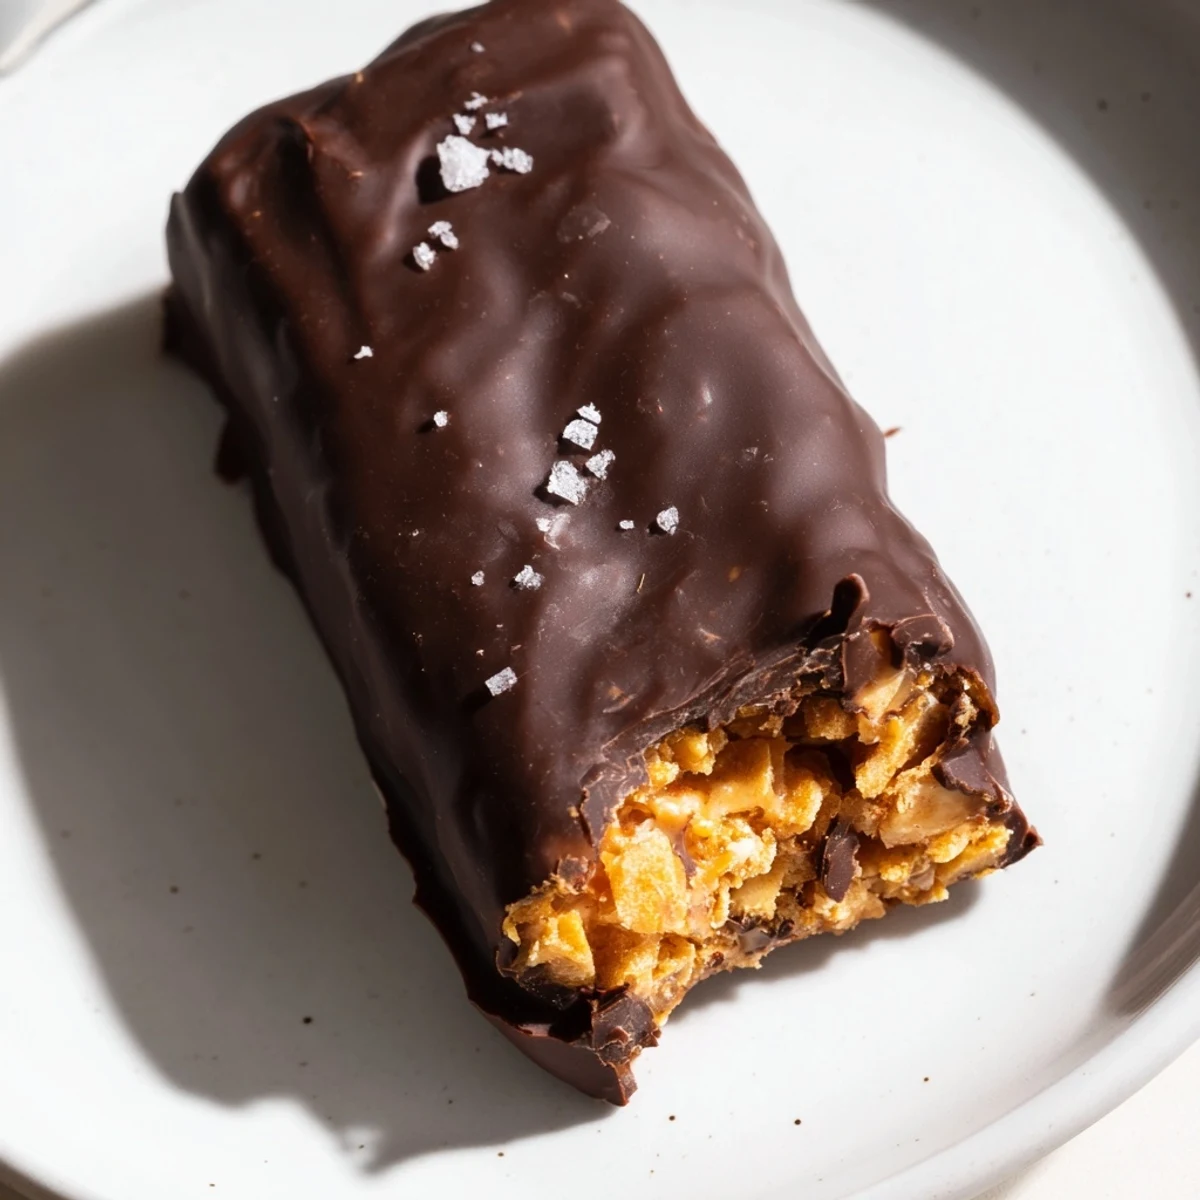
 These homemade Butterfingers capture everything you love about the classic candy bar — the shatteringly crunchy peanut butter center and the glossy chocolate shell — but with a lighter, more wholesome approach.
A simple mixture of creamy peanut butter, maple syrup, and crushed cornflakes forms the irresistible crispy filling. After a quick chill to set, each bar gets dipped in melted dark chocolate and finishes with a satisfying snap.
Ready in about an hour with minimal cooking required, these no-fuss bars are vegetarian and easily made gluten-free and vegan. They store beautifully in the fridge or freezer for whenever a candy craving strikes.
The candy aisle at the grocery store always gets me, especially around Halloween when those orange and yellow Butterfinger packages are stacked everywhere. Last October, instead of tossing a few into my cart, I went home and figured out how to make something close using real ingredients I actually had in my pantry. The result was so crunchy and peanut buttery that my roommate ate six bars before they even finished setting in the fridge.
I brought a batch of these to a movie night with friends, fully expecting them to sit on the plate next to the store bought snacks. They disappeared before the opening credits finished rolling, and now I get texts asking for the recipe every few weeks.
Ingredients
- Natural creamy peanut butter (1 cup): Use the kind with just peanuts and salt, because the stabilizers in conventional peanut butter make the texture gummy instead of flaky and crisp.
- Pure maple syrup or honey (1/2 cup): Maple syrup keeps this vegan, while honey adds a slightly warmer sweetness that pairs beautifully with the dark chocolate.
- Vanilla extract (1 teaspoon): Just a small splash rounds out the sweetness and makes the peanut butter taste deeper and more complex.
- Cornflakes (2 cups, lightly crushed): These are the secret to that signature Butterfinger crunch, and using certified gluten free cornflakes makes this safe for anyone avoiding gluten.
- Sea salt (pinch): A tiny pinch in the base elevates the peanut flavor far more than you would expect from such a small addition.
- Dark chocolate chips (1 1/2 cups): Dark chocolate balances the sweetness of the filling perfectly, and dairy free chips make this accessible for vegan friends.
- Coconut oil (1 tablespoon): This thins the chocolate slightly so it coats the bars smoothly and sets with a satisfying snap when you bite into them.
Instructions
- Prep your pan:
- Line an 8x8 inch baking dish with parchment paper, leaving overhang on the sides so you can lift the whole slab out later without any sticking.
- Melt the base:
- Combine peanut butter and maple syrup in a saucepan over medium low heat, stirring gently until the mixture is completely smooth and just warmed through, about 2 to 3 minutes.
- Add flavor:
- Take the pan off the heat and stir in the vanilla extract and a pinch of sea salt until evenly incorporated throughout the warm peanut butter mixture.
- Fold in the crunch:
- Gently fold the lightly crushed cornflakes into the peanut butter mixture, stirring until every flake is coated and the filling looks uniformly golden and textured.
- Press and freeze:
- Spread the mixture into your prepared pan and press it down firmly with a spatula so the surface is completely flat and even, then freeze for 20 to 30 minutes until very firm.
- Cut into bars:
- Lift the slab out of the pan using the parchment overhang and cut it into 16 even bars with a sharp knife, wiping the blade between cuts for clean edges.
- Melt the chocolate:
- Combine the dark chocolate chips and coconut oil in a microwave safe bowl, heating in 30 second bursts and stirring between each until the chocolate is glossy and completely smooth.
- Coat each bar:
- Dip each peanut butter bar into the melted chocolate, turning to coat all sides, then place on a parchment lined tray and let the excess chocolate drip off before moving to the next one.
- Set and store:
- Refrigerate the coated bars for 15 to 20 minutes until the chocolate shell is firm to the touch, then transfer to an airtight container kept in the fridge.
 Save to Pinterest
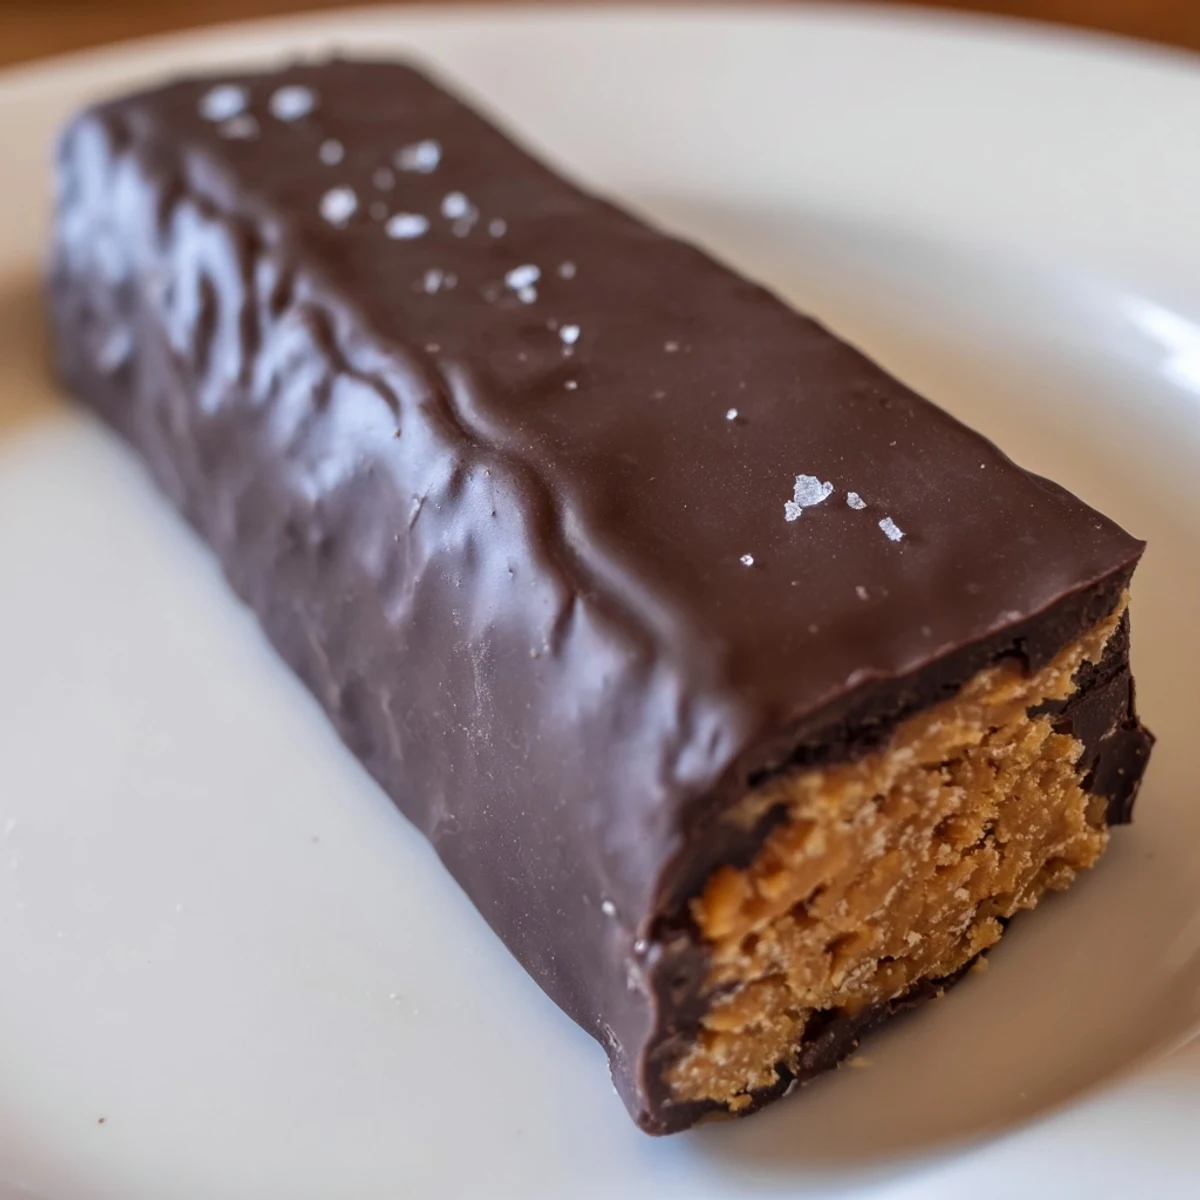
 There is something deeply satisfying about biting into a homemade candy bar that snaps just right, with real chocolate cracking against that crunchy peanut butter center.
What If You Want To Customize Them
Milk chocolate works beautifully if dark feels too intense, and a quick sprinkle of flaky sea salt on top before the chocolate sets takes these from great to absolutely irresistible.
Storing Your Homemade Candy Bars
These bars hold up well in the refrigerator for about two weeks, though in my experience they rarely last that long. You can also freeze them in a single layer separated by parchment paper for up to three months, which means you can always have a batch ready for unexpected sweet tooth emergencies.
Troubleshooting Common Issues
The most frequent problem is chocolate that refuses to set properly, which almost always means there was water in your bowl or on your utensils. Make sure everything is completely dry before melting, and if your chocolate seizes, start over with fresh chips rather than trying to salvage it.
- If the cornflakes feel too large, crush them a bit more in a zip top bag with a rolling pin before folding them in.
- Let the coated bars sit at room temperature for about 5 minutes before eating so the peanut butter center softens slightly.
- Always check your chocolate chip labels if you are serving these to someone with allergies.
 Save to Pinterest
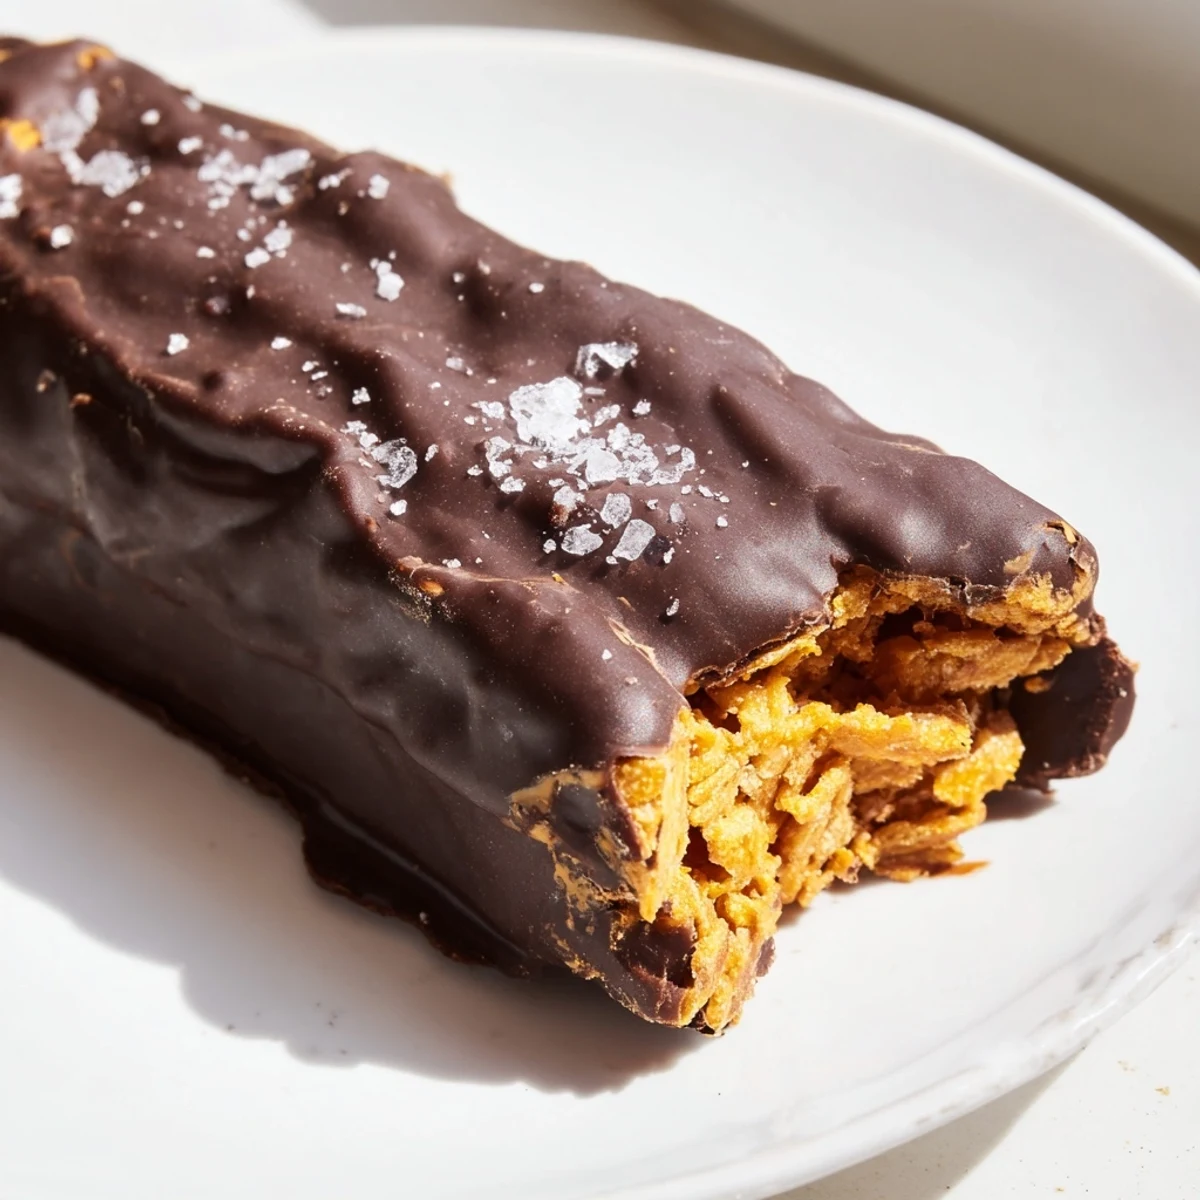
 Once you realize how simple it is to make your own candy bars, the store bought versions start to feel a lot less magical. Keep a batch in your freezer and you will always have something sweet and homemade to share.
Your Recipe Questions Answered
- → Can I use a different type of cereal instead of cornflakes?
-
Yes, you can substitute cornflakes with rice crisps, crushed graham crackers, or even toasted oats. Keep in mind the texture will change — cornflakes deliver that signature Butterfinger crunch. If going gluten-free, ensure whatever cereal you choose is certified.
- → Why do my bars fall apart when dipping in chocolate?
-
The peanut butter mixture needs adequate time to firm up in the freezer — at least 20 to 30 minutes. If the bars are too warm, they'll crumble. Work quickly when dipping, and if needed, return them to the freezer for a few minutes between batches.
- → How should I store these chocolate-dipped bars?
-
Store the finished bars in an airtight container in the refrigerator for up to two weeks. For longer storage, freeze them for up to three months. Let chilled bars sit at room temperature for a few minutes before eating for the best texture and flavor.
- → Can I make these completely vegan?
-
Absolutely. Use maple syrup instead of honey, and choose dairy-free dark chocolate chips. Most dark chocolate is naturally dairy-free, but always check the label. Coconut oil remains the same. The rest of the ingredients are already plant-based.
- → What kind of peanut butter works best for the crunch layer?
-
Natural creamy peanut butter with no added sugar or oils gives the best results — it binds smoothly with the maple syrup. Avoid chunky peanut butter as the additional nuts interfere with the crisp texture. Stir your peanut butter well before measuring if the oil has separated.
- → Can I use milk chocolate instead of dark chocolate for coating?
-
Yes, milk chocolate works beautifully if you prefer a sweeter, creamier coating. You can also try semi-sweet chocolate for a middle ground. The coconut oil helps thin whichever chocolate you choose for easier dipping and a nicer set.