 Save to Pinterest
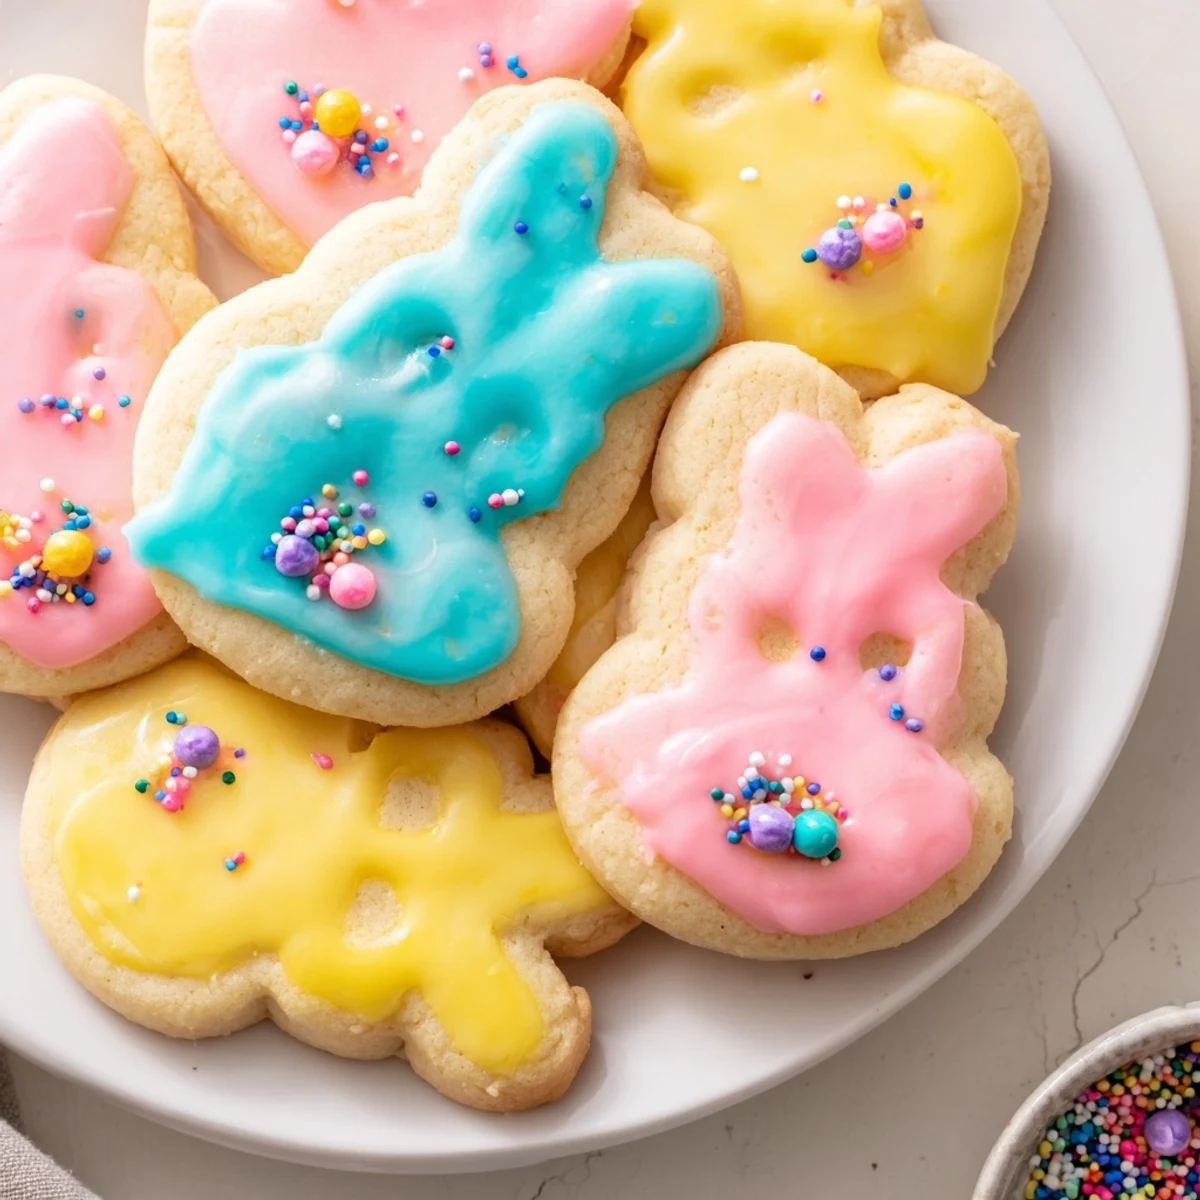
 These buttery, sugar-based treats shaped like bunnies bring a festive touch to celebrations. The dough is chilled for optimal texture before baking until lightly golden. Once cooled, pastel-colored icing and sprinkles add flair and sweetness. Almond extract adds optional aroma, and decoration options allow creativity. Ideal for sharing, these delicate confections balance crisp edges with tender centers.
My kitchen became a pastel wonderland the first time I attempted these Easter Bunny Sugar Cookies. Flour dusted every surface like fresh snow, and I may have gotten more icing on myself than on the actual bunnies. Theres something wonderfully chaotic about holiday baking that makes it feel like magic instead of work.
Last Easter my niece decided every bunny needed pink ears because real bunnies have pink inside their ears. I spent thirty minutes mixing tiny batches of icing to achieve just the right shade. Those imperfect cookies with their too dark ear centers were the first ones to disappear from the platter.
Ingredients
- All-purpose flour: The backbone of these cookies providing structure without making them tough
- Baking powder: Just enough to give your cookies a slight lift and tender texture
- Salt: Balances the sweetness and enhances all the other flavors
- Unsalted butter: Use softened butter for that perfect melt in your mouth texture and rich flavor
- Granulated sugar: Sweetens the dough while creating crisp edges
- Large egg: Binds everything together and adds necessary richness
- Pure vanilla extract: The classic warm flavor that makes cookies taste homemade
- Almond extract: Completely optional but adds a lovely subtle nutty depth
- Powdered sugar: Creates the smooth glossy icing that transforms simple cookies into festive treats
- Milk: Adjusts the icing consistency to your preferred thickness
- Food coloring: Pastel shades work beautifully for that soft Easter aesthetic
- Sprinkles and decorations: The fun part where creativity takes over
Instructions
- Whisk the dry ingredients together:
- Combine your flour baking powder and salt in a medium bowl until well blended. This step ensures even distribution of leavening for consistent results.
- Cream the butter and sugar:
- Beat softened butter and granulated sugar for two to three minutes until pale and fluffy. The air incorporated here makes cookies tender not dense.
- Add the wet ingredients:
- Mix in the egg vanilla and almond extract until fully combined. Scrape down the bowl to catch any pockets of butter that escaped.
- Form the dough:
- Gradually add the dry ingredients on low speed just until a soft dough forms. Over mixing leads to tough cookies so stop as soon as flour disappears.
- Chill the dough:
- Divide dough in half shape into disks and wrap tightly. Chilling for at least thirty minutes prevents cookies from spreading too much in the oven.
- Prepare to bake:
- Preheat your oven to 350°F and line baking sheets with parchment paper. This prevents sticking and makes cleanup effortless.
- Roll and cut:
- On a floured surface roll dough to quarter inch thickness and cut out bunny shapes. Re roll scraps only once to maintain tender texture.
- Bake to perfection:
- Arrange cookies one inch apart on prepared sheets and bake for nine to eleven minutes. Watch for just barely golden edges which signals they are done.
- Cool completely:
- Let cookies rest on baking sheets for five minutes before moving to wire racks. Warm cookies cause icing to melt so patience is essential.
- Make the icing:
- Whisk powdered sugar milk and vanilla until completely smooth. The consistency should be thick enough to hold its shape but spreadable.
- Decorate your bunnies:
- Divide icing and tint with pastel food coloring then pipe or spread onto cooled cookies. Add sprinkles while icing is still wet so they adhere properly.
 Save to Pinterest
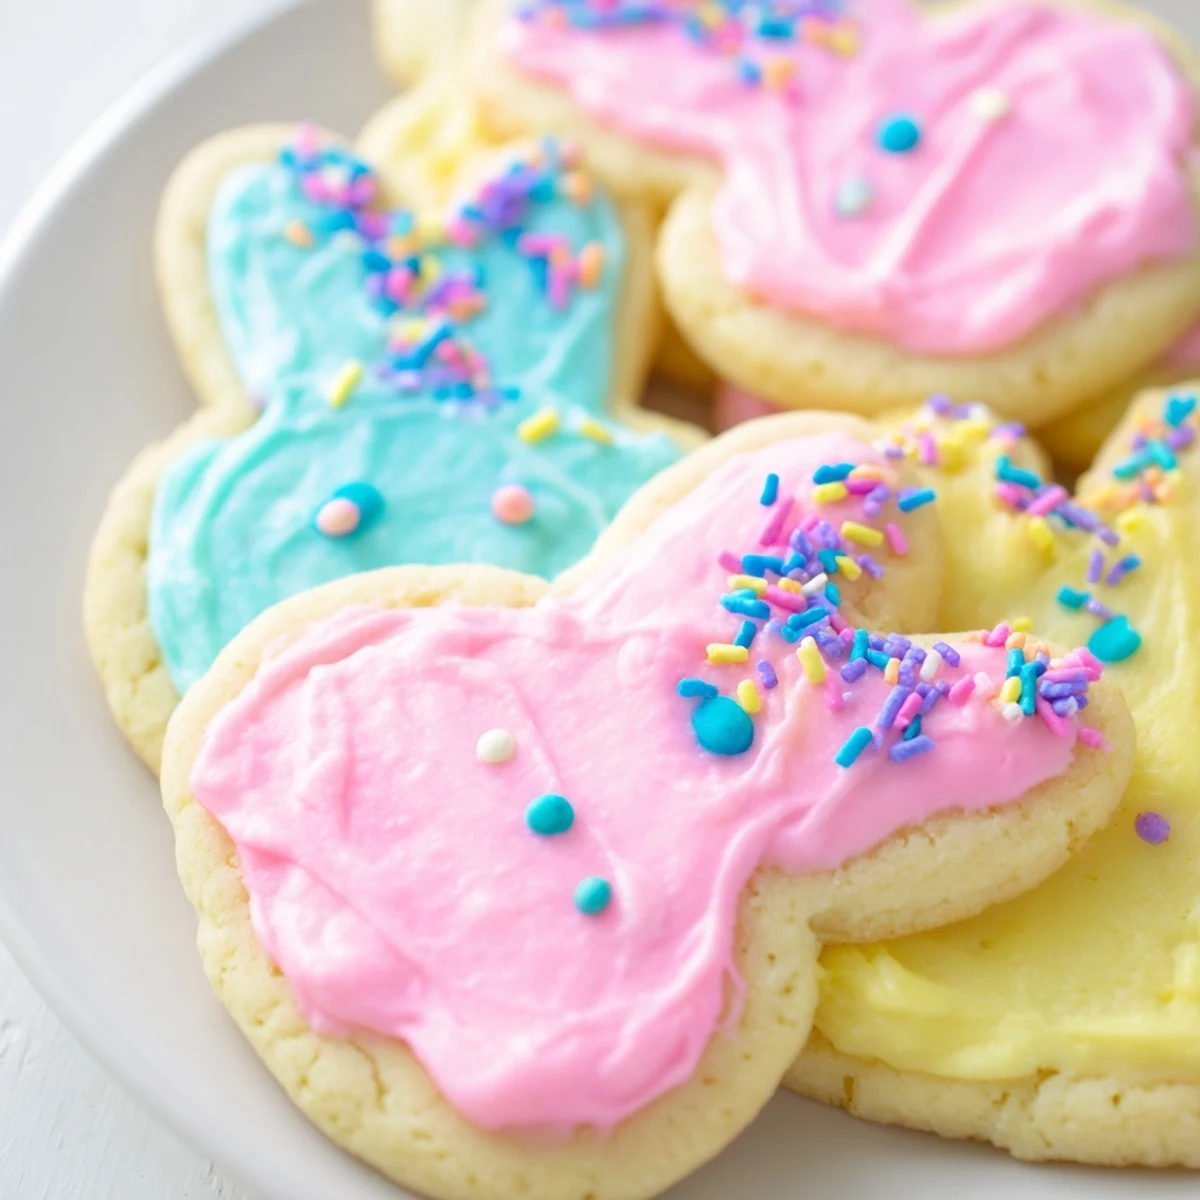
 My mother still talks about the year I made an entire batch of zombie bunnies because I got overconfident with the piping. We laughed until our sides hurt and created a new family tradition of intentionally making one silly cookie each year.
Making The Perfect Icing Consistency
The secret to professional looking cookies is getting your icing texture just right. Too thin and it runs off the edges too thick and it looks like white mud. I test mine by dragging a knife through the bowl and counting seconds the line takes to disappear. Ten to fifteen seconds is the sweet spot for most decorating styles.
Working With Food Coloring
Gel food coloring produces the most vibrant pastels without altering your icing consistency. Liquid coloring can thin the icing unexpectedly and require more powdered sugar to fix. Start with a tiny amount on a toothpaste you can always add more but you cannot take it back.
Storage And Freshness
These sugar cookies actually improve slightly after a day as flavors meld and textures soften. Store them in single layers between parchment paper in airtight containers. They stay fresh for up to a week though they rarely last that long in my house.
- Undecorated dough disks freeze beautifully for up to three months
- Baked undecorated cookies freeze well and thaw quickly for last minute needs
- Decorated cookies are best within three days before the icing begins to soften
 Save to Pinterest
 May your Easter be filled with flour dusted counters sticky fingers and cookies that taste like joy. The imperfect ones are always the most memorable anyway.
Your Recipe Questions Answered
- → How do I achieve a crispier texture?
-
Bake the treats for an extra minute to allow edges to become more crisp without drying out the centers.
- → Can I substitute almond extract?
-
Yes, lemon or orange zest can be used for a citrus twist that complements the buttery base.
- → What is the best way to decorate the shapes?
-
Use pastel icing, spread or piped, and add sprinkles or candy eyes for a festive finish.
- → How do I prevent spreading during baking?
-
Chilling the dough before rolling and cutting helps maintain the defined bunny shapes while baking.
- → How should these treats be stored?
-
Keep in an airtight container at room temperature to preserve freshness for up to one week.
