 Save to Pinterest
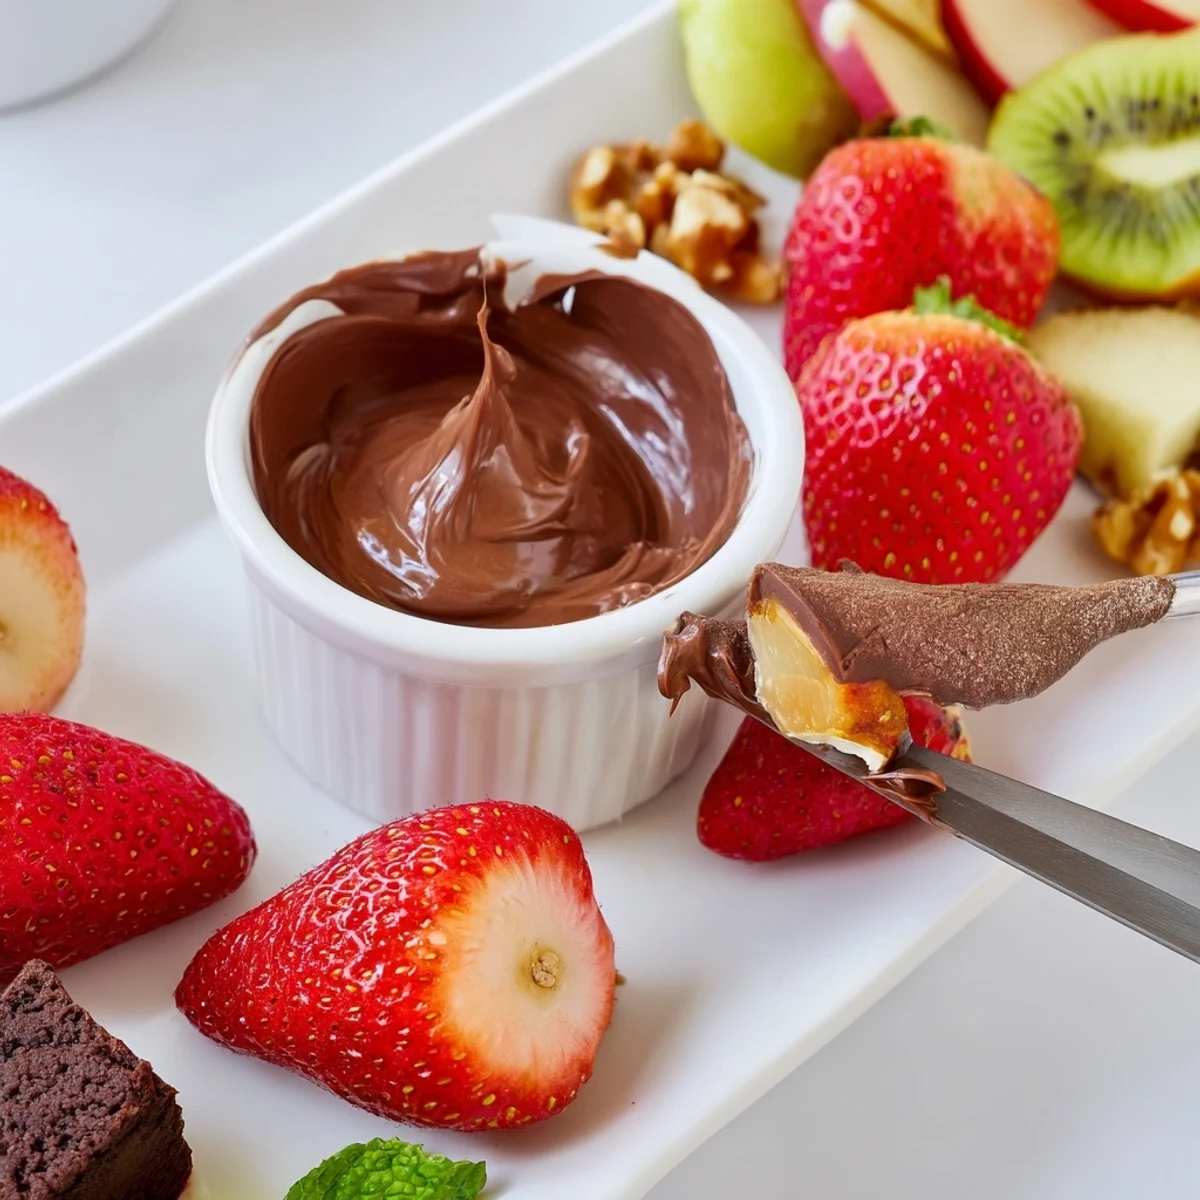
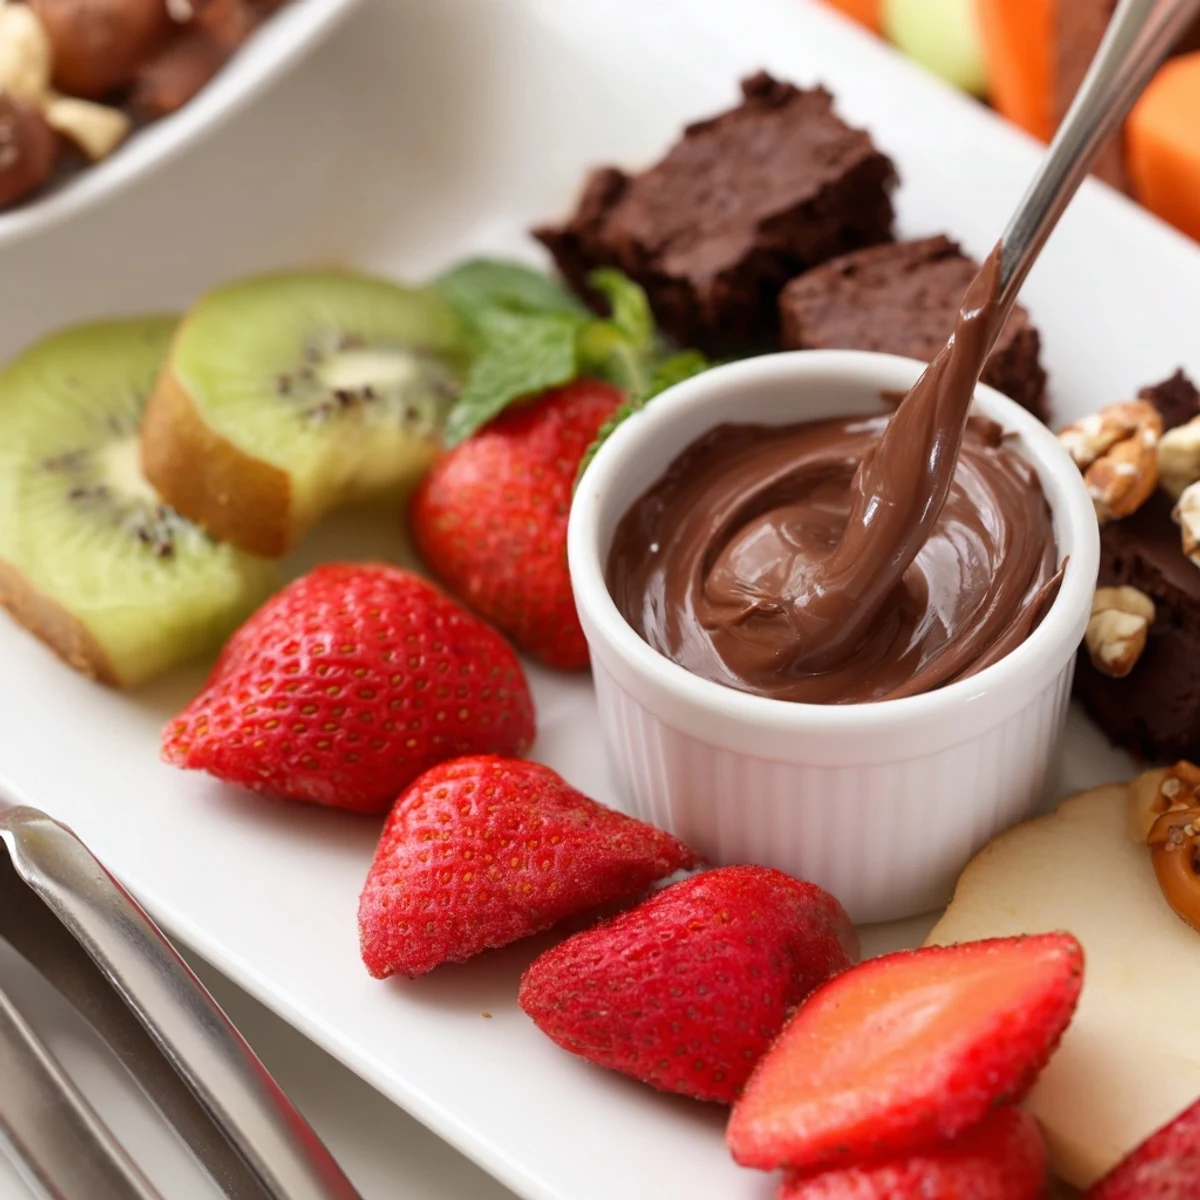
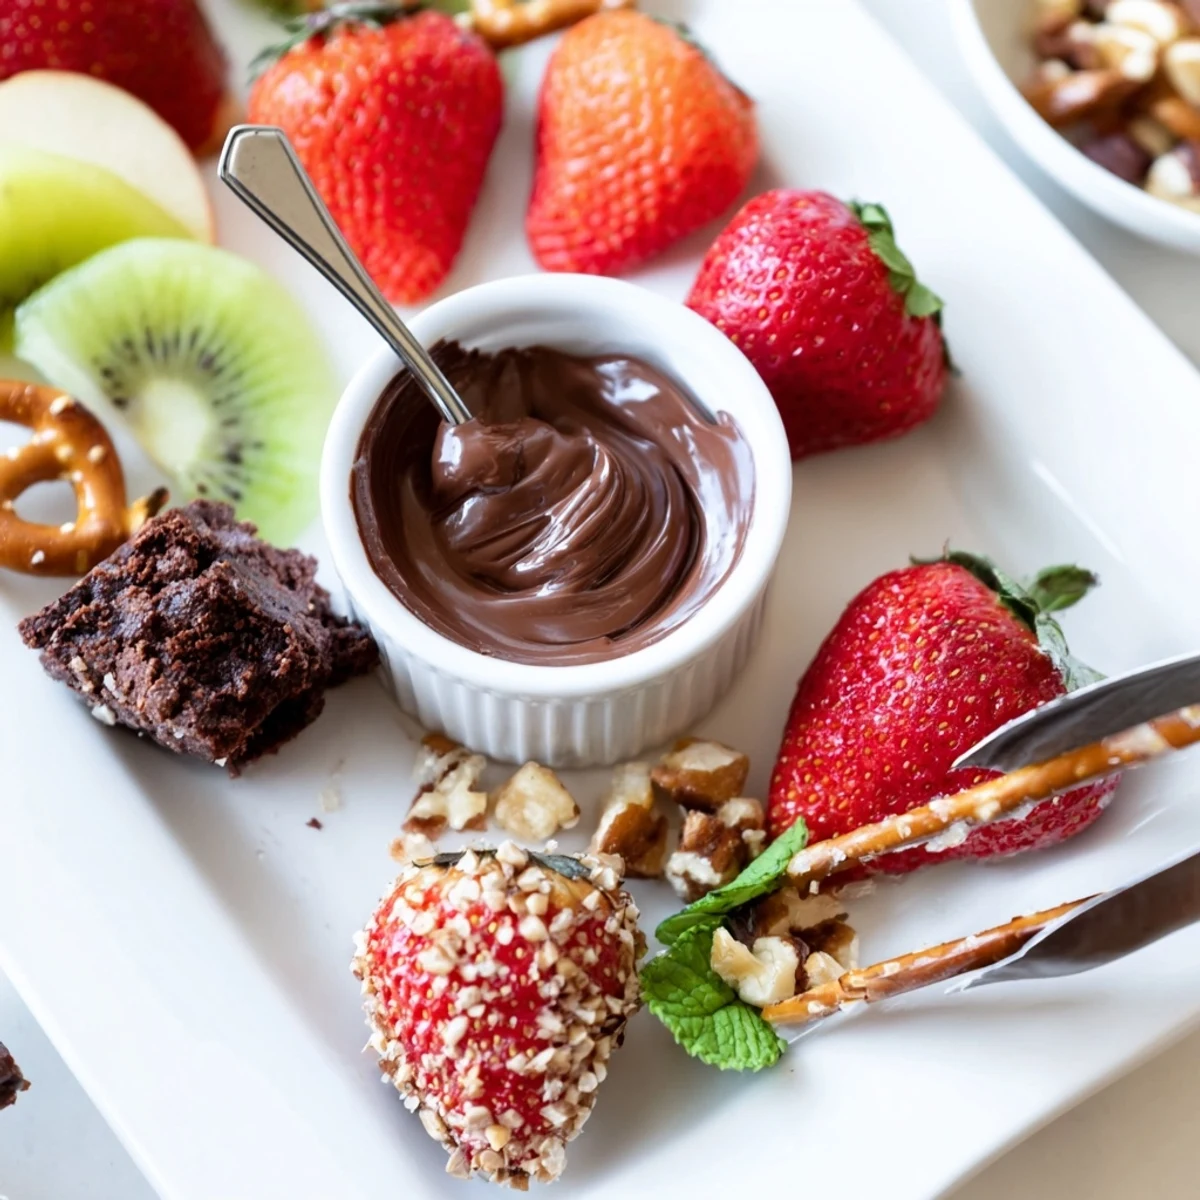
 Assemble a vibrant dessert charcuterie board in about 20 minutes: wash and slice fruit, arrange strawberries, grapes, blueberries, kiwis and apple slices in sections, place small bowls of Nutella, salted caramel and whipped cream, then add chocolates, cookies, brownie bites, marshmallows and chocolate-covered pretzels. Fill gaps with candied nuts and mint, provide tongs, and serve with coffee or dessert wine.
My friend once showed up to our holiday potluck with a wooden board piled high with every sweet thing she could find in her pantry, and the room collectively lost its mind over it. There is something about a dessert charcuterie board that makes grown adults giggle and reach with both hands. No baking, no stress, just glorious, colorful abundance arranged with a little intention. It is the laziest way to look like the most thoughtful host alive.
I built one of these for my nieces birthday last spring and she stood on a chair to survey the spread like a tiny queen inspecting her kingdom. She ate three marshmallows before anyone else got a plate and nobody had the heart to stop her.
Ingredients
- Fresh strawberries, halved (1 cup): Their bright red color anchors the whole board visually, and the juiciness cuts through richer sweets beautifully.
- Seedless grapes (1 cup): Easy grab and eat fruit that adds a satisfying pop when someone bites into one between chocolates.
- Blueberries (1 cup): These fill tiny gaps on the board perfectly and their deep purple blue tone looks stunning next to green kiwi slices.
- Kiwis, peeled and sliced (2): Slice them into rounds so the emerald centers create a pattern that makes the board feel deliberate and artful.
- Apple, thinly sliced (1, tossed with lemon juice): The lemon juice bath is nonnegotiable unless you want sad brown slices within ten minutes of setting everything out.
- Assorted chocolates (1 cup, dark, milk, white): A mix of all three gives people choices and the color contrast between dark and white chocolate looks gorgeous scattered across the board.
- Assorted cookies (1 cup, shortbread, chocolate chip, macarons): Macarons bring elegance while shortbread adds homey comfort, and together they make the spread feel layered and intentional.
- Mini brownies or brownie bites (½ cup): Fudgy richness balances the lighter fruits and gives chocoholics something to really sink into.
- Marshmallows (½ cup): They look like little clouds tucked between darker items and kids gravitate toward them instantly.
- Chocolate covered pretzels (½ cup): The salt underneath the sweet coating is the sneaky flavor punch that keeps people coming back for more.
- Nutella or chocolate hazelnut spread (½ cup): Serve this in a small bowl at the center because it becomes the universal dip that ties everything together.
- Salted caramel sauce (½ cup): Drizzle potential alone makes this worth including, and the sweet salty balance makes fruit taste even better.
- Whipped cream or vanilla yogurt (½ cup): A cool creamy dip that lightens everything up and gives fruit a luxurious coating.
- Candied nuts (¼ cup, optional): Scatter these into empty corners for crunch and a touch of warmth against all the fresh fruit.
- Fresh mint sprigs (optional): Tuck these around the edges and the whole board suddenly looks like it came from a magazine.
Instructions
- Prep and dry the fruit:
- Wash every piece of fruit under cool water, then pat everything thoroughly dry with a clean towel so no moisture makes your chocolates or cookies soggy.
- Build the fruit sections first:
- Arrange the strawberries, grapes, blueberries, kiwi rounds, and apple slices in clustered groups across your board, leaving space between each for the treats.
- Place the dip bowls:
- Set small bowls or ramekins of Nutella, salted caramel, and whipped cream at different points around the board so no one area becomes a traffic jam of reaching hands.
- Scatter the sweets:
- Nestle chocolates, cookies, brownie bites, marshmallows, and pretzels into the open spaces, grouping similar items while letting some colors bleed into each other for a natural abundance look.
- Fill every last gap:
- Sprinkle candied nuts into bare patches and tuck mint sprigs around the edges until the board looks impossibly full and abundant.
- Serve and let people dig in:
- Set the board in the center of your table and encourage everyone to mix, match, dip, and stack their perfect little dessert bites.
 Save to Pinterest
 The best part of a dessert board is watching how different people approach it, some build careful little stacks and others just grab whatever is closest with zero strategy.
Adapting for Seasons and Diets
In summer I load up on stone fruits and berries, but autumn calls for sliced pears, dried figs, and spiced cookies that make the whole table smell like a bakery.
Pairing with Drinks
A pot of hot chocolate or a bottle of dessert wine alongside this board turns a casual gathering into something people remember and ask you to recreate next time.
Making It Your Own
There are no rules here, only suggestions, so let your cravings and whatever is in your pantry guide the final composition.
- Swap in seasonal candy for holidays and the board instantly feels festive without any extra effort.
- Gluten free cookies and brownies make this safe for friends who need it without changing the visual impact at all.
- Always check labels on chocolates and spreads for hidden allergens if you are serving anyone with sensitivities.
 Save to Pinterest
 Every dessert board you make will look a little different, and that is exactly what makes them so much fun to put together. Just pile on the things you love and let the board do the talking.
Your Recipe Questions Answered
- → How do I keep apples from browning?
-
Toss thin apple slices in a little lemon juice or a mild citrus syrup right after cutting. This slows oxidation and keeps them looking fresh on the board.
- → How far ahead can I assemble the board?
-
Assemble most elements 1–2 hours ahead and refrigerate. Add delicate items like whipped cream, macarons, and mint just before serving to preserve texture and color.
- → What are good gluten-free alternatives?
-
Use gluten-free cookies and brownies, increase fresh fruit and nuts, and choose certified gluten-free chocolates. Always check labels for hidden gluten.
- → Any tips for arranging items attractively?
-
Group like items together by color and texture, use small bowls for dips to create focal points, vary heights and tuck garnishes into gaps for contrast and visual balance.
- → How can I accommodate common allergens?
-
Designate allergen-free zones on the board, label items clearly, avoid cross-contact with shared utensils, and offer separate bowls or platters for nut- or dairy-free options.
- → What beverages pair well with this board?
-
Serve with coffee, dessert wine, hot chocolate or sparkling water for contrast. Choose pairings that complement the sweetness and textures on the board.
