 Save to Pinterest
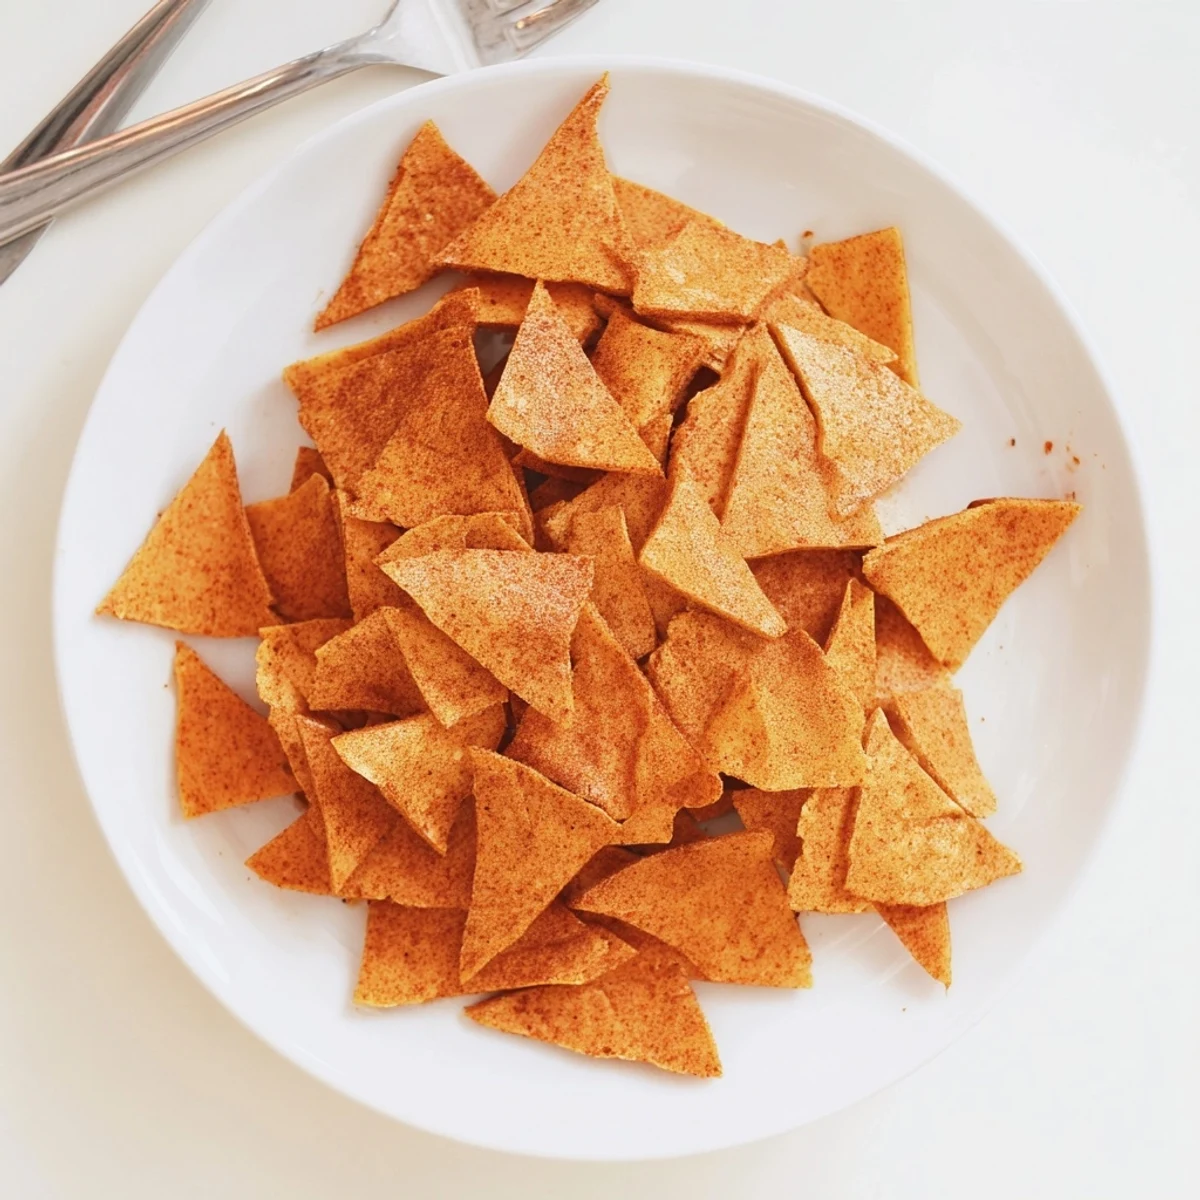
 Create irresistible crispy chips using chickpea flour blended with aromatic spices like smoked paprika, garlic powder, and cumin. These Mediterranean-inspired snacks bake to golden perfection in just 25 minutes, offering a satisfying crunch that pairs beautifully with hummus, salsa, or your favorite spreads. The dough rolls out effortlessly between parchment sheets, cutting easily into bite-sized pieces before transforming into light, crispy delights. Each serving delivers plant-based protein while remaining completely gluten-free and vegan.
The smell of toasted cumin and chickpea flour hitting a hot oven sheet is the kind of thing that makes you stop mid conversation and just breathe. My neighbor Carla brought over a bag of gram flour last spring, swearing I could make chips out of it, and honestly I laughed at her. Two batches later I was hooked, scraping the last golden shards off the parchment with my fingernails. These chickpea chips have been a weekly staple in my kitchen ever since.
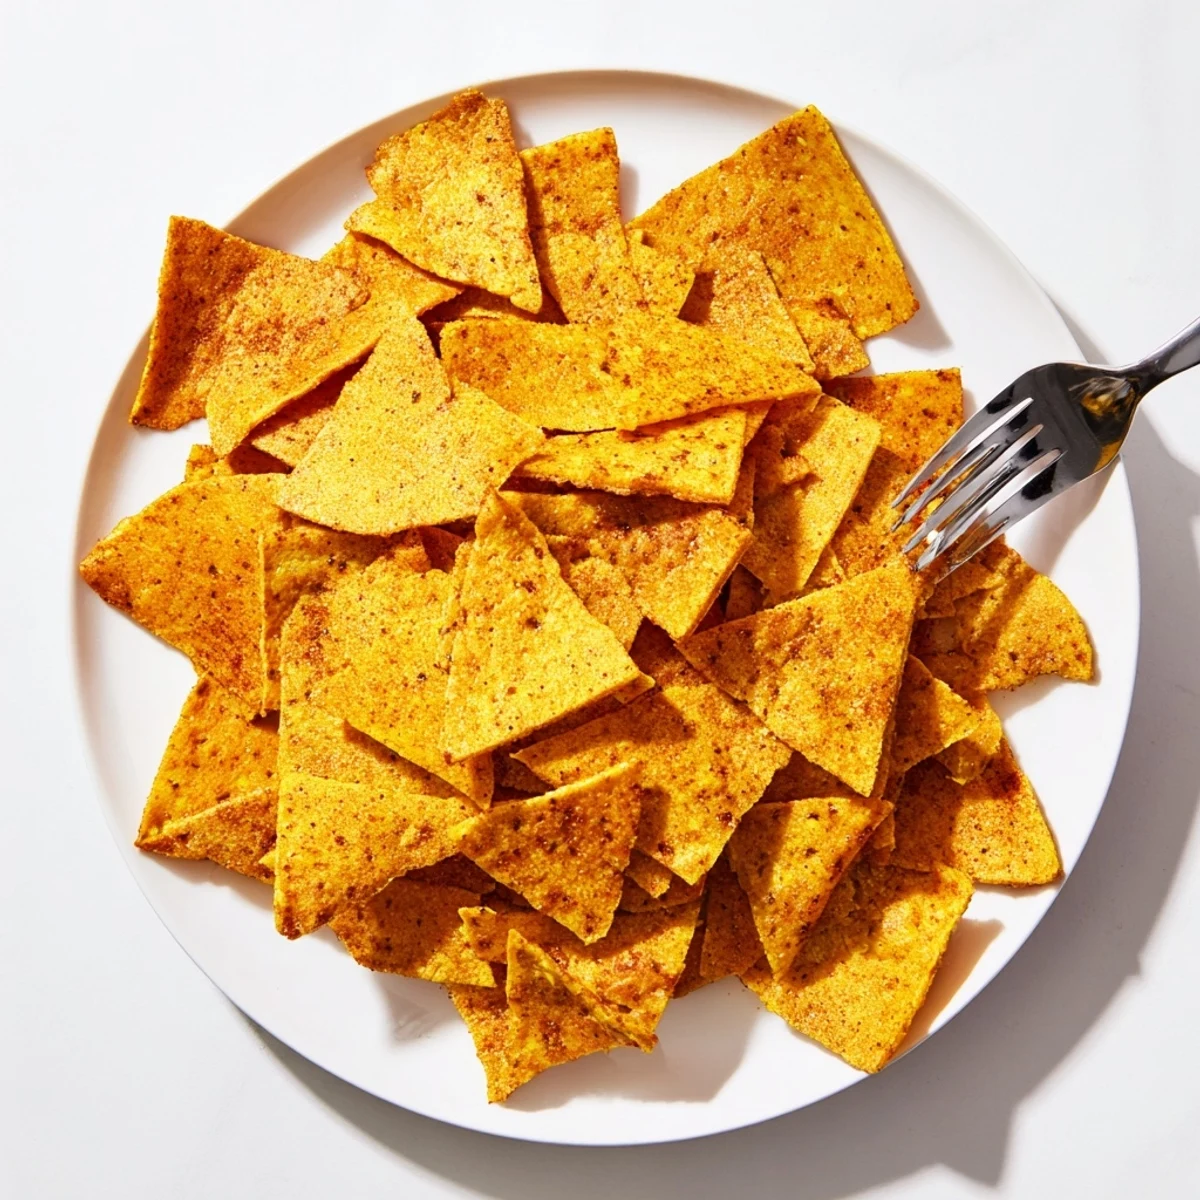
I made a double batch for a backyard movie night last summer and everyone stood around the projector eating chips before the film even started.
Ingredients
- 1 cup chickpea flour: Also called gram or besan flour, this is the soul of the recipe so get a fresh bag because old flour tastes flat and bitter.
- 1/2 teaspoon salt: Do not skimp here because the salt is what turns a bland cracker into something you crave.
- 1/2 teaspoon smoked paprika: This adds a gentle campfire warmth that makes people ask what your secret ingredient is.
- 1/2 teaspoon garlic powder: It disperses more evenly than fresh garlic and bakes into the dough beautifully.
- 1/4 teaspoon ground cumin: A small amount goes a long way toward giving these chips their Mediterranean personality.
- 1/4 teaspoon black pepper: Freshly cracked is best for a little background hum of heat.
- 2 tablespoons olive oil: This tenderizes the dough and helps the edges turn golden and blistered.
- 1/3 cup water: Add it gradually because chickpea flour absorbs liquid fast and you want a soft pliable dough not a soupy mess.
Instructions
- Preheat and prep:
- Set your oven to 180 degrees Celsius or 350 degrees Fahrenheit and line a baking sheet with parchment paper so nothing sticks later.
- Mix the dry team:
- Drop the chickpea flour, salt, smoked paprika, garlic powder, cumin, and pepper into a large bowl and whisk them together until the color is even throughout.
- Bring in the wet:
- Pour in the olive oil and water then stir with a spoon or your hands until a smooth soft dough forms without any dry pockets hiding in the corners.
- Roll it thin:
- Sandwich the dough between two sheets of parchment and roll it out to about two or three millimeters thick because thicker dough will bake up chewy instead of crisp.
- Cut your shapes:
- Peel off the top parchment layer and use a knife or pizza cutter to slice the dough into chip sized squares or diamonds, whatever feels right to you.
- Bake until golden:
- Slide the parchment with the cut dough directly onto your baking sheet and bake for eighteen to twenty five minutes, rotating the tray halfway through so every chip bakes evenly.
- Let them rest:
- Transfer the chips to a wire rack and let them cool completely because they continue crisping as they sit and patience here pays off enormously.
 Save to Pinterest
 One rainy tuesday I ate an entire batch standing at the counter with a jar of hummus and never even made it to the couch.
Getting The Right Thickness
The single biggest factor between a good chip and a great one is how thin you roll the dough. Think of it like a sheet of stiff fabric, pliable but almost see through at the edges. If your rolling pin leaves indentations that stay visible you need to press harder and keep going.
Flavor Variations Worth Trying
Once you master the base recipe the door opens wide for experimenting. A generous pinch of dried rosemary crumbled into the flour tastes like something from a fancy bakery. Cayenne pepper adds a slow building warmth that pairs perfectly with a cool yogurt dip.
Storing And Serving
Leftover chips keep beautifully in an airtight container at room temperature for up to a week, though mine rarely last that long.
- Let them cool fully before storing or trapped steam will turn them soft.
- A paper towel at the bottom of the container absorbs any residual moisture.
- Always check labels on your chickpea flour for cross contamination if allergies are a concern.
 Save to Pinterest
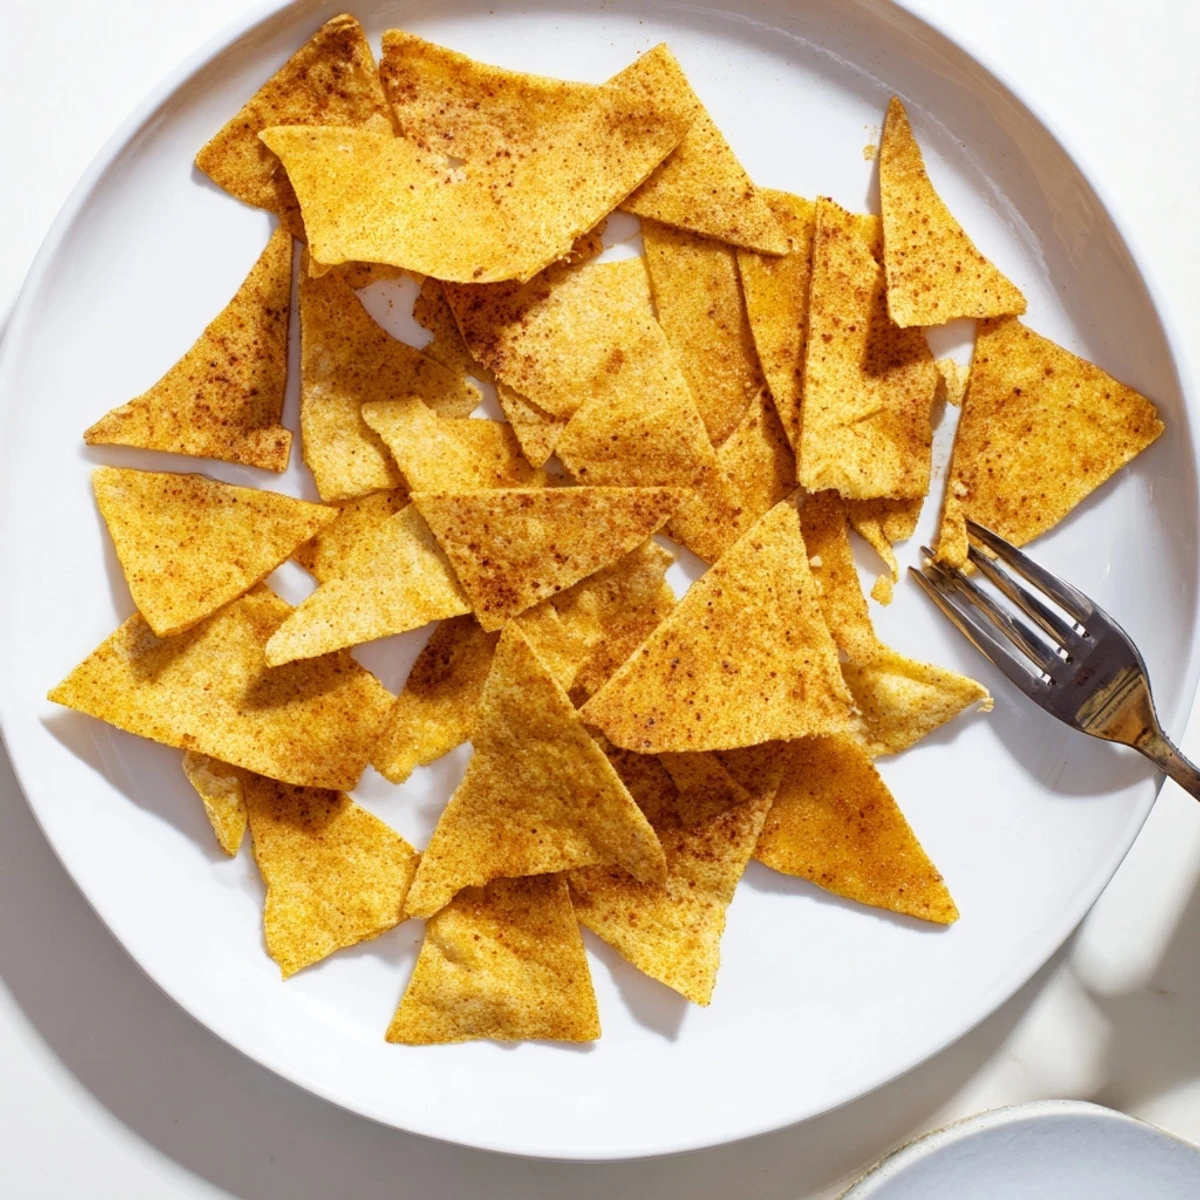
 Keep a batch in the cupboard and you will always be ten minutes away from something warm, crunchy, and genuinely satisfying to snack on.
Your Recipe Questions Answered
- → What makes chickpea flour chips different from regular chips?
-
Chickpea flour chips offer higher protein and fiber content compared to traditional potato chips while maintaining satisfying crunch. The Mediterranean spice blend creates complex flavor profiles without excessive oil or processing.
- → How thin should I roll the dough?
-
Roll the dough to approximately 2–3mm thickness for optimal crispiness. Thinner pieces become extra crispy, while slightly thicker sections yield a heartier crunch reminiscent of traditional pita chips.
- → Can I customize the seasoning blend?
-
Absolutely. The base spice combination works beautifully, but feel free to experiment with dried herbs like rosemary or thyme. Add cayenne pepper for heat, nutritional yeast for savory depth, or Italian seasoning for herb-forward variations.
- → How do I store leftover chips?
-
Keep cooled chips in an airtight container at room temperature for up to one week. Place a paper towel inside to absorb any moisture and maintain crispiness. Avoid refrigeration as it introduces humidity that softens the texture.
- → What dips pair best with these chickpea chips?
-
Classic hummus creates perfect flavor harmony, while tzatziki adds cool contrast. Try roasted red pepper dip, baba ganoush, or spicy salsa for variety. The neutral base complements both creamy and chunky Mediterranean-style spreads beautifully.
- → Why do chips need to cool completely before serving?
-
Cooling allows moisture to evaporate from the interior structure, transforming slightly soft pieces into genuinely crispy chips. The cooling process completes the textural development, ensuring satisfying crunch with every bite.
