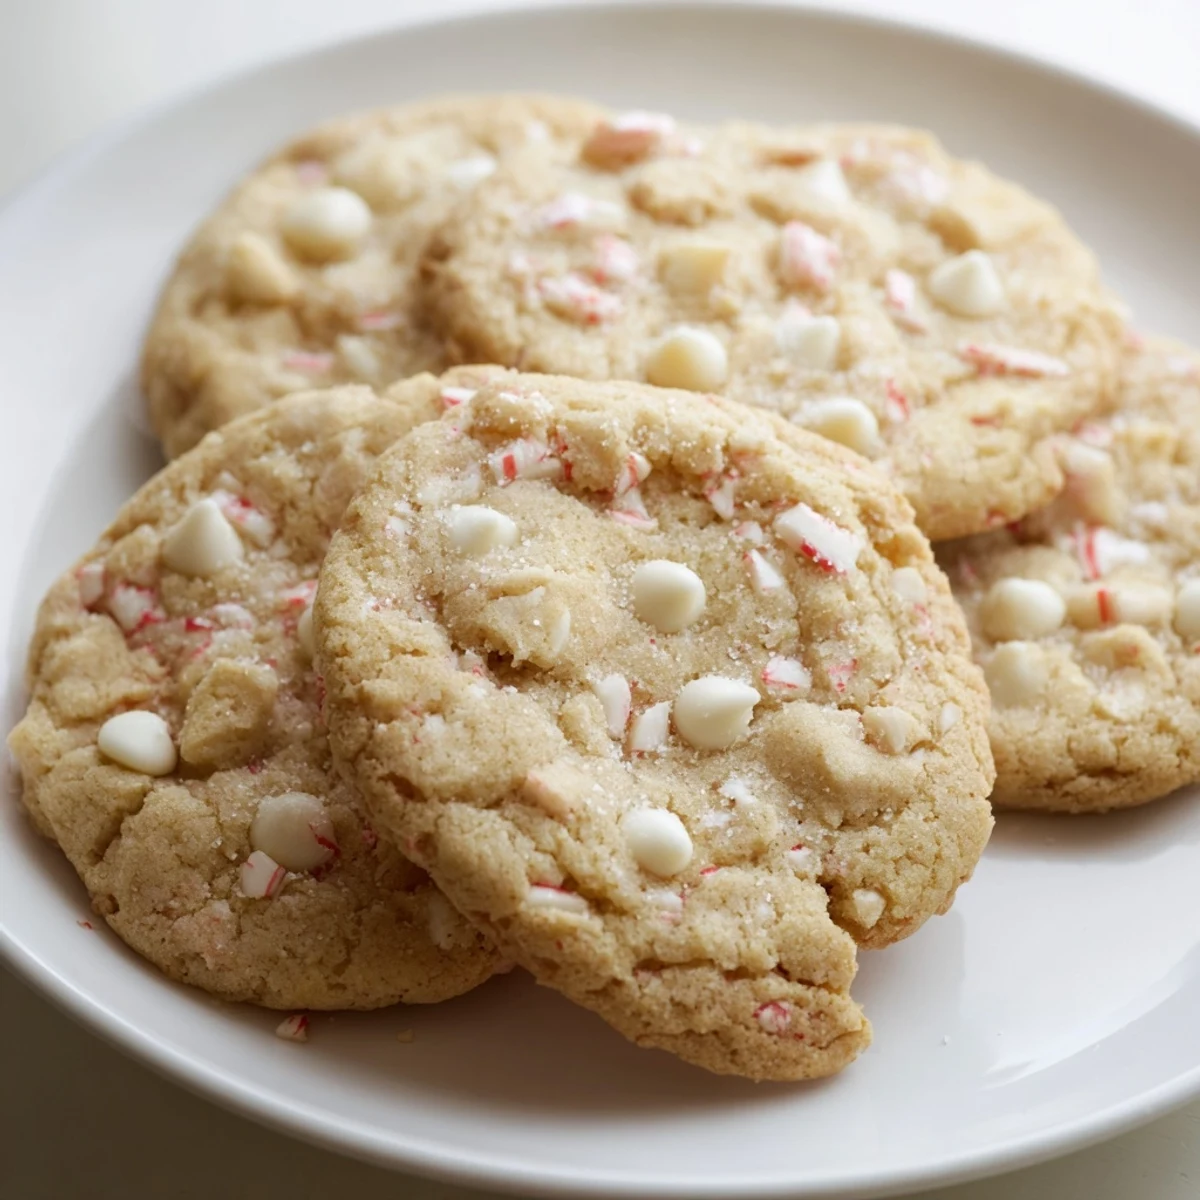
 Save to Pinterest
 These crisp peppermint treats offer a delightfully light and crunchy texture highlighted by refreshing peppermint flavor. The dough combines all-purpose flour, baking soda, and salt with softened butter, sugar, egg, vanilla, and peppermint extracts. Crushed peppermint candies and white chocolate chips add festive texture and sweetness. Baking them until golden ensures a perfect crunch while maintaining a tender center. Ideal for holiday gatherings or a cool, sweet snack any time, they pair wonderfully with hot cocoa or peppermint tea.
I baked these on a Sunday afternoon when the house felt too quiet, and the smell of peppermint filled every corner like a gentle wake-up call. The dough came together so easily I almost didn't trust it. By the time the first batch came out of the oven, I was already reaching for a second cookie, still warm and impossibly crisp.
I brought a tin of these to a holiday gathering once, and they disappeared before the main course was even served. Someone asked if I'd used a family recipe, and I just smiled. The truth is, I stumbled onto this version after a few rounds of tweaking, and now it's the one I make every year without fail.
Ingredients
- All-purpose flour: The base that keeps these cookies light and structured, measure it carefully so they don't turn dense.
- Baking soda: Just enough to give a slight lift and help the edges crisp up beautifully.
- Salt: Balances the sweetness and makes the peppermint pop instead of fade.
- Unsalted butter: Softened to room temperature so it creams smoothly with the sugar, creating that melt-in-your-mouth texture.
- Granulated sugar: Gives the cookies their delicate crunch and a subtle sparkle on top.
- Egg: Binds everything together and adds just a hint of richness.
- Pure vanilla extract: Rounds out the flavor and makes the peppermint feel more layered.
- Peppermint extract: The star of the show, use a good quality one because it really makes a difference.
- Crushed peppermint candies: I use candy canes left over from decorating, they add bursts of color and extra mint.
- White chocolate chips: Optional, but they add a creamy sweetness that plays nicely with the peppermint.
Instructions
- Preheat and Prep:
- Set your oven to 350°F and line two baking sheets with parchment paper. This keeps the cookies from sticking and makes cleanup almost too easy.
- Mix the Dry Ingredients:
- Whisk together the flour, baking soda, and salt in a medium bowl. It only takes a moment, but it ensures every cookie bakes evenly.
- Cream the Butter and Sugar:
- Beat the softened butter and sugar together until the mixture is pale and fluffy, about 2 to 3 minutes. This step adds air and makes the cookies tender.
- Add the Wet Ingredients:
- Mix in the egg, vanilla, and peppermint extract until everything is smooth and combined. The peppermint scent will hit you right away.
- Combine Wet and Dry:
- Gradually fold the dry ingredients into the wet mixture, stirring just until no streaks of flour remain. Overmixing will make the cookies tough, so stop as soon as it comes together.
- Fold in the Add-ins:
- Gently stir in the crushed peppermint candies and white chocolate chips if you're using them. The dough will look festive and smell incredible.
- Shape and Space:
- Scoop tablespoon-sized balls of dough onto your prepared baking sheets, leaving about 2 inches between each one. They spread just a little, so give them room.
- Bake Until Golden:
- Bake for 10 to 12 minutes, watching for lightly golden edges and set centers. The cookies will firm up as they cool, so don't overbake.
- Cool and Enjoy:
- Let the cookies rest on the baking sheet for 5 minutes before moving them to a wire rack. This keeps them from breaking and lets the texture settle perfectly.
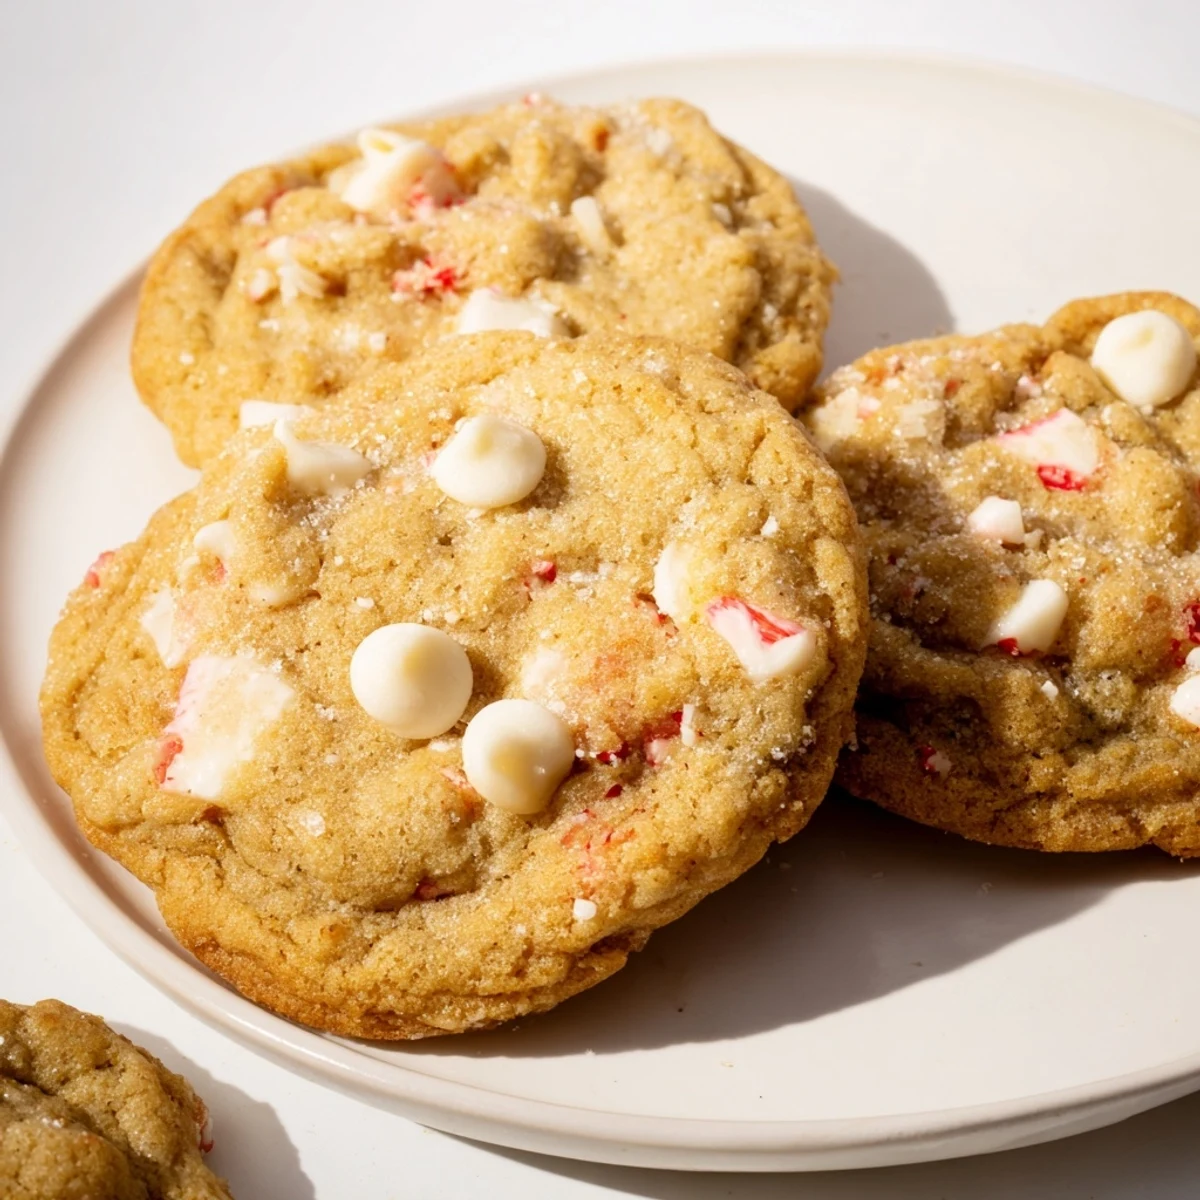 Save to Pinterest
 One winter evening, I made a batch of these with my niece, and she insisted on adding extra candy canes to each cookie. They turned out a little sweeter than usual, but watching her face light up when she tasted one made it the best version I'd ever made.
Storage and Freshness
These cookies keep their crunch beautifully in an airtight container for up to a week. I like to slip a small piece of parchment between layers so they don't stick together. If you want to freeze the dough, roll it into balls and freeze them on a tray, then bake straight from frozen, adding just a minute or two to the baking time.
Flavor Variations
You can swap the white chocolate for dark chocolate if you want something less sweet, or leave out the chocolate entirely for a cleaner peppermint flavor. I've also tried adding a pinch of espresso powder to the dough, and it brought out the peppermint in a surprising way.
Serving Suggestions
These cookies are perfect alongside a mug of hot cocoa or peppermint tea, and they look lovely arranged on a simple plate for guests. I've also crumbled them over vanilla ice cream, and the contrast between cold and minty crunch is something special.
- Dust them lightly with powdered sugar for a snowy look.
- Pair with a glass of cold milk for a nostalgic treat.
- Pack them in tins with wax paper for homemade holiday gifts.
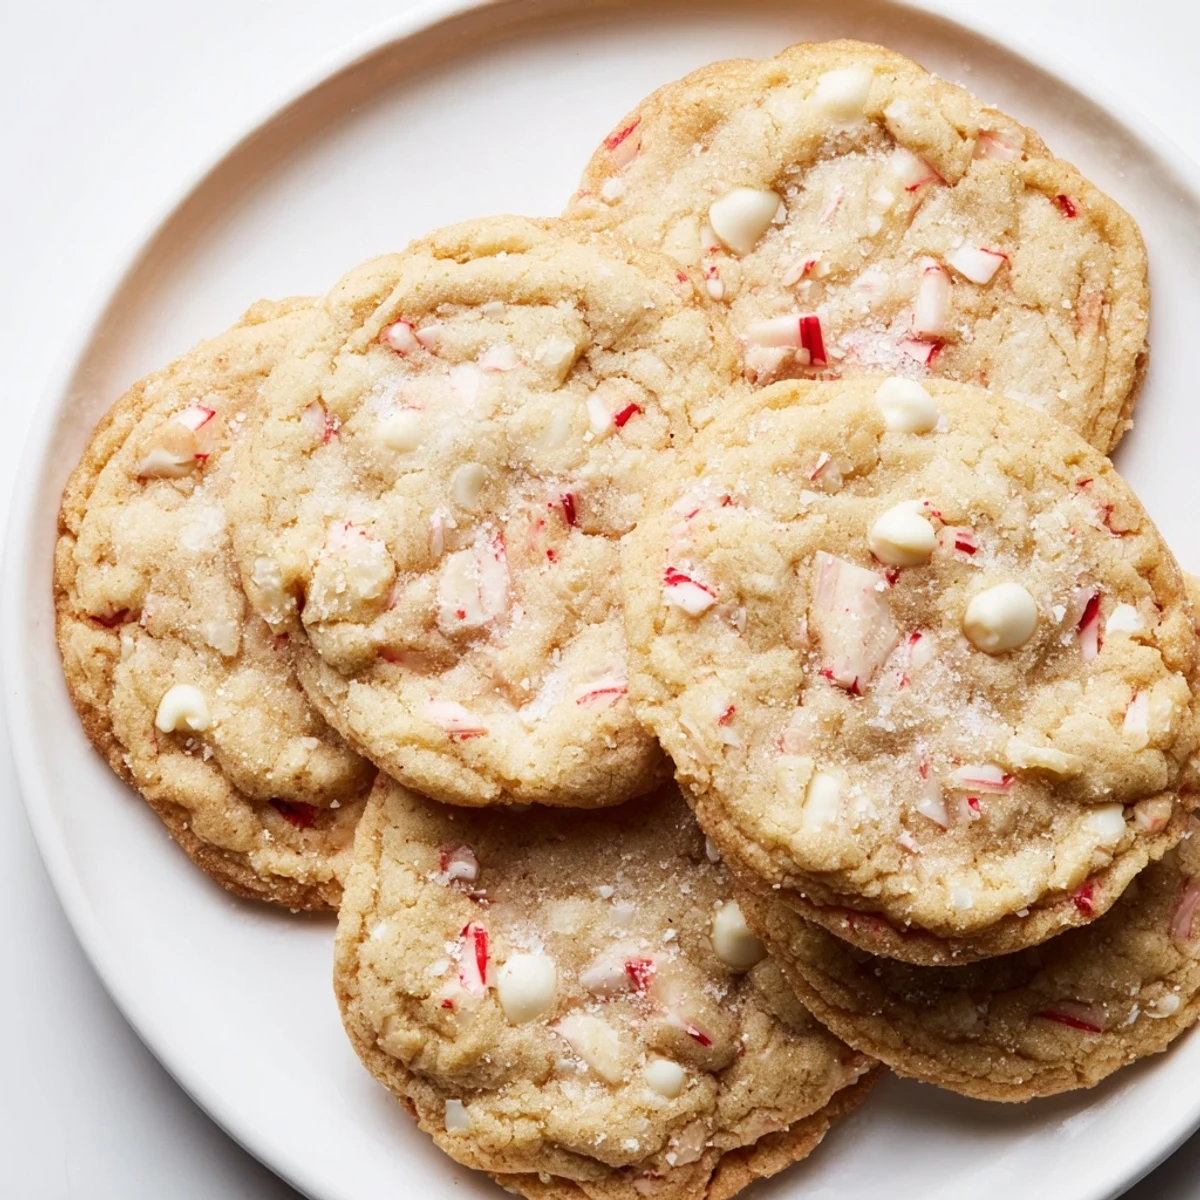 Save to Pinterest
 These cookies have become a quiet tradition in my kitchen, the kind of recipe I return to when I want something simple and satisfying. I hope they bring a little brightness to your table, too.
Your Recipe Questions Answered
- → How do I achieve a crisp texture?
-
Baking the treats a couple of minutes longer until edges are lightly golden helps develop a crisp texture. Letting them cool on the baking sheet also firm ups their crunch.
- → Can I substitute white chocolate chips?
-
Yes, white chocolate chips can be replaced with dark chocolate or omitted for a purer peppermint flavor.
- → What’s the best way to store these treats?
-
Store them in an airtight container at room temperature for up to one week to maintain freshness and crispness.
- → Are these suitable for vegetarians?
-
Yes, the ingredients used are vegetarian-friendly, including butter, egg, and candy toppings.
- → How can I enhance the peppermint flavor?
-
Adding extra peppermint extract or folding in crushed peppermint candies intensifies the cooling flavor.
- → What tools are recommended for preparation?
-
Using an electric mixer or whisk for creaming butter and sugar, along with parchment-lined baking sheets, helps produce consistent results.
