 Save to Pinterest
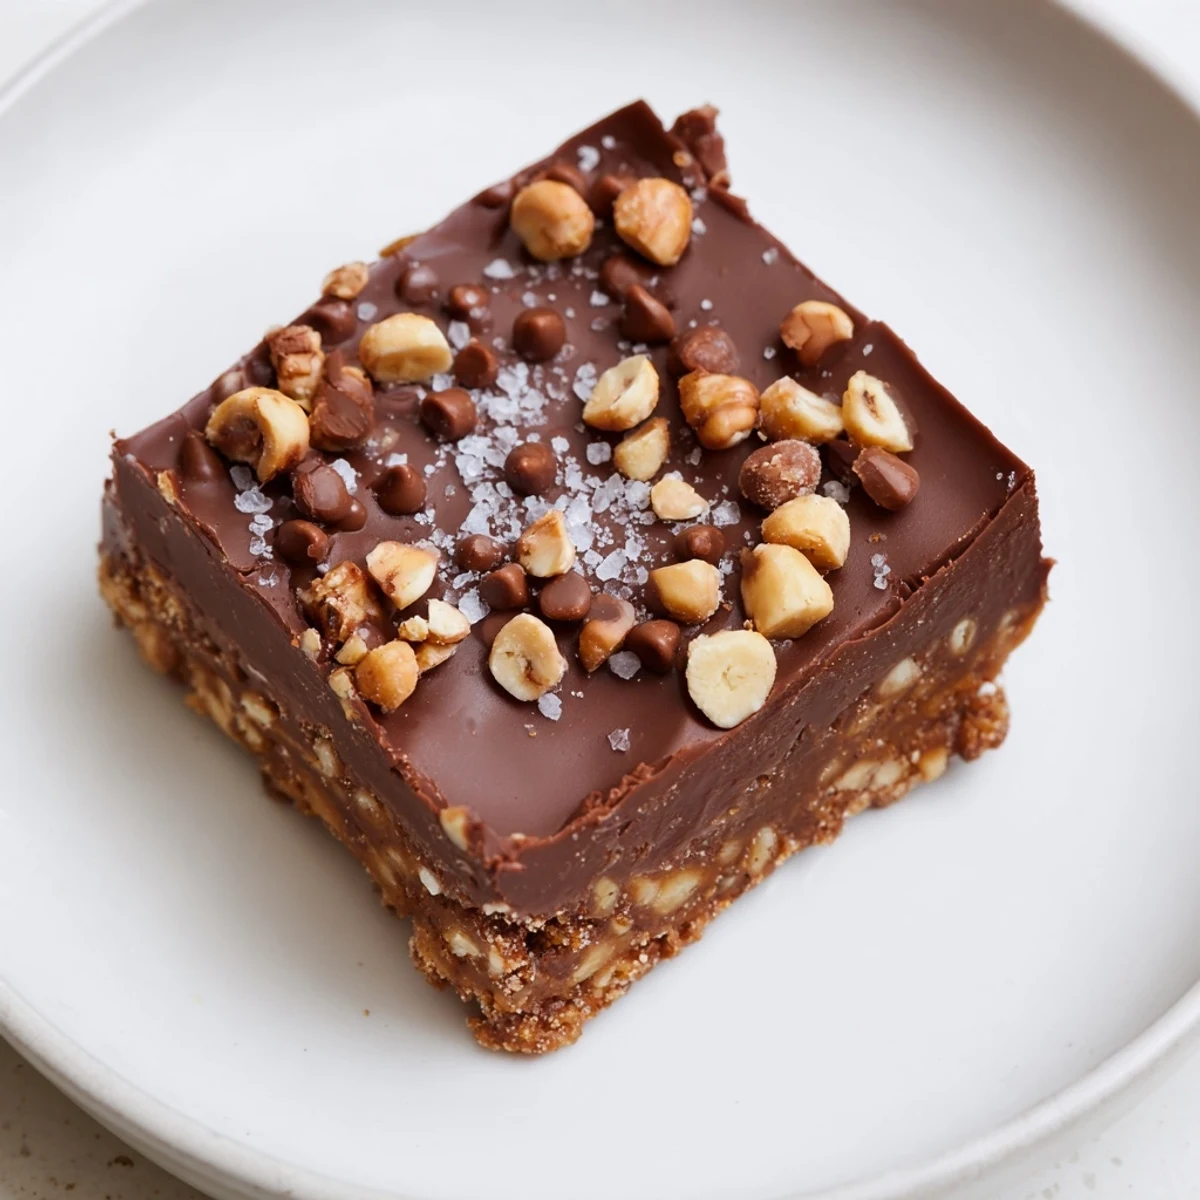
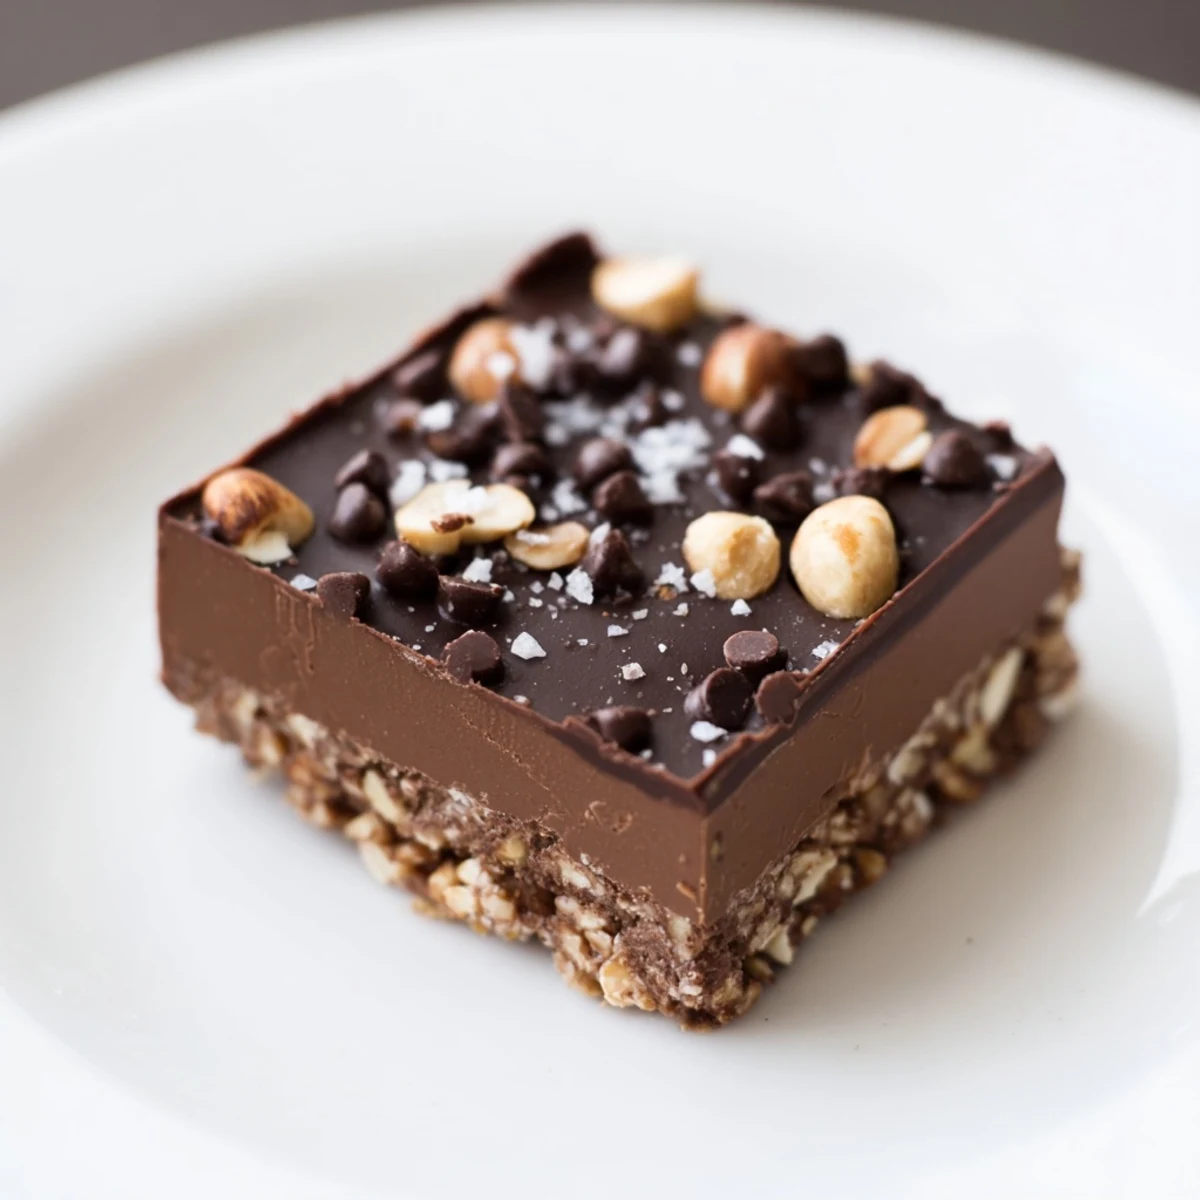
 This luscious no-bake bar combines a crunchy buttery base with a smooth, melted chocolate layer infused with vanilla. Chilled to set, it offers balanced sweetness and texture, topped optionally with nuts or mini chips for added crunch. Quick to prepare with minimal cooking, it suits vegetarian preferences and pairs well with coffee or tea. Variations include dark or white chocolate and nut-free alternatives.
There's something magical about the moment when melted chocolate meets a buttery biscuit base—it happened for me on a rainy afternoon when I was hunting through the kitchen for something quick to impress unexpected guests. These chocolate treat bars came together so effortlessly that I almost couldn't believe they'd disappear within minutes, leaving only happy faces and empty plates behind. No oven required, just patience and a touch of cream to transform humble ingredients into something that tastes far more indulgent than the effort suggests.
I made these for a book club night where everyone was supposed to bring something homemade, and I'll admit I was slightly nervous about showing up with bars instead of something baked. One of my friends took a bite, closed her eyes, and asked for the recipe before she'd even swallowed—that's when I knew I'd found something worth making again and again. Now they're my go-to when I need dessert that feels thoughtful without demanding hours of my attention.
Ingredients
- Digestive biscuits or graham crackers, crushed (200 g): These form your foundation—the slightly sweet crunch that anchors everything. I crush them by hand in a sealed bag, which gives you better texture control than a food processor.
- Unsalted butter, melted (100 g): This binds the crumbs together and adds that rich, moreish quality. Melting it first makes distribution effortless and ensures no dry bits.
- Granulated sugar (2 tbsp): Just enough to balance the biscuit's natural flavor without making the base too sweet.
- Semisweet or milk chocolate, chopped (250 g): The star ingredient, so choose chocolate you'd actually eat on its own. Chopping it finely helps it melt more evenly.
- Heavy cream (100 ml): This transforms chocolate into a glossy, spreadable ganache that sets beautifully without being brittle.
- Vanilla extract (1 tsp): A small addition that deepens the chocolate flavor in ways you won't consciously notice but will absolutely miss if it's gone.
- Chopped nuts, chocolate chips, and sea salt (optional toppings): These are where you make the bars uniquely yours—I've used everything from crushed pistachios to fleur de sel.
Instructions
- Prepare your pan:
- Line a 20x20 cm baking pan with parchment paper, leaving edges hanging over the sides so you can lift the finished bars out without wrestling with a knife. This small detail will save you from frustration later.
- Build the base:
- Mix crushed biscuits, melted butter, and sugar in a bowl until the mixture resembles wet sand, then press it firmly and evenly into the pan. Spend a full minute pressing—you want a compact base that won't crumble when you cut it. Chill for 10 minutes while you prepare the chocolate.
- Create the chocolate layer:
- Chop your chocolate and place it with heavy cream in a heatproof bowl over simmering water (or use the microwave in 30-second bursts, stirring between each one). Stir until completely smooth, then add vanilla extract and let it cool slightly so it's pourable but not scorching hot.
- Layer and top:
- Pour the chocolate mixture over your chilled base, spreading it evenly with a spatula. Immediately sprinkle with your chosen toppings—nuts, chocolate chips, or a whisper of sea salt—while the chocolate is still warm enough to hold them in place.
- Set and serve:
- Refrigerate for at least one hour until the chocolate is completely firm. Use the parchment overhang to lift the whole thing out, cut into 12 neat squares with a sharp knife (wiping between cuts helps), and serve chilled or at room temperature.
 Save to Pinterest
 There's a moment, about 45 minutes into chilling, when you peek under the parchment and realize you've accidentally created something that looks like it came from a proper bakery. That feeling of quiet achievement—knowing you made something beautiful with your own hands—is worth the wait alone. These bars remind me that sometimes the most satisfying desserts are the ones that don't demand anything from you except patience.
Flavor Variations That Work
The beauty of this recipe is how forgiving it is to customization. I've made them with dark chocolate for a sophisticated bitter edge, swapped in white chocolate for something sweeter and more delicate, and even layered in a thin spread of peanut butter or salted caramel between the base and chocolate. Each version feels completely different, yet somehow equally craveable. Experiment without fear—this is one of those recipes where there's really no wrong turn.
Storage and Make-Ahead Magic
These keep beautifully in an airtight container in the fridge for up to five days, which makes them perfect for batch-making before a gathering. They also freeze surprisingly well for up to a month if you wrap each bar individually in parchment and then foil. I've actually forgotten about a batch in the freezer and rediscovered it weeks later, still perfect and ready to thaw and enjoy whenever a chocolate craving struck.
When to Serve These Bars
These bars work equally well as an elegant ending to a dinner party or a sneaky afternoon treat with coffee. I've found they're just indulgent enough to feel special but approachable enough that even non-dessert people find themselves reaching for seconds. They pair beautifully with tea, coffee, or even a glass of dessert wine if you're feeling fancy about it.
- Serve them straight from the fridge if you like a firmer, almost truffle-like texture.
- Let them sit at room temperature for five minutes if you prefer them softer and more fudgy.
- Cut them into smaller pieces if you're serving with other desserts—a little goes a long way with something this rich.
 Save to Pinterest
 These chocolate treat bars have quietly become my answer to almost every dessert question—they're simple enough to make on a whim but elegant enough to make someone's day a little sweeter. Once you've made them once, you'll understand why they disappear so quickly.
