 Save to Pinterest
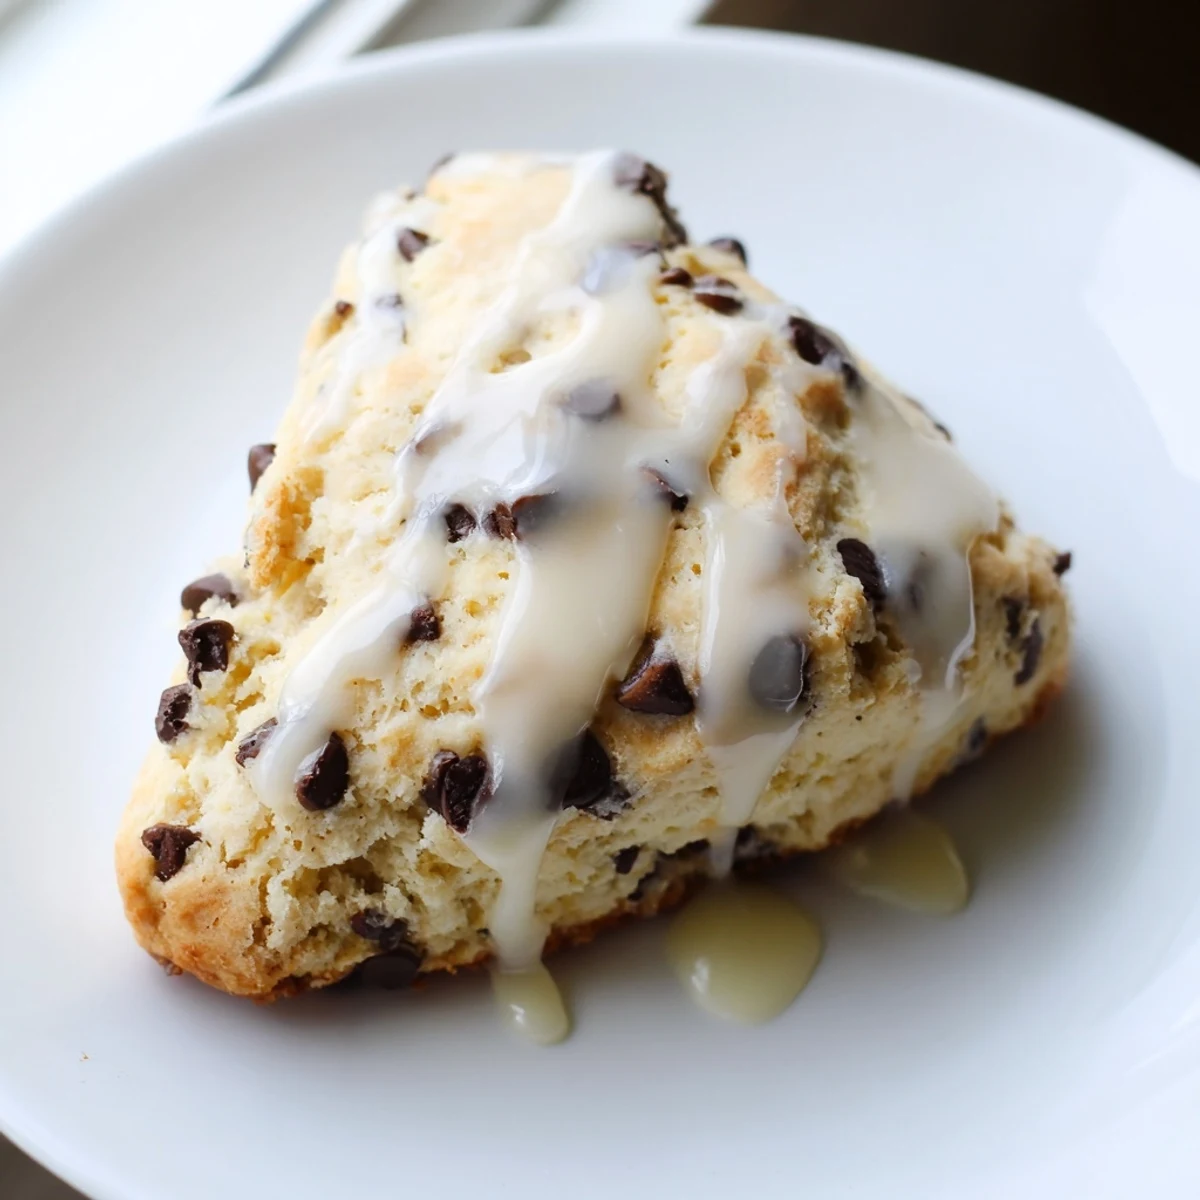
 Create tender, buttery scones by cutting cold butter into flour until it resembles coarse crumbs, then fold in chocolate chips. Bake at 400°F for 16-18 minutes until golden. Top with a smooth vanilla glaze for an indulgent finishing touch.
The first time I made chocolate chip scones, I spilled vanilla extract all over my counter trying to measure it one-handed while holding my coffee. The kitchen filled with that intoxicating aroma that somehow made the mess worth it. These buttery, chocolate-studded treats have since become my Saturday morning ritual, a small indulgence that bridges the gap between breakfast and dessert.
Last winter, when my cousin visited from overseas, I baked these scones during a snowstorm while we caught up on life. The kitchen windows steamed up as we sipped tea, broke warm scones apart with our fingers, and watched snowflakes swirl outside. Sometimes the simplest moments become the ones you treasure most.
Ingredients
- Cold butter: The secret weapon for flaky scones, I learned the hard way that room temperature butter creates flat, cookie-like disappointments.
- Heavy cream: After trying milk, half-and-half, and cream, I found heavy cream creates that perfect richness that makes these scones special.
- Semi-sweet chocolate chips: These little drops of joy melt slightly while baking, creating pockets of chocolate throughout each bite.
- Vanilla extract: A splash in both dough and glaze ties everything together with warmth and depth.
Instructions
- Prepare your workspace:
- Preheat your oven to 400°F and line a baking sheet with parchment paper, which prevents those chocolate bits from sticking and burning.
- Mix the dry ingredients:
- Whisk flour, sugar, baking powder, and salt together in a large bowl until combined. This distributes the leavening agents evenly throughout.
- Cut in the butter:
- Add cold cubed butter and work it in with a pastry cutter or your fingertips until you have a mixture resembling coarse crumbs. You should still see small butter pieces, which will create those lovely flaky pockets.
- Combine wet ingredients:
- In a separate bowl, whisk together heavy cream, egg, and vanilla until smooth. The egg adds structure while the cream brings richness.
- Form the dough:
- Pour wet ingredients into dry and stir just until the dough comes together, then gently fold in chocolate chips. Overmixing is the enemy here, so stop when things are just combined.
- Shape and cut:
- Turn the dough onto a lightly floured surface and pat into a 7-inch circle about 1-inch thick. I find using my hands works better than rolling to preserve those butter pockets.
- Prep for baking:
- Cut the circle into 8 wedges like a pizza and transfer them to your baking sheet. Brush tops with a little extra cream for that beautiful golden color.
- Bake to perfection:
- Slide them into your preheated oven for 16-18 minutes, until edges are golden brown and centers are set. The kitchen will smell like a fancy bakery about halfway through.
- Glaze with love:
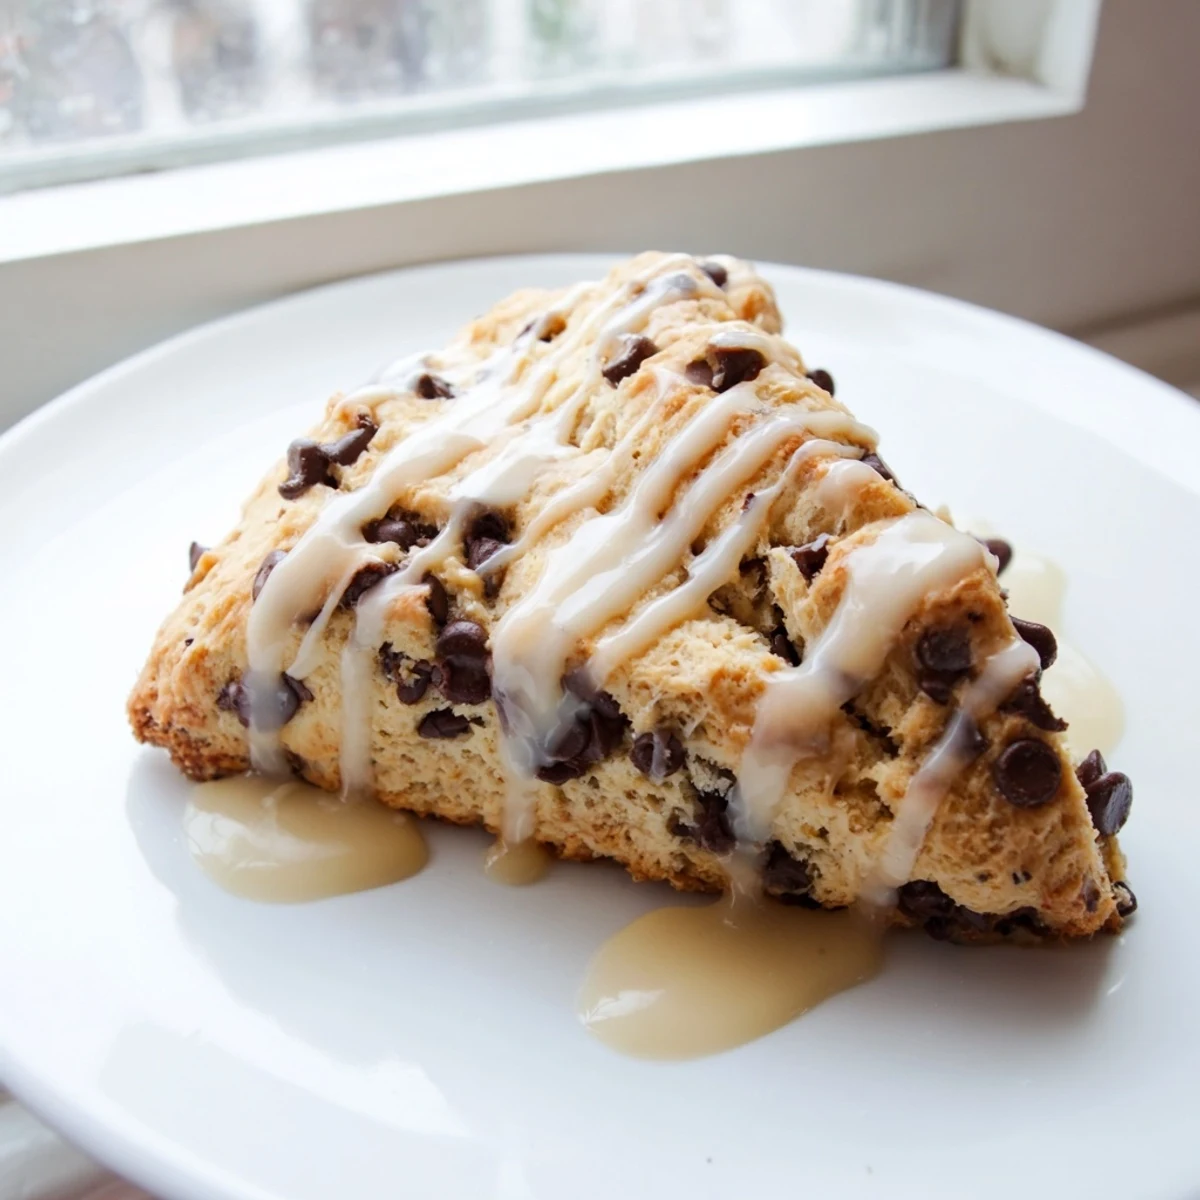
- While scones cool on a wire rack, whisk together powdered sugar, milk or cream, and vanilla until smooth. Drizzle this sweet finishing touch over the cooled scones for that bakery-worthy look.
 Save to Pinterest
 One rainy Sunday afternoon, I made these scones when my neighbor stopped by unexpectedly. As we sat at my kitchen island with warm scones between us, our casual chat turned into a three-hour heart-to-heart. Sometimes the simplest foods create space for the most meaningful connections.
Texture Secrets
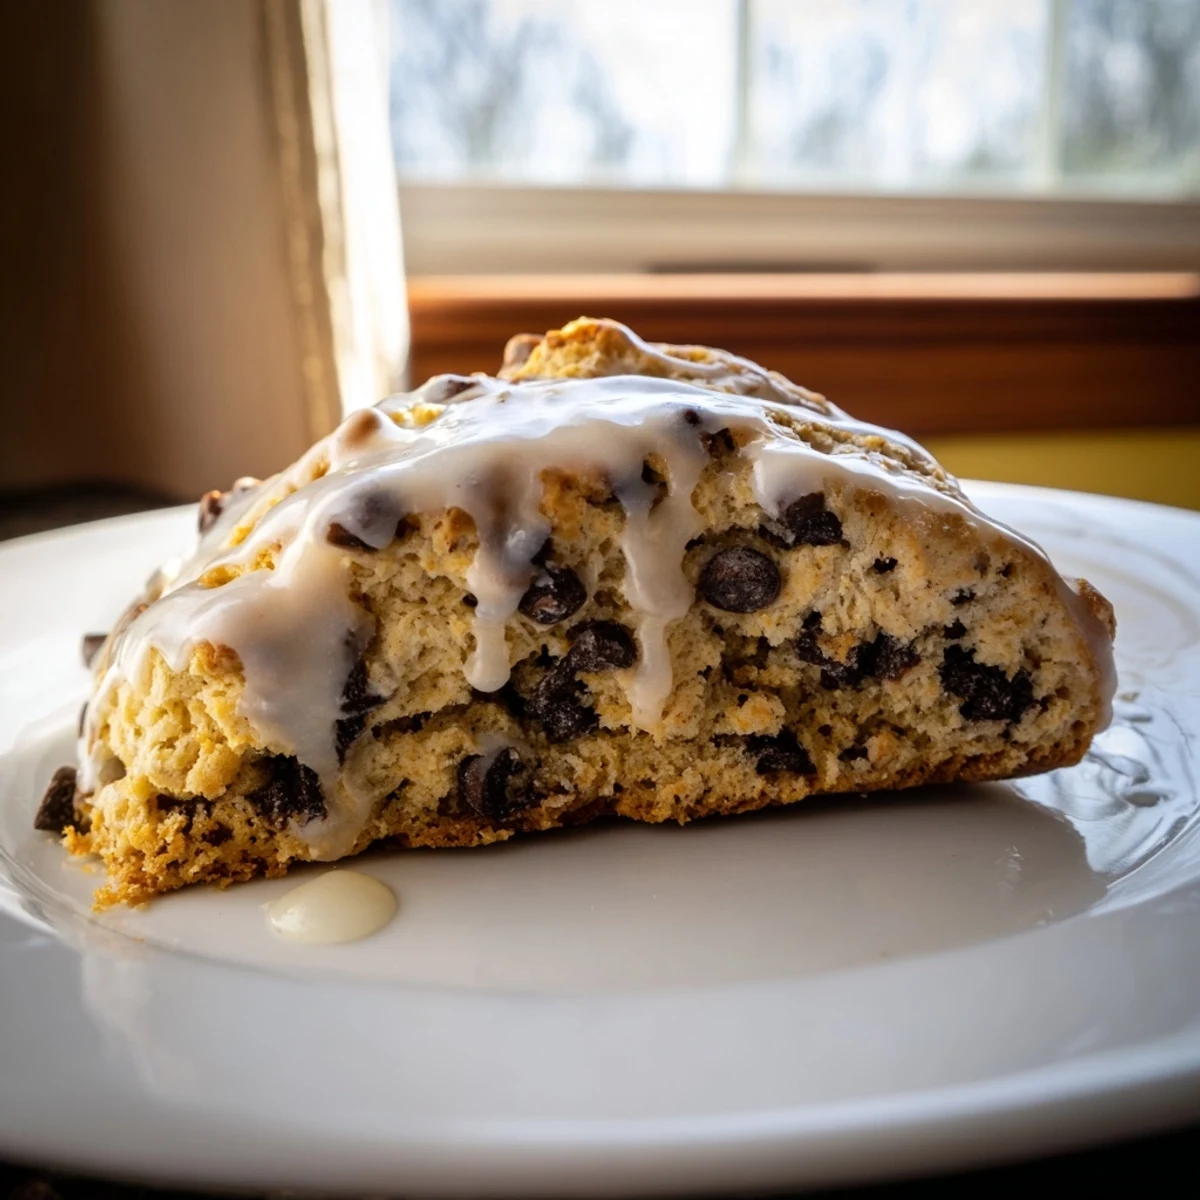
The difference between a good scone and a great one often comes down to handling. I work the dough as little as possible after adding wet ingredients, almost treating it like its fragile. This gentle approach preserves those little pockets of butter that create steam during baking, pushing the layers apart for that perfect texture.
Make It Your Own
While chocolate chips are my go-to, these scones welcome customization. Sometimes I swap in dried cranberries and orange zest during the holidays, or blueberries and lemon zest in summer. The base recipe stays the same, but the seasonal switch-ups keep this reliable favorite feeling fresh and exciting.
Storage and Serving
These scones capture that perfect magic on the first day, with the contrast between the crisp exterior and tender middle. If you need to store them, keep in an airtight container at room temperature, though the texture will soften slightly by day two.
- Warm leftover scones in a 300°F oven for 5-7 minutes to revive some of that fresh-baked quality.
- For make-ahead convenience, freeze unbaked scone wedges and bake straight from frozen, adding about 3-4 minutes to the baking time.
- Serve with salted butter, clotted cream, or even a dollop of lemon curd for an extra special touch.
 Save to Pinterest
 Whether enjoyed alongside morning coffee or served as an afternoon treat, these chocolate chip scones bring a touch of simple luxury to ordinary days. Theyre a reminder that sometimes the most comforting foods are the ones made with our own hands.
Your Recipe Questions Answered
- → Why is it important to use cold butter?
-
Cold butter creates steam pockets during baking, resulting in the tender, flaky texture characteristic of perfect scones. Warm butter will blend into the dough, producing dense results.
- → Can I make these scones ahead of time?
-
Yes, scones are best enjoyed fresh but can be stored in an airtight container for up to 2 days. For optimal taste and texture, warm them briefly before serving.
- → What can I substitute for heavy cream?
-
You can use whole milk or Greek yogurt as alternatives. The texture may vary slightly, but both will produce satisfactory results.
- → How do I prevent overmixing the dough?
-
Mix the wet and dry ingredients just until combined—the dough should appear slightly shaggy. Overmixing develops gluten, making scones tough rather than tender.
- → Can I use milk chocolate instead of semi-sweet?
-
Absolutely. Milk chocolate will create sweeter scones, while dark chocolate adds richness and depth. Choose based on your flavor preference.
- → What's the best way to get a golden finish?
-
Brush the scone tops with extra heavy cream before baking. This creates a beautiful golden-brown exterior and adds richness to the final texture.
