 Save to Pinterest
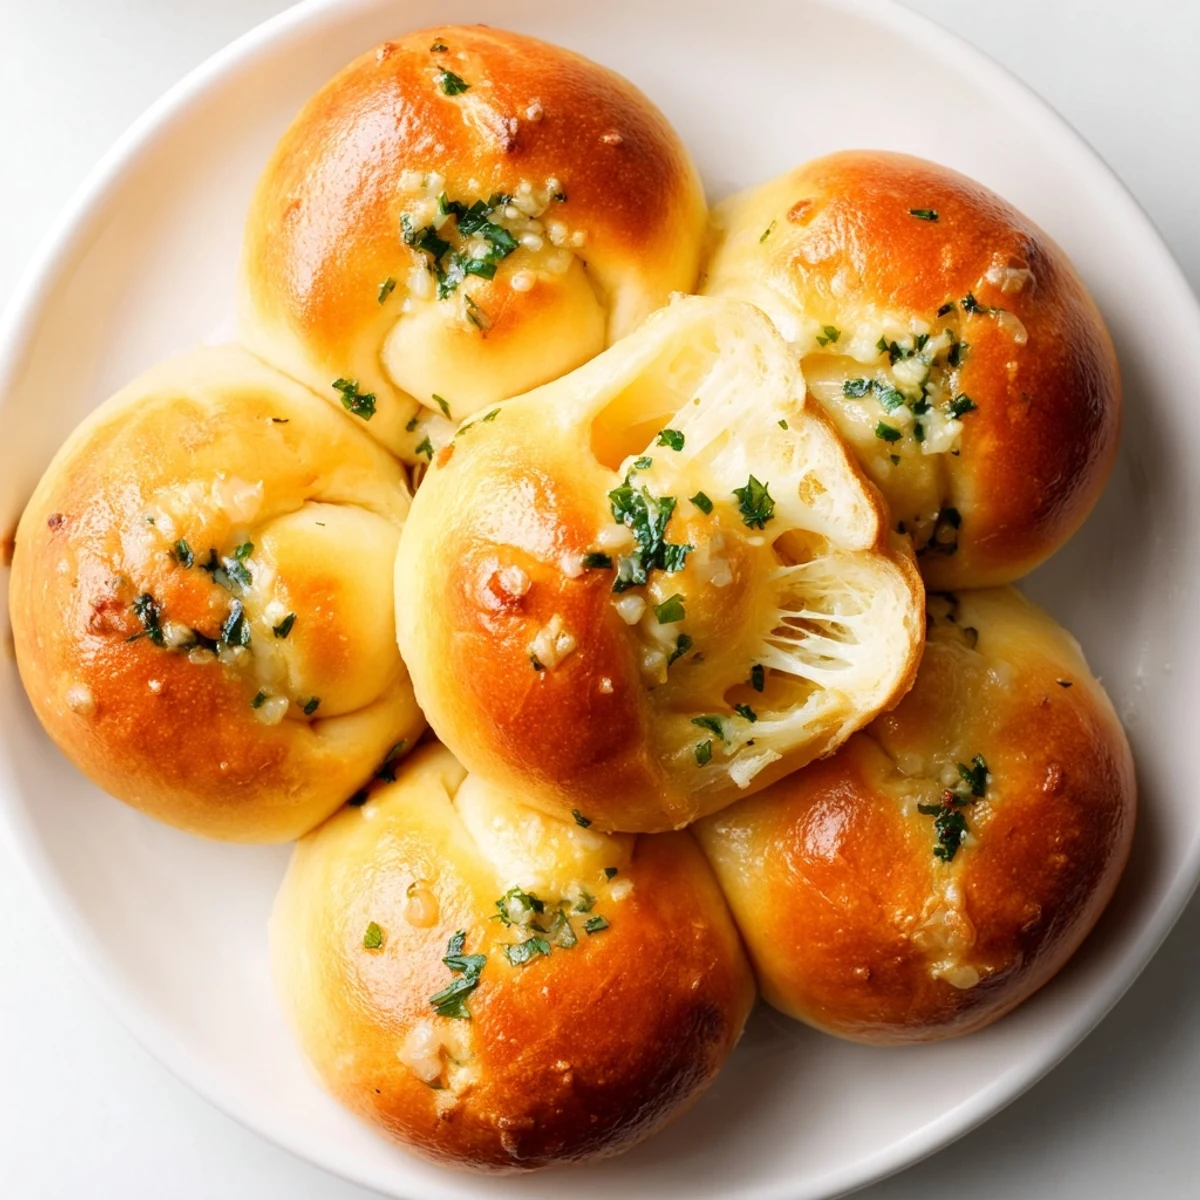
 Start with an enriched dough of warm milk, yeast, butter and an egg; knead until smooth and allow to double. Divide into 12 portions, stuff each with garlic butter blended with mozzarella and Parmesan, seal and let rise briefly. Bake at 180°C/350°F until deep golden, then brush with more garlic butter. Serve warm; freeze cooled rolls and reheat in the oven to refresh texture and flavor.
As clouds rolled in one Sunday afternoon, the prospect of baking was too tempting to resist. The kitchen was filled with the scent of melted butter, sharp cheese, and that telltale garlic aroma that sneaks up before you even realize it's dinner time. I didn't set out to make anything fancy, but these buttery cheese garlic rolls ended up turning an ordinary day into something memorable. There's a kind of magic when soft dough meets gooey cheese and fragrant herbs—and the rolls vanished from the tray before they’d even cooled down.
One hectic family dinner, I tossed a tray of these rolls in the oven on a whim, not expecting much. When I set them on the table, conversation trailed off and was replaced with delighted sighs and shouts for seconds. My cousin ended up sneaking two more before I realized, flashing that ‘caught me’ smile between bites. That meal convinced me these belong at every gathering, whether the crowd’s big or small.
Ingredients
- All-purpose flour: The foundation for soft, pillowy rolls; I find sifting it once makes a noticeable difference.
- Active dry yeast: Ensures your dough puffs up beautifully—I always proof it first to check it’s alive and kicking.
- Sugar: Just enough to feed the yeast and round out the savoriness; don’t skip or you’ll miss a subtle balance.
- Salt: Brings all the other flavors together; I go for fine sea salt so it dissolves evenly in the dough.
- Warm milk: Adds richness and softness, making rolls extra tender—test temperature with your wrist to avoid killing the yeast.
- Unsalted butter: Both in dough and brushed on top, it’s the key to getting those golden, melt-in-your-mouth edges.
- Egg: For structure and a touch of richness—let it come to room temp for the fluffiest results.
- Mozzarella cheese: That perfect stretch and mild flavor; I shred it myself for best melting.
- Parmesan cheese: Gives depth and a slightly nutty edge; fresh grated wins every time.
- Fresh parsley: Adds a pop of green and brightness; use it if you have it, but dried herbs work in a pinch.
- Garlic: The star of the show—freshly minced makes the whole difference.
- Dried Italian herbs: Optional, but a pinch makes the filling extra aromatic.
Instructions
- Proof the Yeast:
- Combine the warm milk, sugar, and yeast in a large bowl. Let it sit until the top is frothy—those tiny bubbles always feel like a win.
- Mix Wet Ingredients:
- Add the softened butter, egg, and salt. Whisk everything together until just combined, the mixture should look creamy and slightly golden.
- Add Flour and Knead:
- Gradually add the flour, mixing until the dough pulls away from the bowl. Knead for several minutes—when it feels smooth and springs back, you’re there.
- First Rise:
- Place your dough in a greased bowl and cover it. Let it rise somewhere cozy for about an hour, until it’s puffed up and doubled in size.
- Prepare the Filling:
- Mix together the filling ingredients in a small bowl; melted butter, garlic, cheeses, parsley, and herbs come together in a fragrant mound.
- Shape the Rolls:
- Punch down the dough and divide into 12 pieces. Flatten each piece, add a big spoonful of filling, then gather the edges and pinch to seal—don’t worry if some cheese peeks out.
- Second Rise:
- Arrange the rolls seam-side down on a lined tray and cover loosely. Let them rise for another 25–30 minutes, they’ll look slightly puffier.
- Bake:
- Slide the tray into a preheated oven and bake for 20–25 minutes. The scent will fill your kitchen; they should be deeply golden when ready.
- Finish with Garlic Butter:
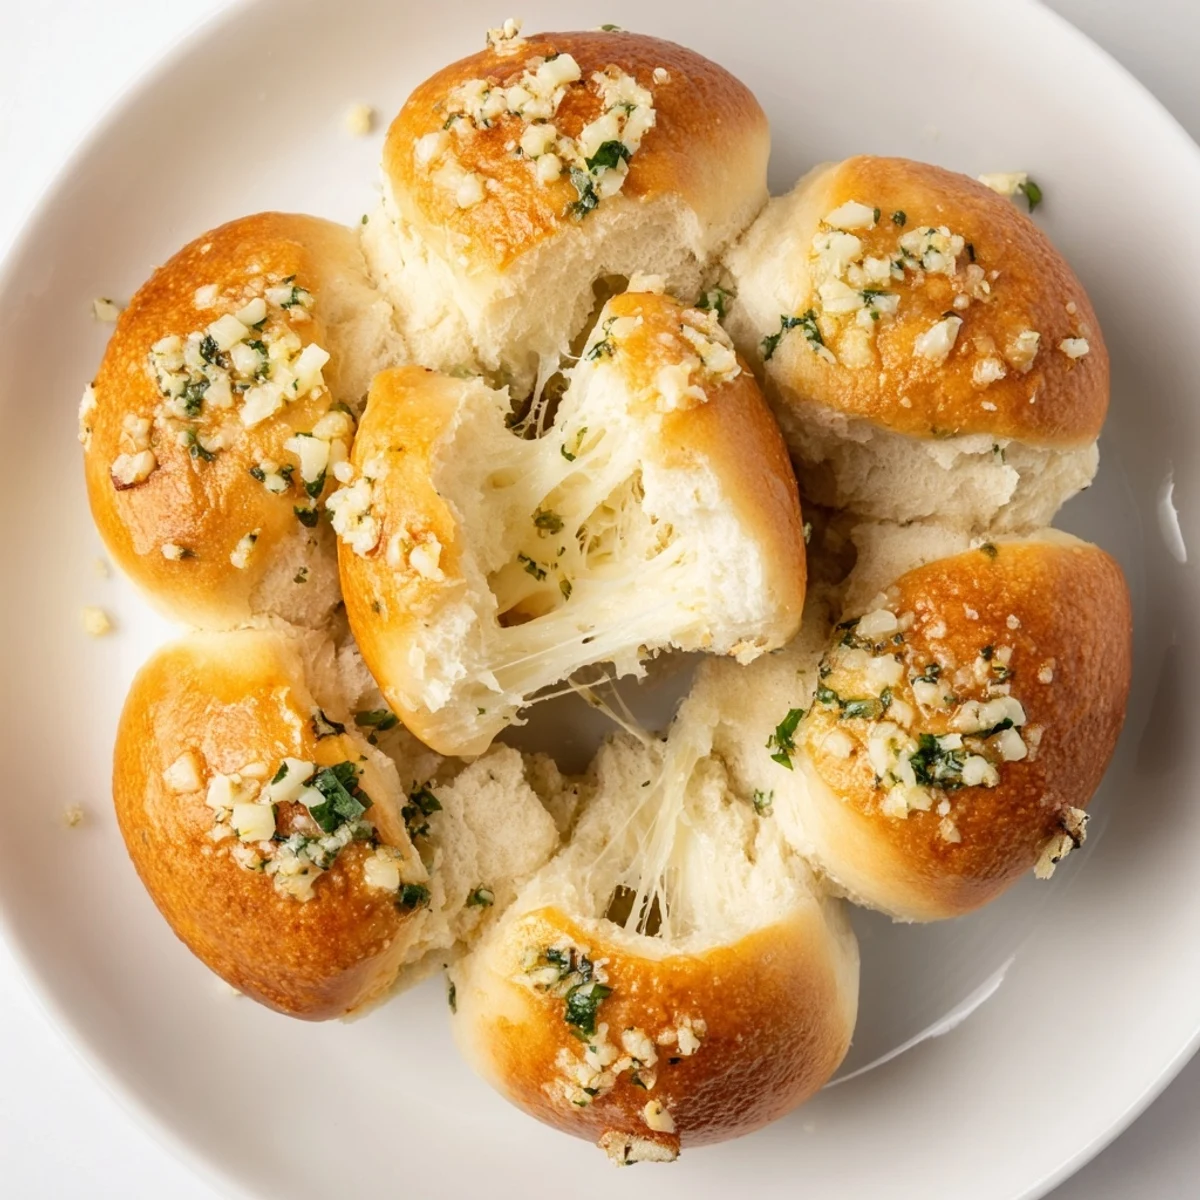
- Brush hot rolls with melted butter and minced garlic, then scatter parsley if desired. Let them cool just enough not to burn your fingers, then dive in.
 Save to Pinterest
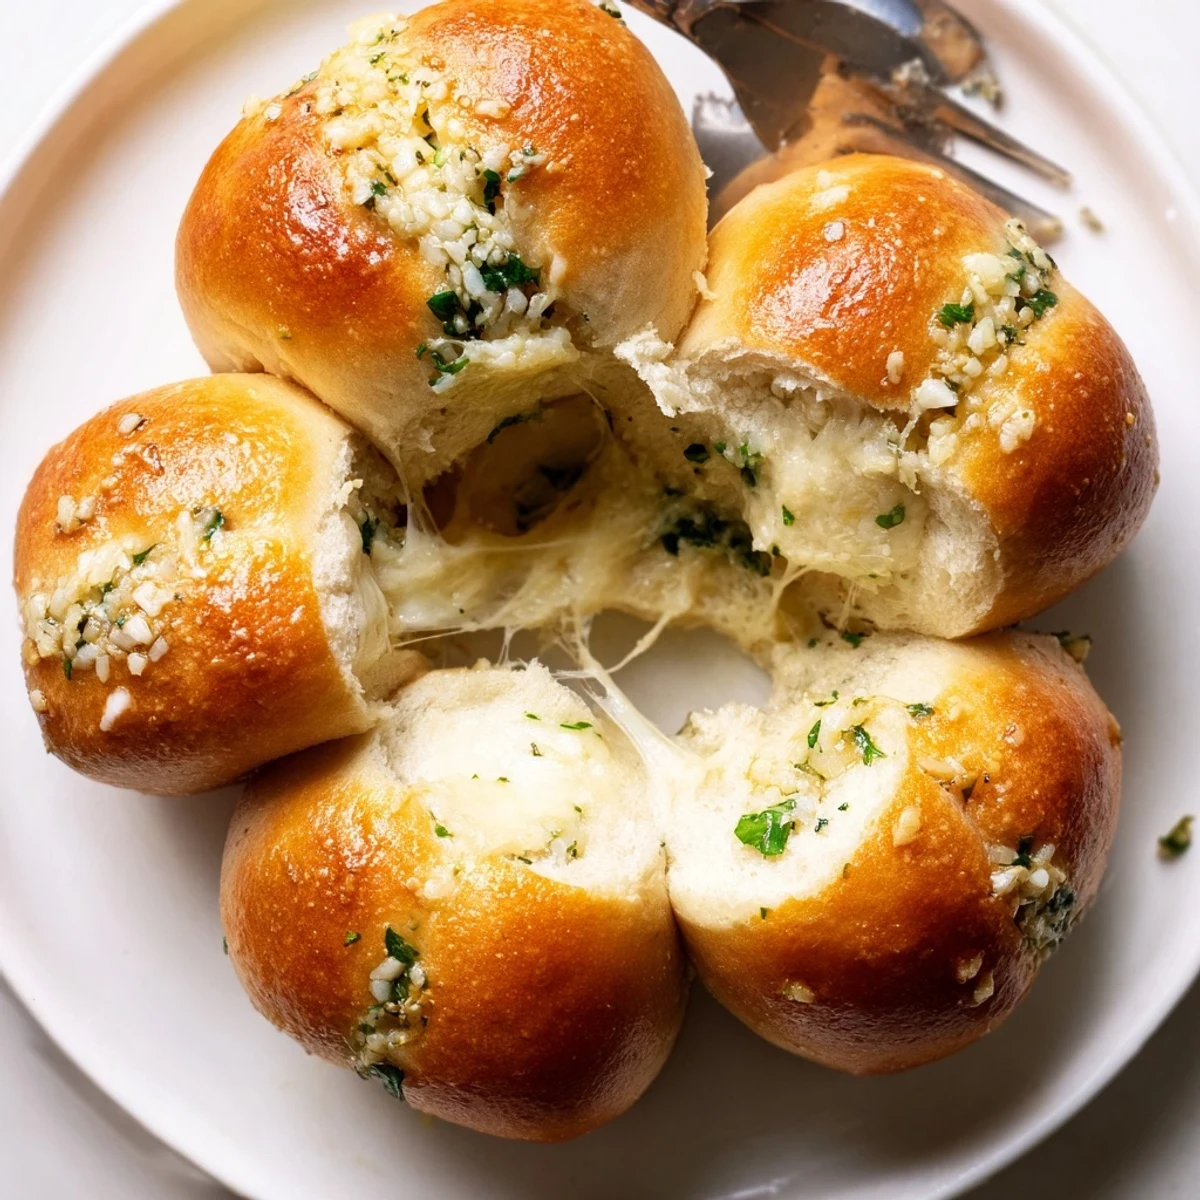
 The night I brought these to a backyard potluck, people started gathering in the kitchen before I could finish brushing on the garlic butter. Someone asked if I could teach them, and suddenly we had a rolling contest at the counter, laughter echoing louder than the music outside. That’s when I realized how food can turn a house into home—one cheesy roll at a time.
How to Serve These Rolls
When you pull these out of the oven, the urge to tear one open immediately is almost impossible to resist. They’re perfect with a big bowl of tomato soup on a chilly evening or as a companion to saucy pasta. Honestly, I’ve seen them disappear from brunch spreads before anything else had a chance. Don’t hesitate to serve them slightly warm—the cheese inside is at its meltiest best.
Simple Storage and Freezing
If by some miracle you have leftover rolls, let them cool before storing in an airtight container. They reheat beautifully in the oven—just five minutes at moderate heat brings them back to that soft, pillowy texture. You can also freeze baked rolls for up to a month; pop them straight into the oven from frozen for a quick snack that tastes freshly made. Wrap tightly to keep them from drying out while frozen.
Fun Variations to Try
I love how adaptable this recipe is—sometimes I sneak in a pinch of red pepper flakes to the filling, or swap in sharp cheddar for the mozzarella. Chopped sun-dried tomatoes or roasted veggies make for a creative twist, especially if you’re serving these at brunch. If I’m feeling extra, a sprinkle of coarse salt on top before baking makes them irresistible, trust me.
- If using dried herbs, rub them between your fingers to release their oils first.
- Let kids help with the rolling—it’s messy fun and they love shaping the balls.
- Always use parchment paper to save yourself from a sticky cleanup.
 Save to Pinterest
 Share these cheese garlic rolls and you’ll always have a reason for people to gather around your table. Here’s to warm hands, full bellies, and plenty of laughter in the kitchen.
Your Recipe Questions Answered
- → Can I make the dough ahead of time?
-
Yes. After the first rise, you can refrigerate the dough overnight in a covered bowl. Cold fermentation deepens flavor—bring to room temperature and complete shaping before the final rise.
- → How do I prevent the filling from leaking?
-
Flatten each portion thinly at the edges and place filling in the center; pinch and twist to seal. Chill shaped balls slightly if dough is warm, and avoid overfilling.
- → What cheeses work best in the filling?
-
Low-moisture mozzarella melts reliably; adding grated Parmesan gives salty, nutty depth. Blend young cheddar or fontina for a bolder profile, keeping moisture in check.
- → Can I freeze the rolls before baking?
-
Yes. Freeze shaped, unbaked rolls on a tray, then transfer to a bag. Bake from frozen, adding a few extra minutes, or thaw in the fridge and allow a full final rise before baking.
- → How do I avoid soggy bottoms?
-
Use parchment or a lightly greased tray and ensure the oven is fully preheated. Bake on the middle rack and avoid overcrowding so heat circulates evenly.
- → Any simple flavor variations?
-
Stir chili flakes into the filling for heat, swap parsley for chopped basil, or brush with herb-infused butter for aromatic notes after baking.
